
COMPLEX HOME IMPROVEMENT
Our Work
Explore completed projects and work in progress, organized by service.
Kitchens
KITCHEN IMPROVEMENTS
Cabinet adjustments
and kitchen finishing
We modified the existing appliance opening with additional wood to fit the appliances, adjusted the oven support, and installed the appliances. The project also included painting, backsplash installation, and exhaust hood work.
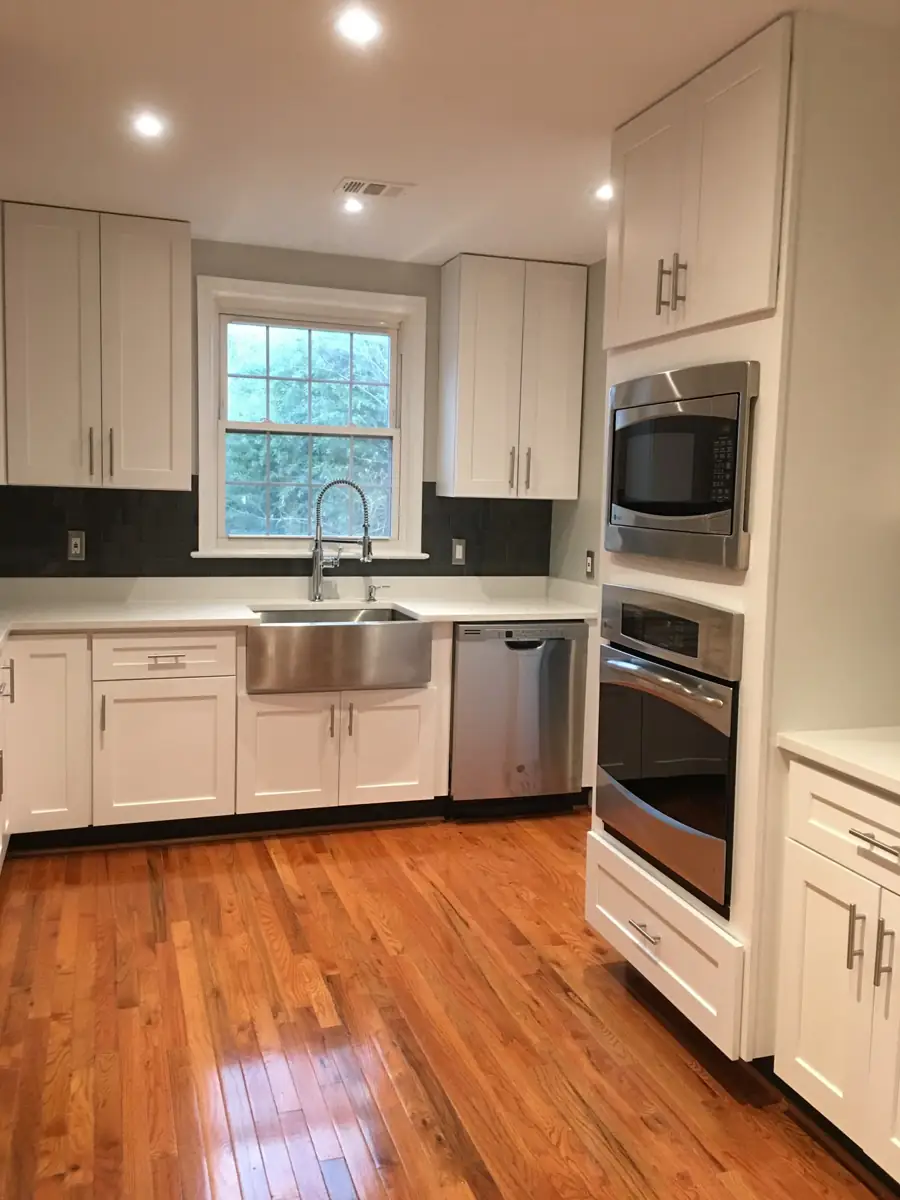
Finished appliance surround and kitchen view
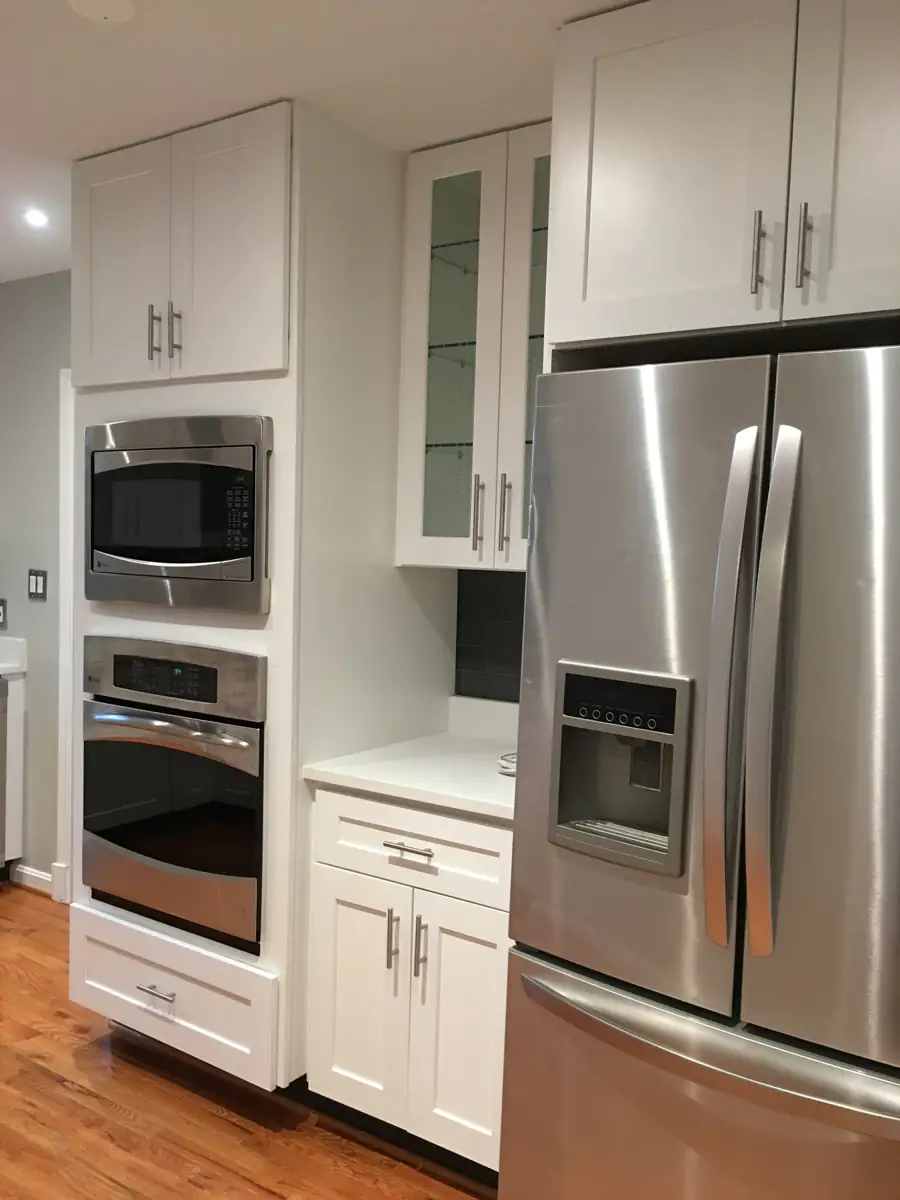
Installed appliances and adjusted cabinet opening
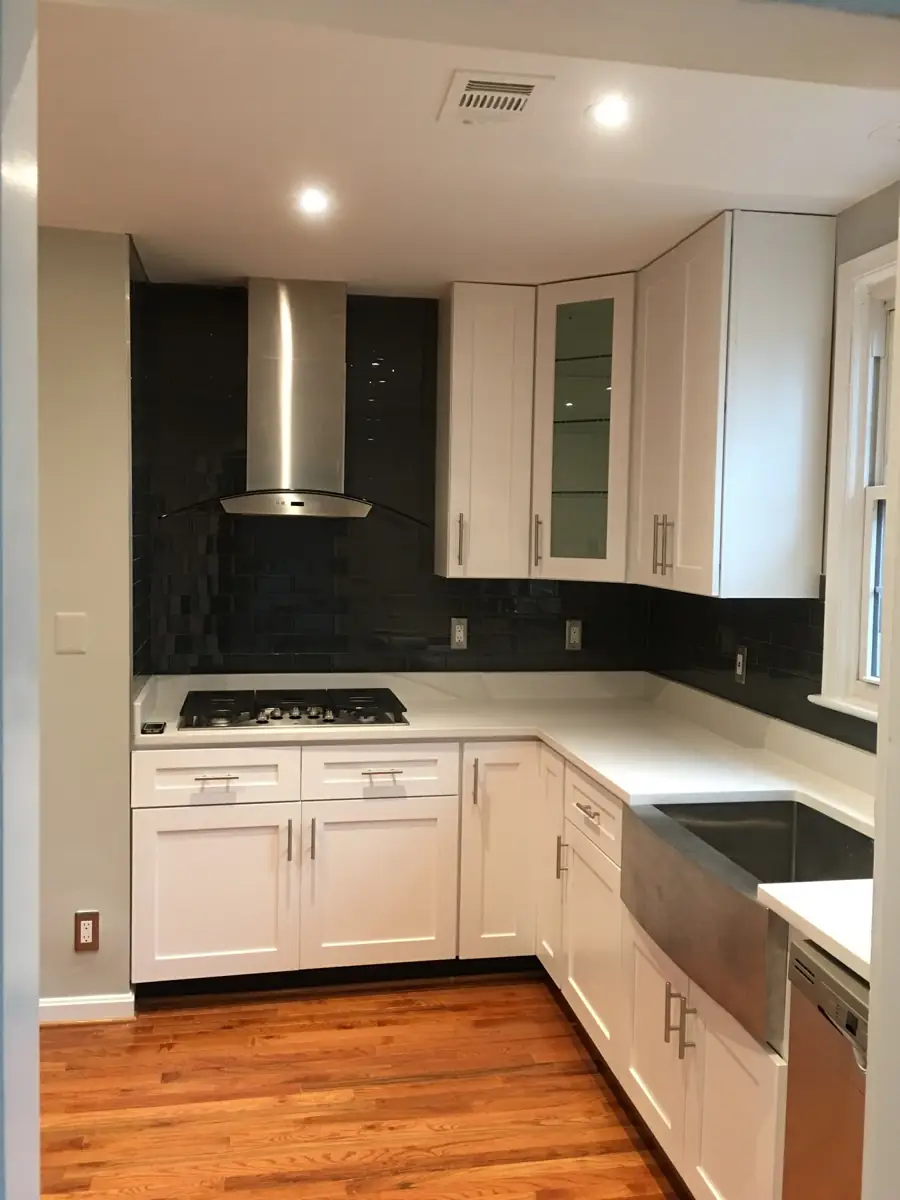
Finished backsplash and exhaust hood
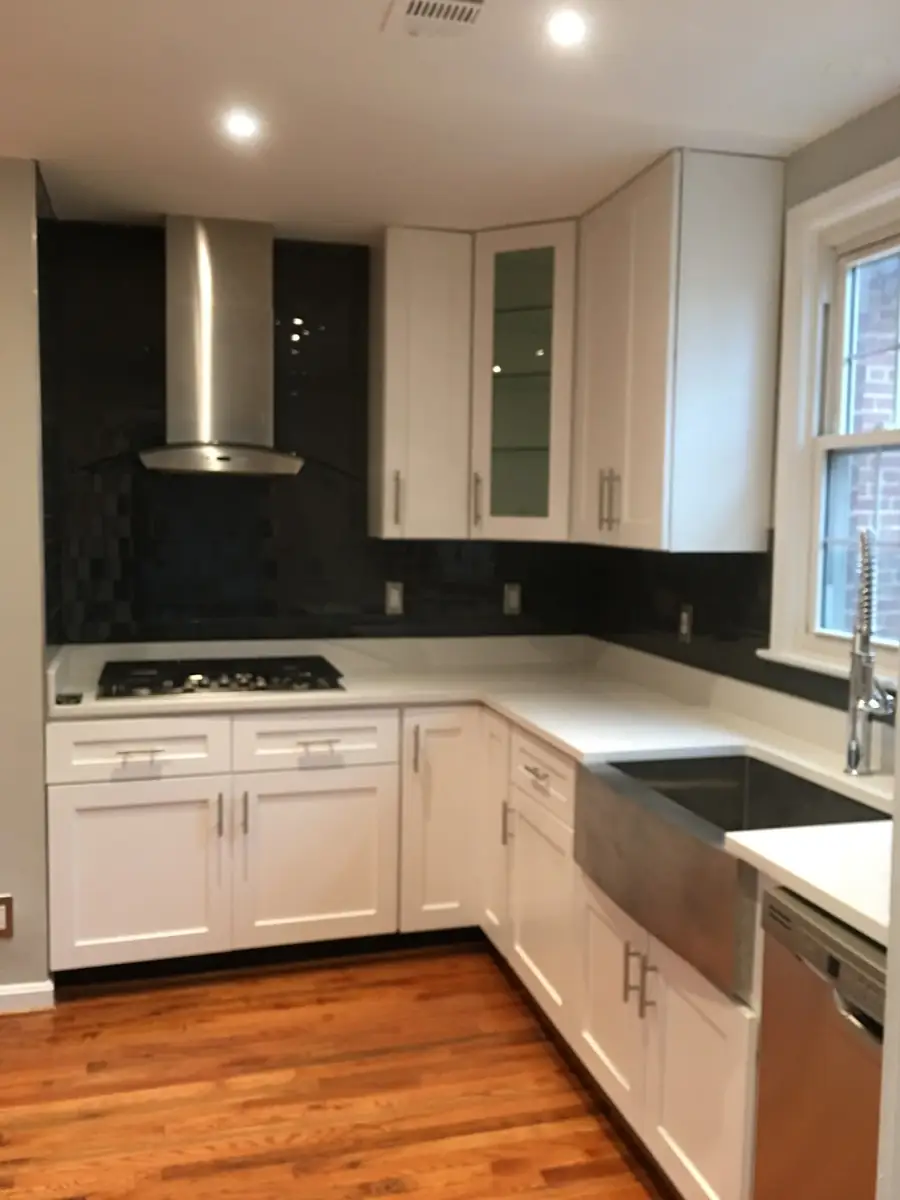
Additional view of the finished kitchen
KITCHEN REMODELING · FALLS CHURCH
A kitchen transformation
in Falls Church
From the original kitchen through demolition and floor preparation to updated cabinetry, appliances, tile backsplash, and lighting. Follow the transformation below.
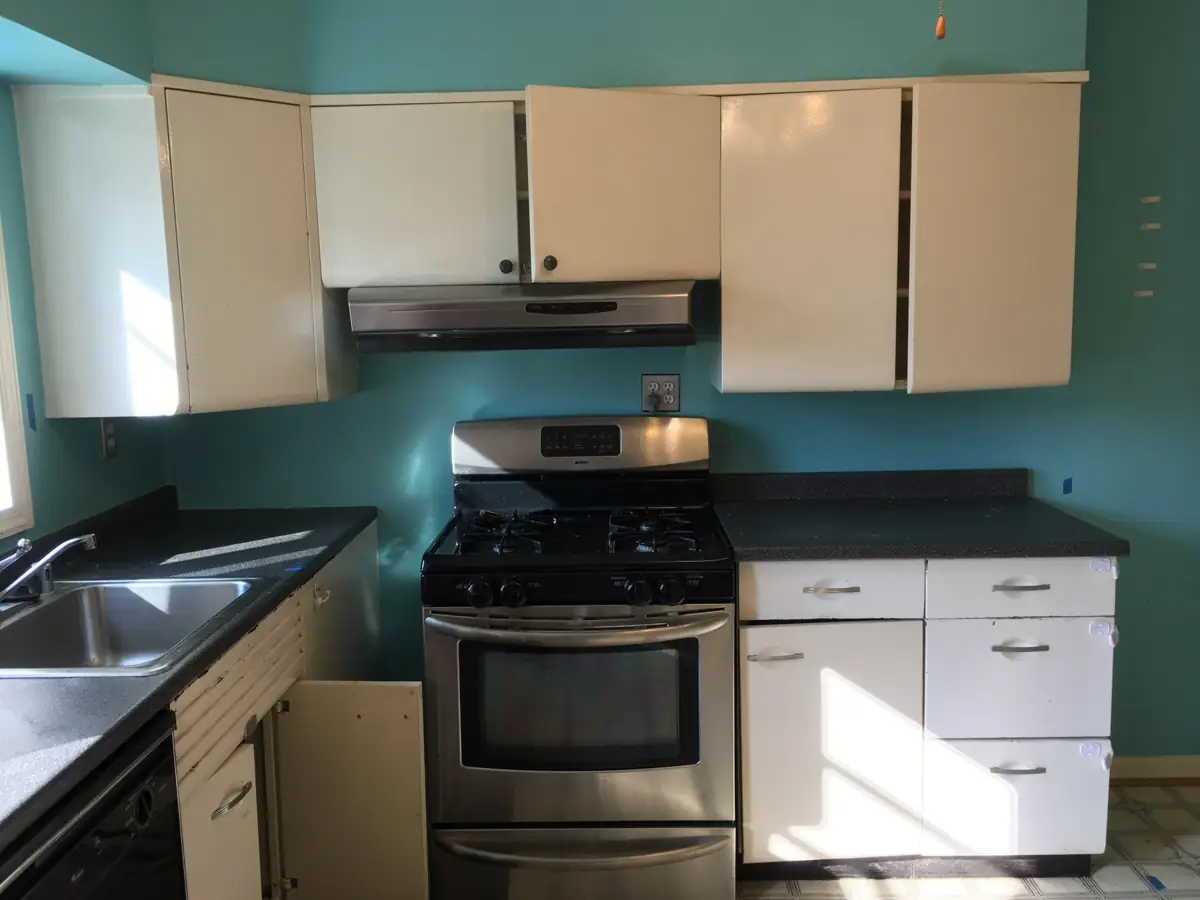
Original cabinets, range, and counters
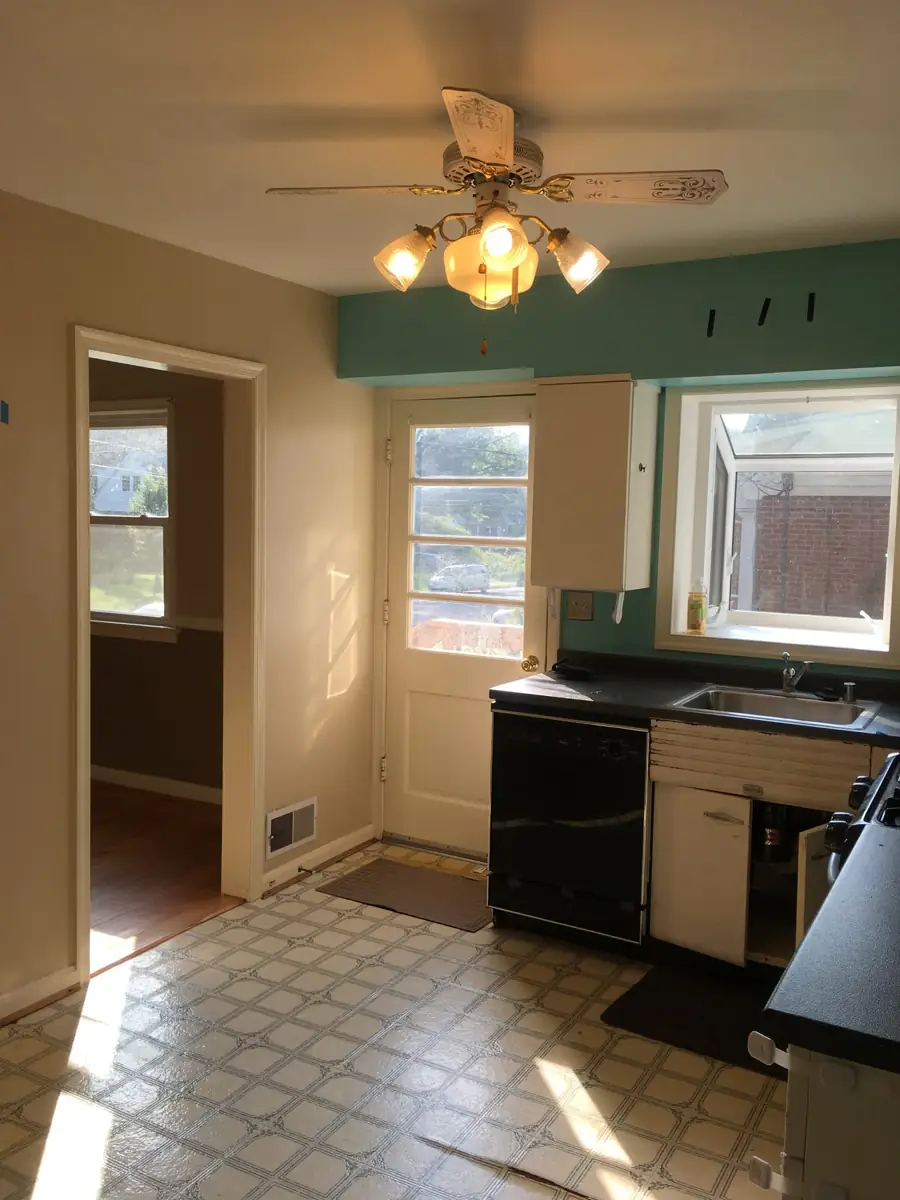
Original sink wall, flooring, and ceiling fan
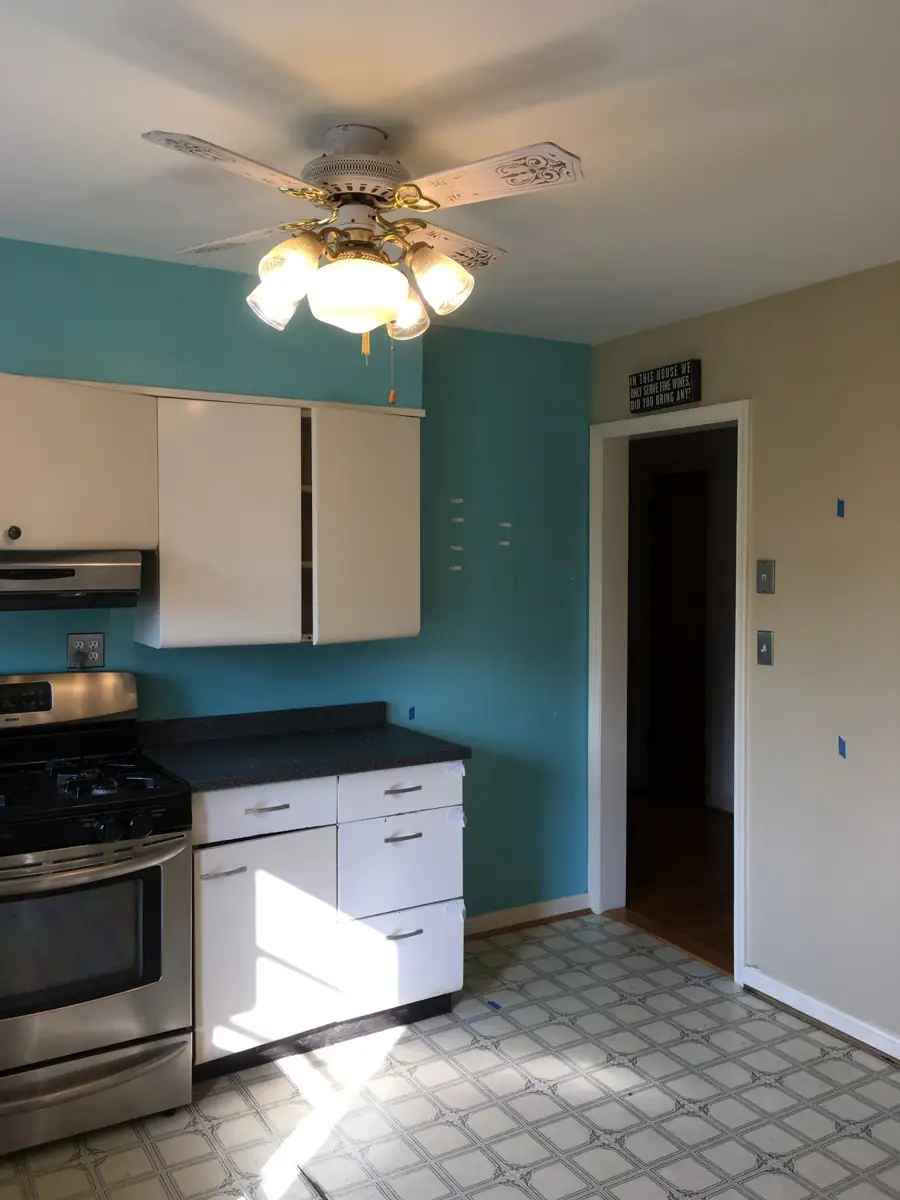
Original kitchen layout and doorway
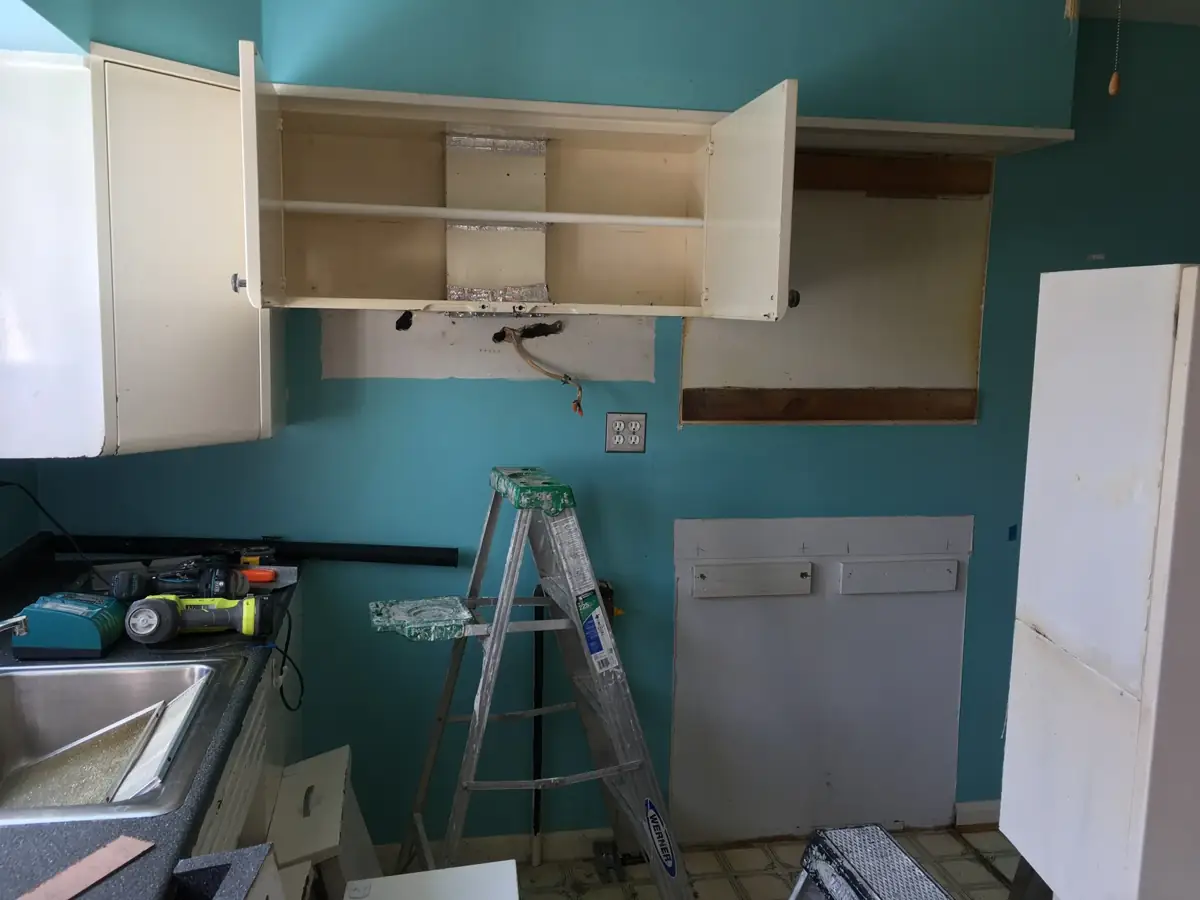
Old cabinets and range hood being removed
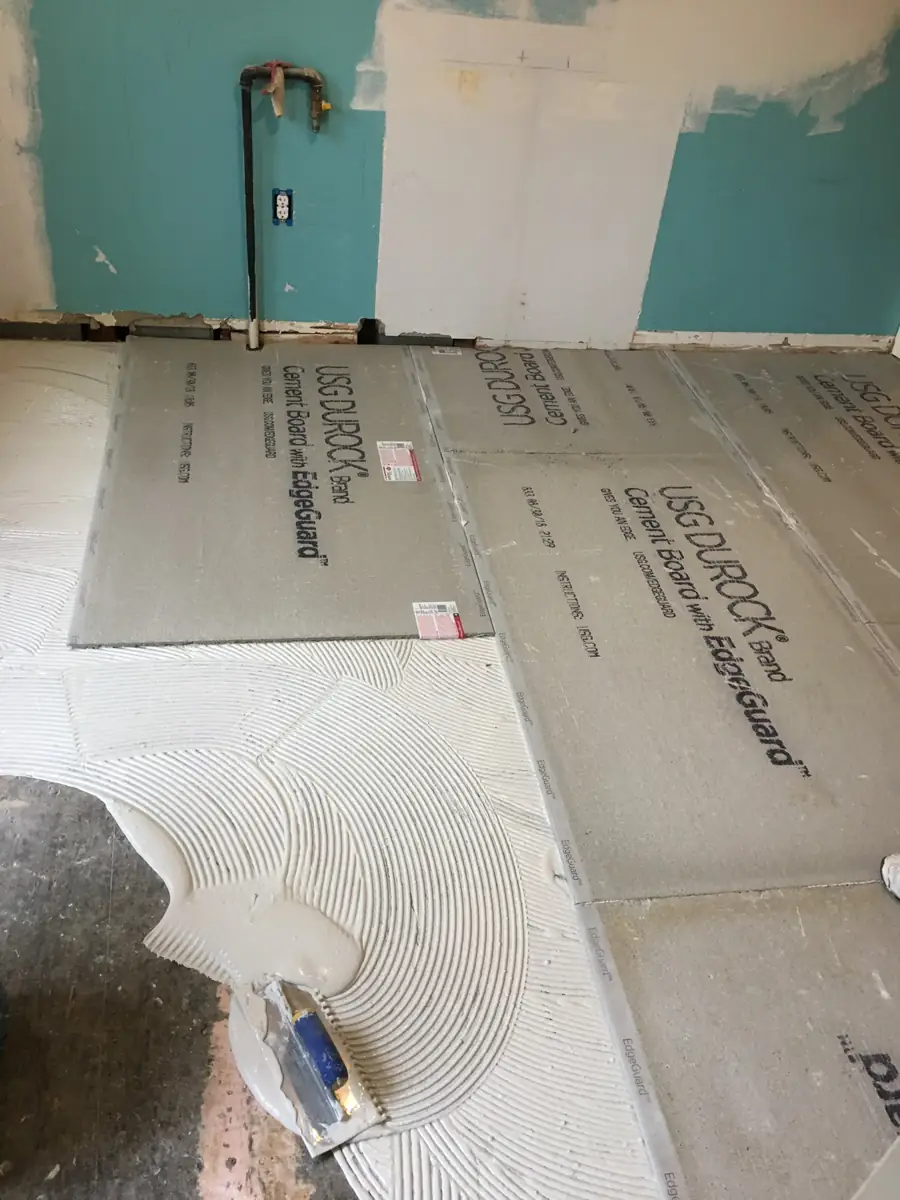
Cement board installation for the new tile floor
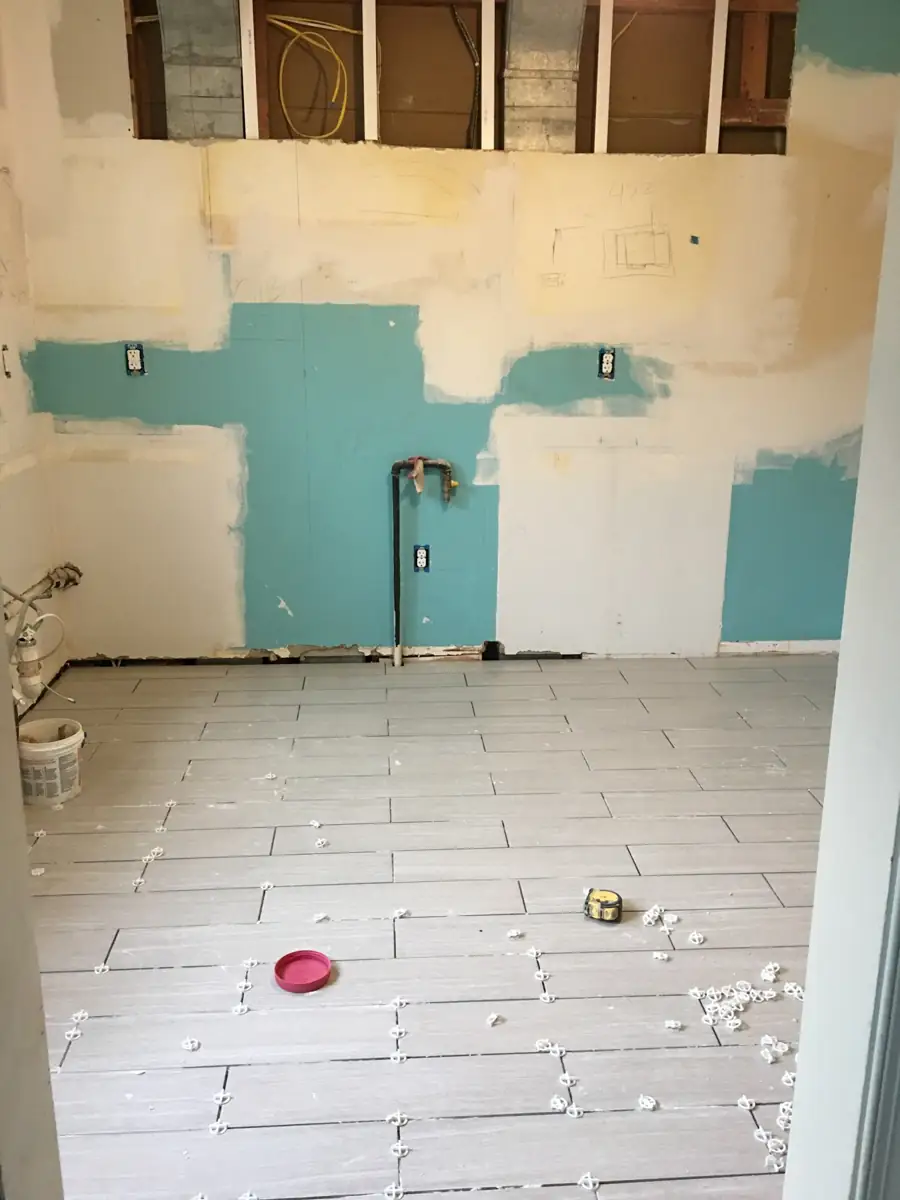
New floor tile being laid before cabinet installation
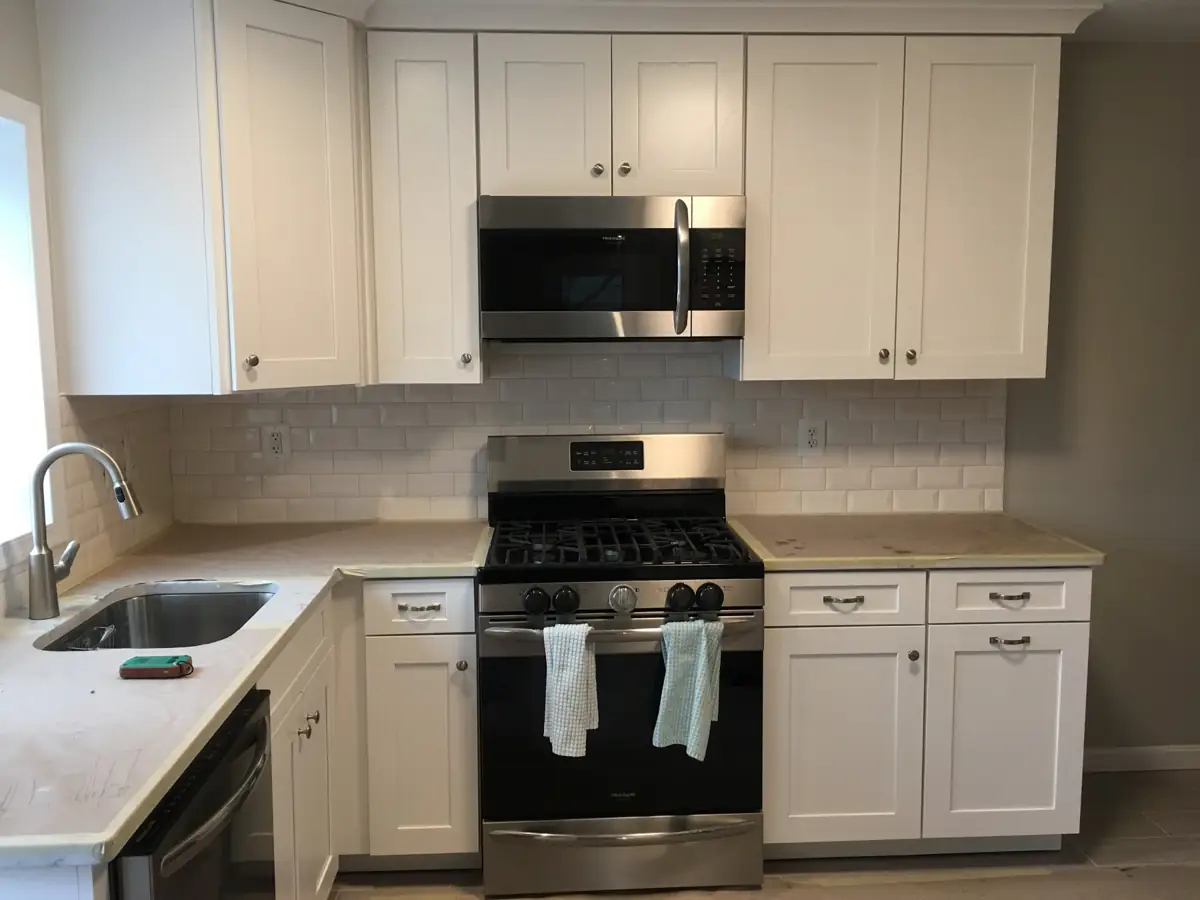
Updated cabinets, appliances, and tile backsplash
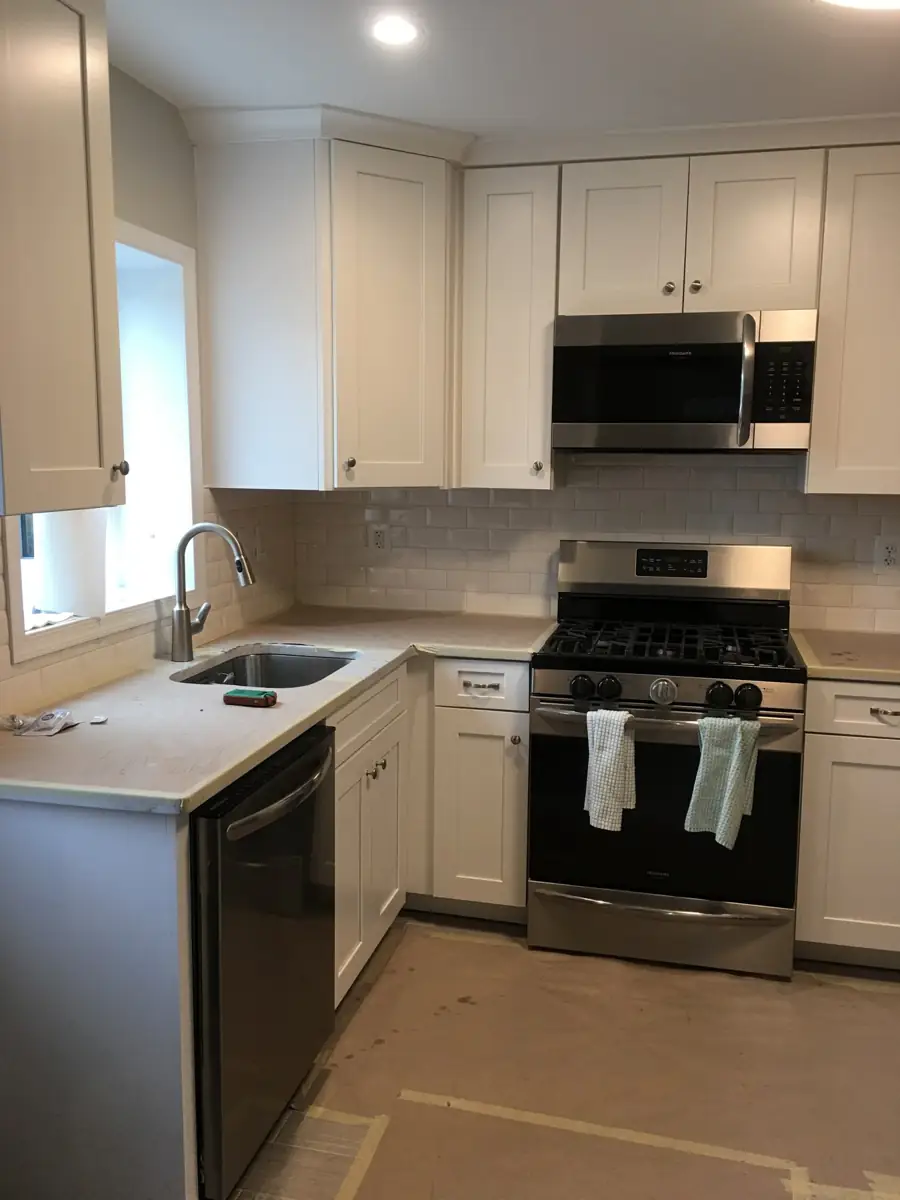
Updated sink, faucet, cabinetry, and recessed lighting
After photos show the installed kitchen with protective coverings still in place.
KITCHEN REMODELING
Condo kitchen remodel
CHI completed this condo kitchen remodel, including painting and lighting work, dark cabinetry, light speckled countertops, a white tile backsplash, and stainless steel appliances.
The finished view is a retouched preview: protective paper and loose items were digitally removed from the foreground countertop.
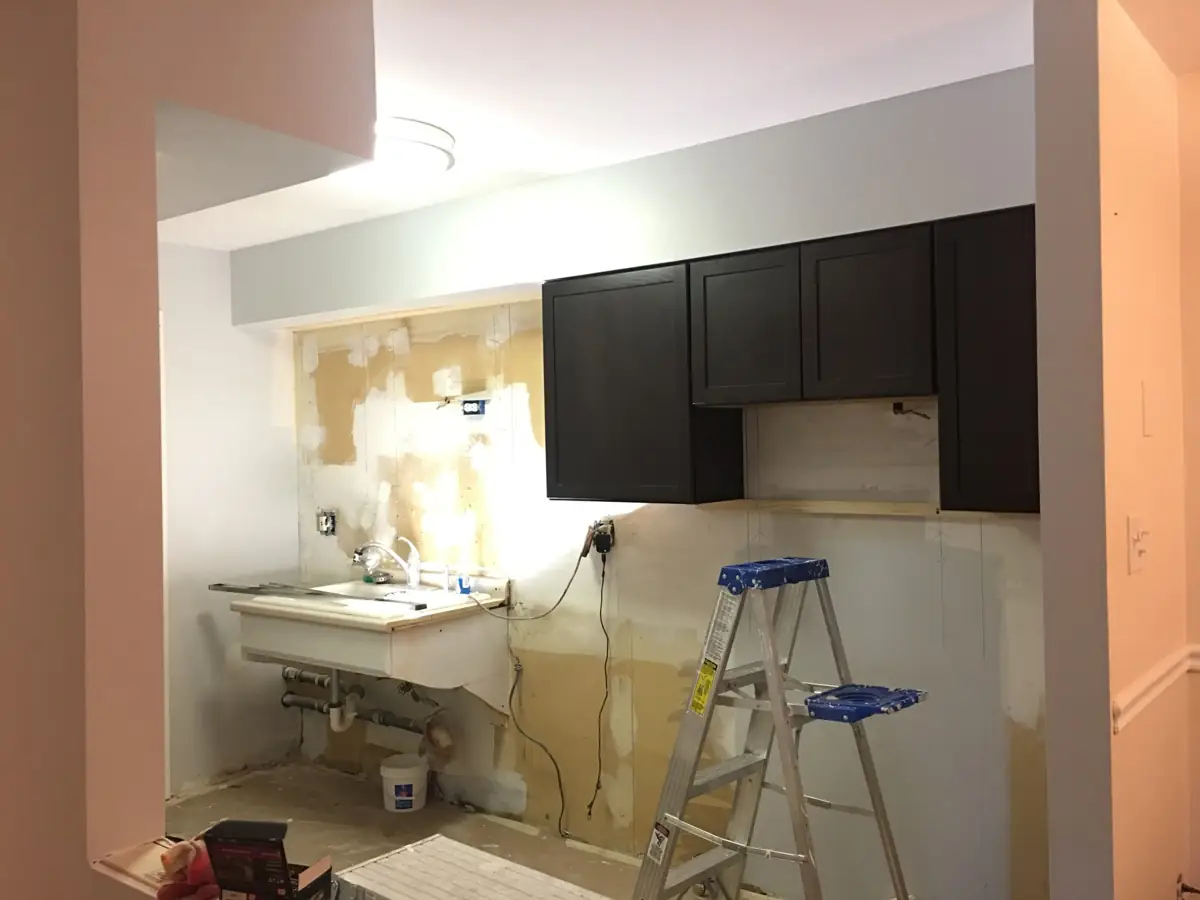
Wall preparation and upper cabinet installation
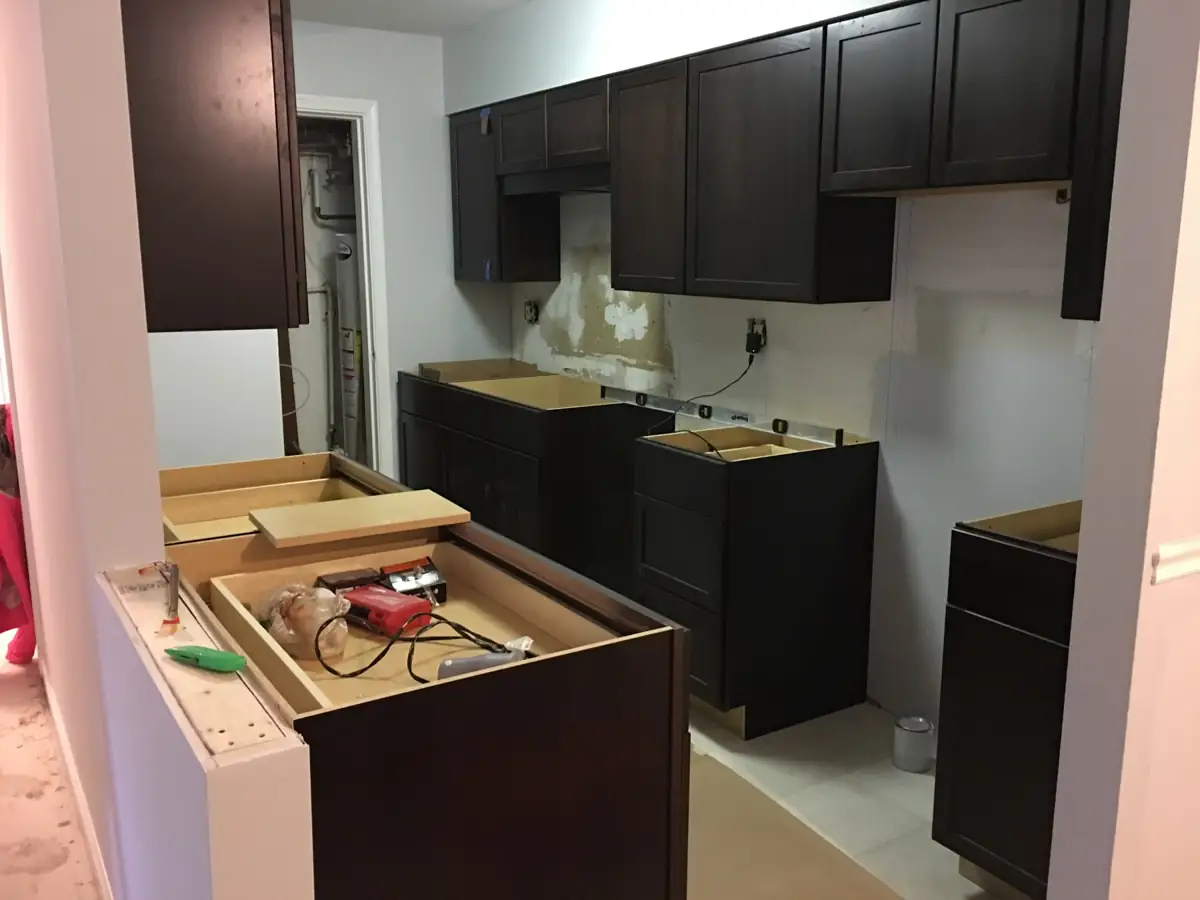
Base and wall cabinets in place before countertops
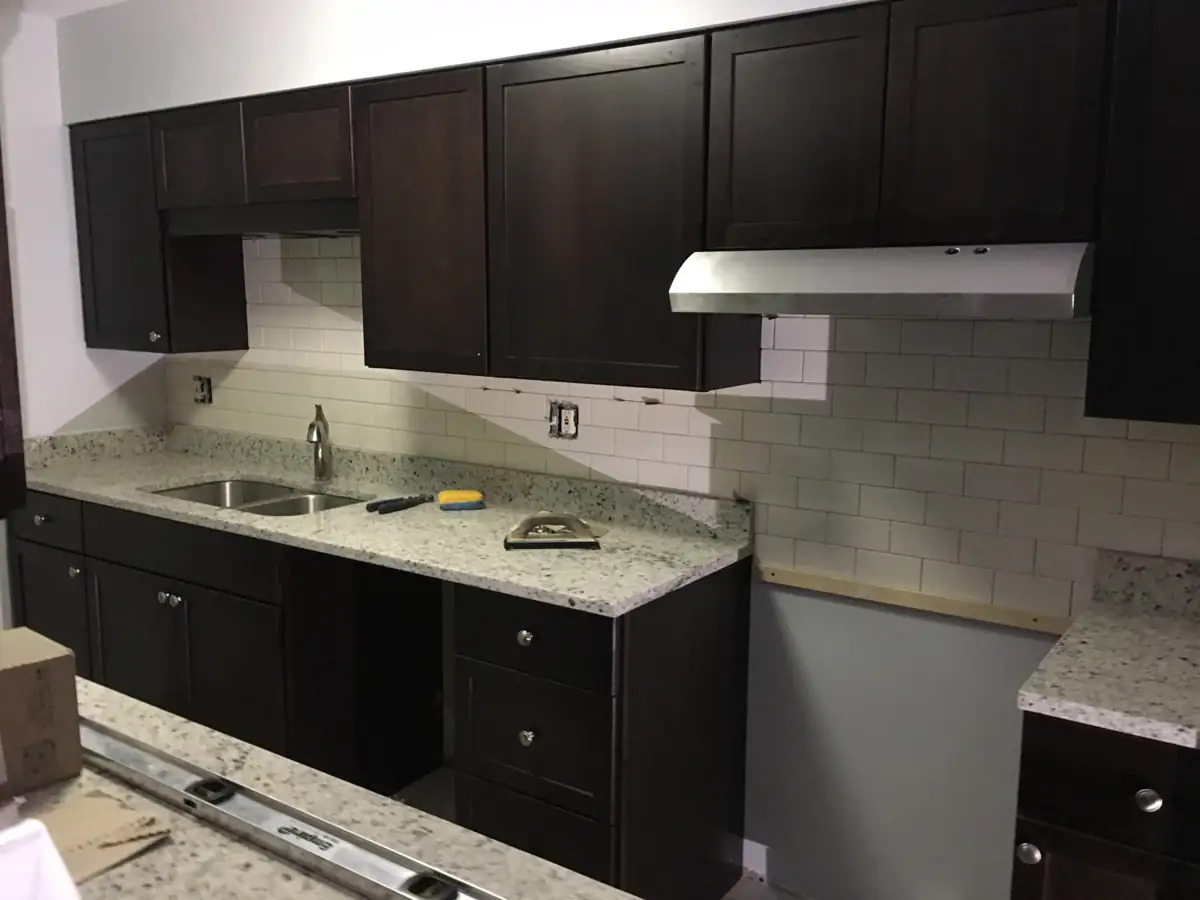
Countertops and backsplash during installation
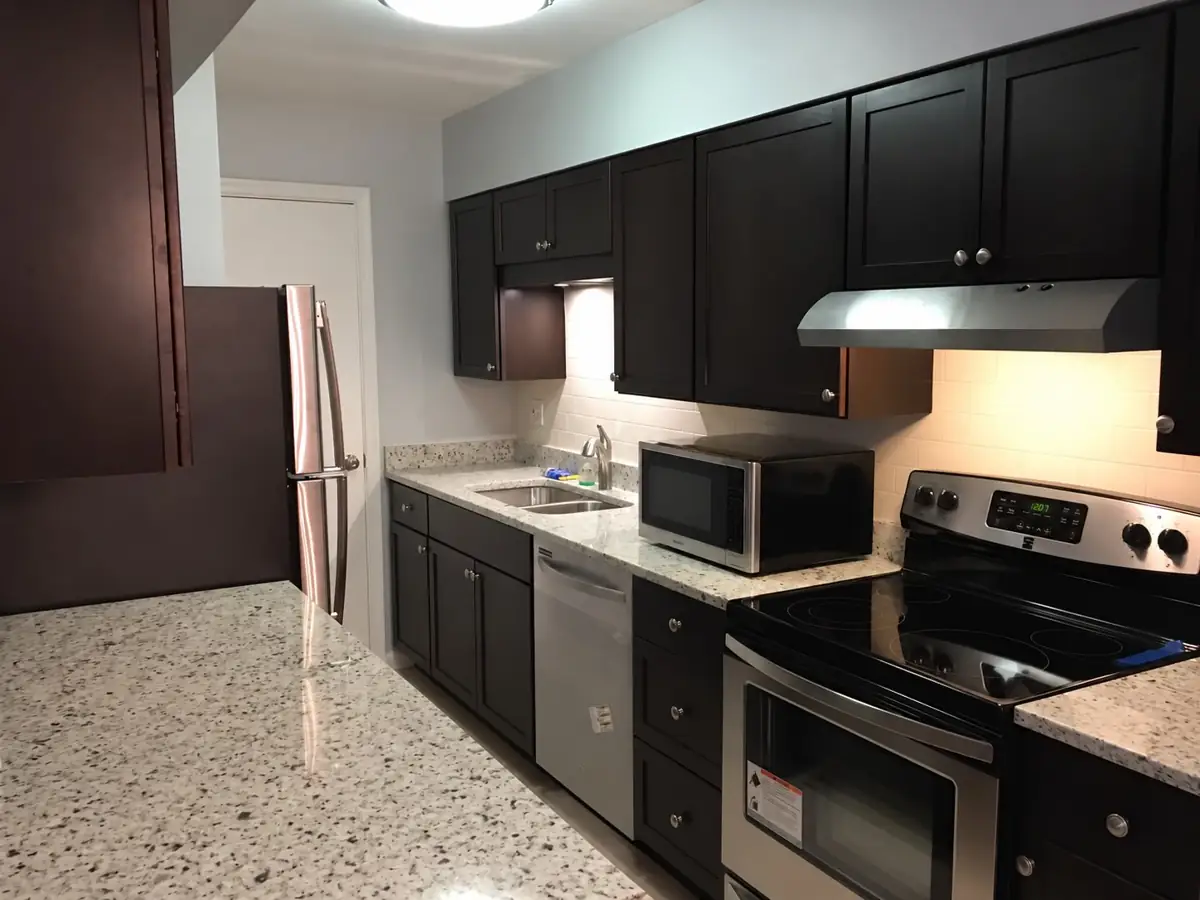
Remodeled condo kitchen — protective countertop paper digitally removed
KITCHEN DEMOLITION, DRYWALL & PAINTING
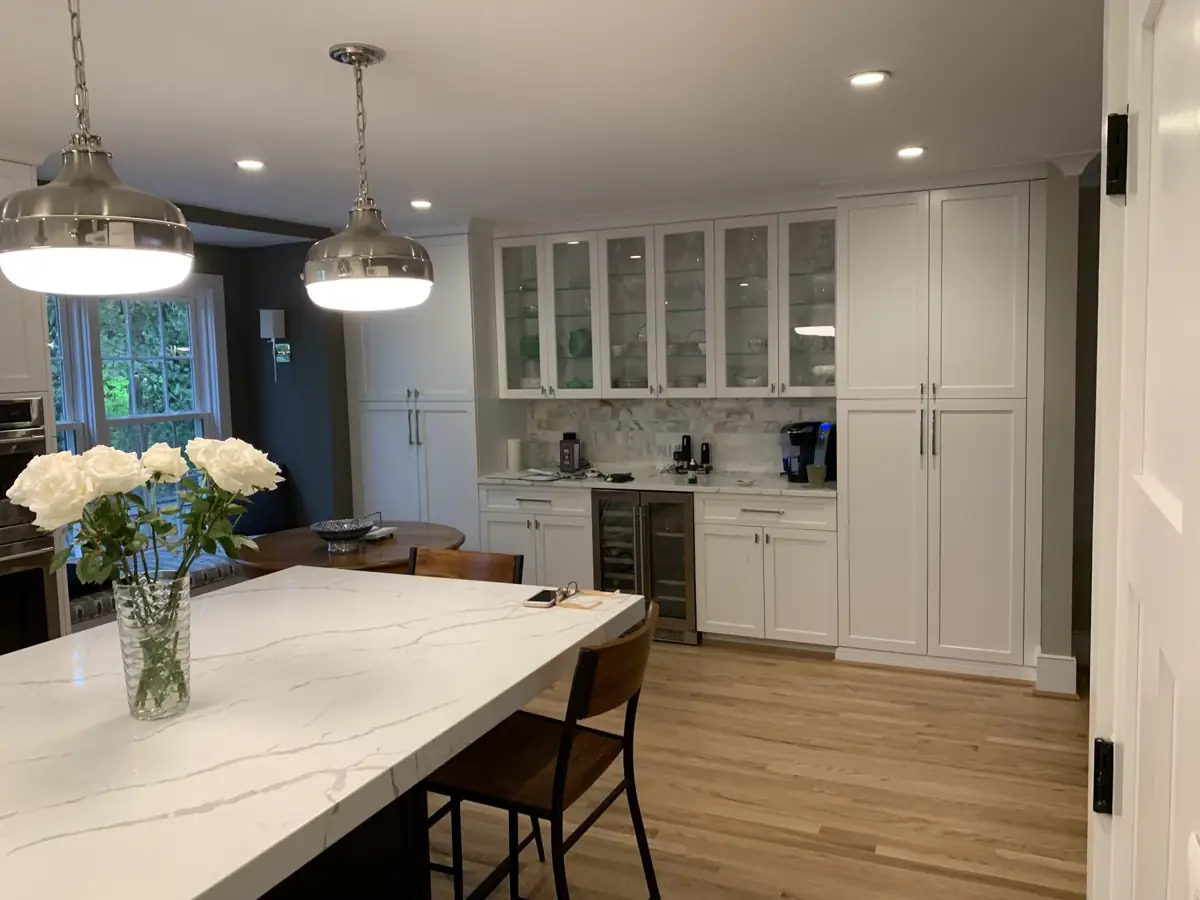
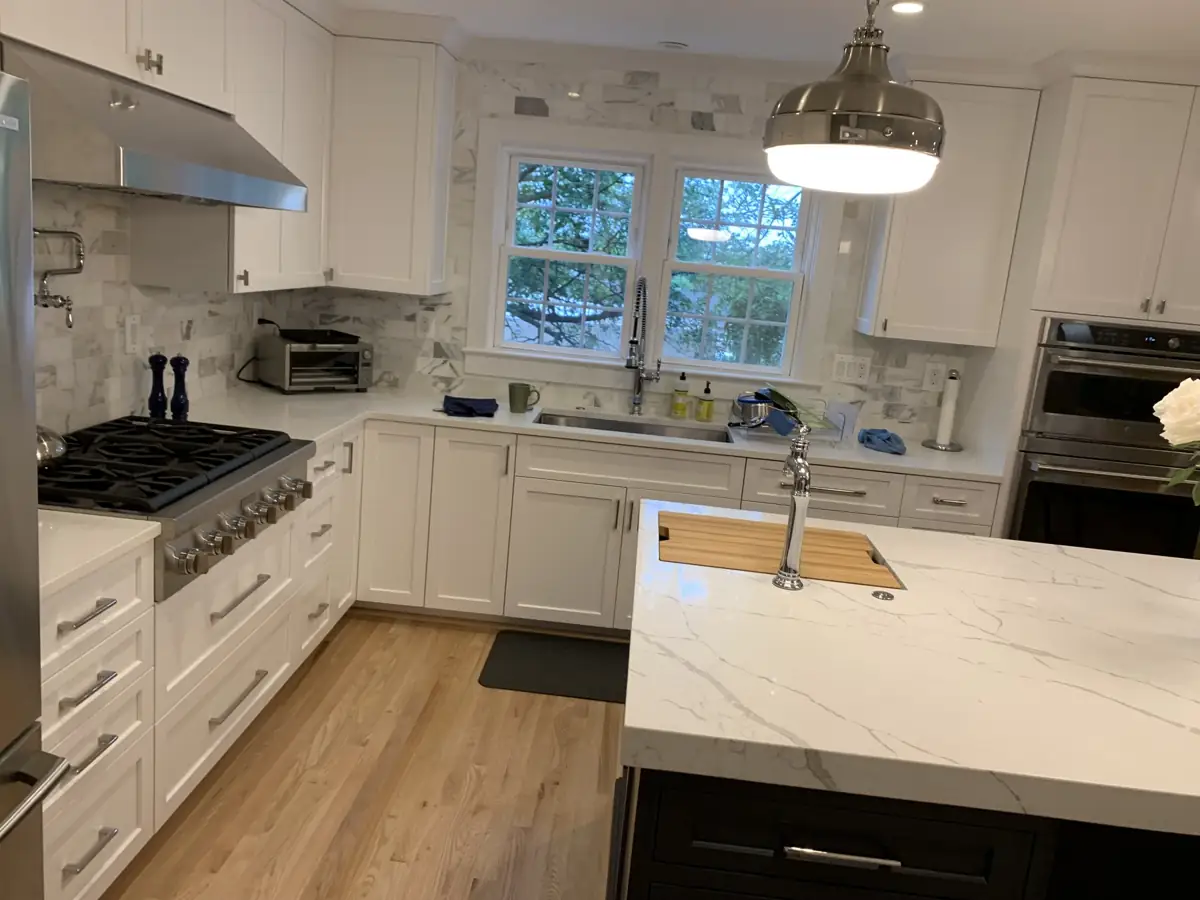
Kitchen drywall & painting
with silver pendant lights
CHI completed the demolition, full drywall installation, plastering, sanding, and painting for this kitchen renovation. The work prepared and finished the walls and ceiling for the updated space.
Cabinets, countertops, and appliances were completed by others.
KITCHEN DEMOLITION, DRYWALL & PAINTING
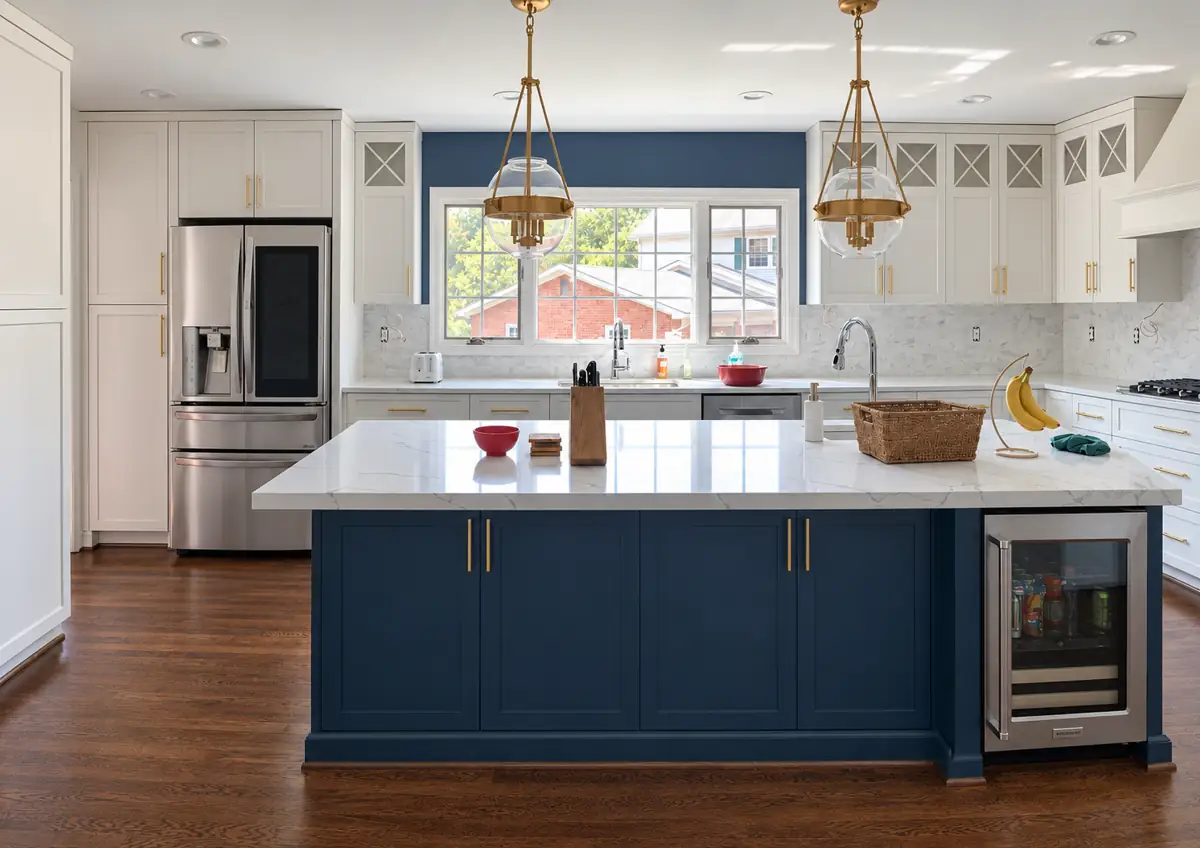
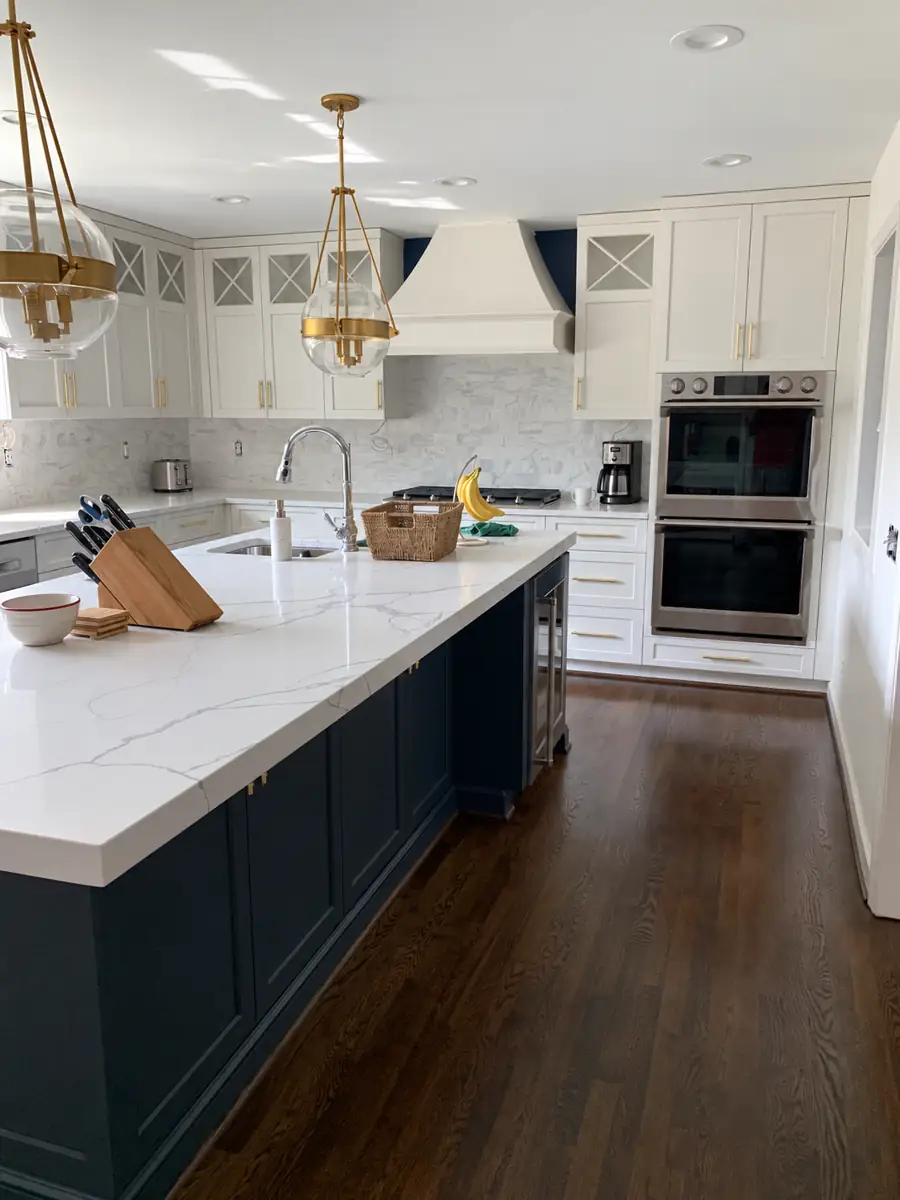
Kitchen drywall & painting
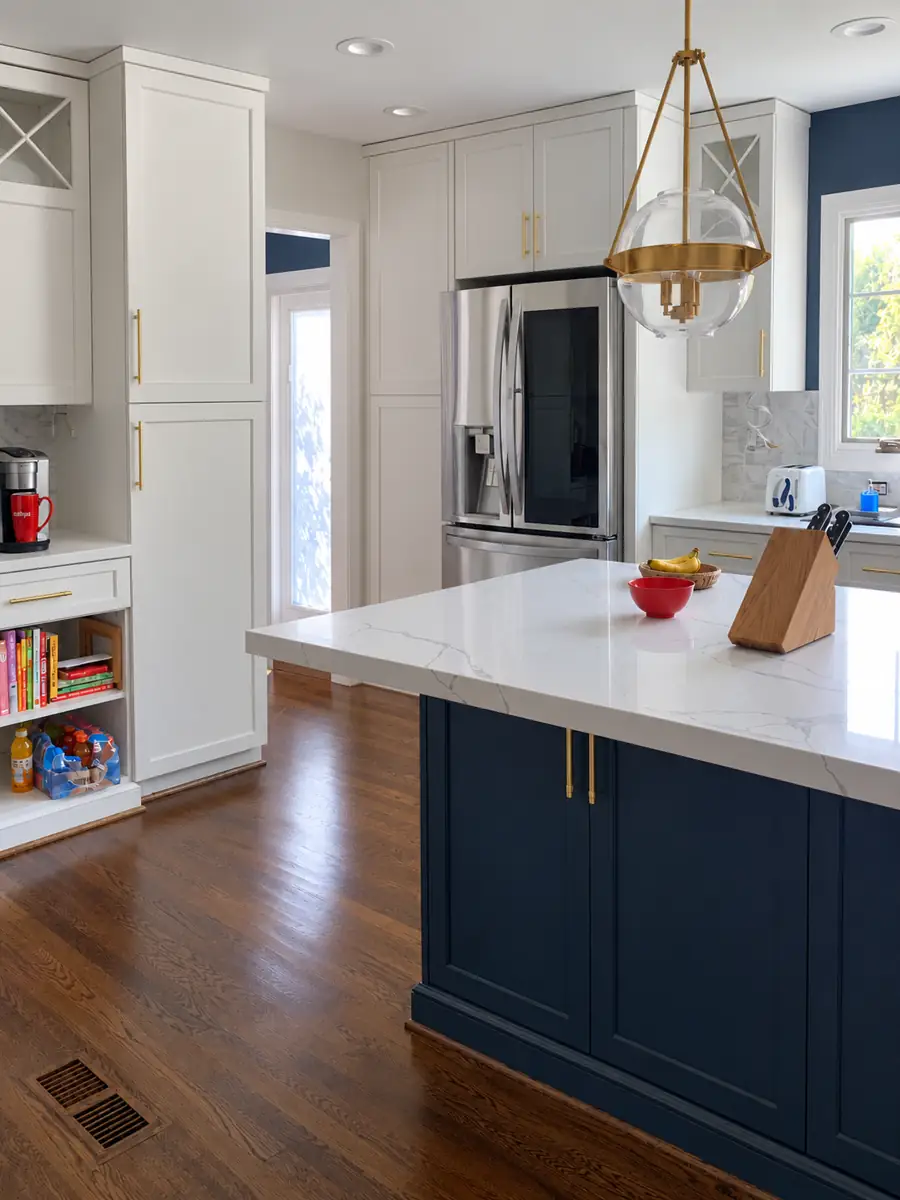
with a navy island
CHI completed the demolition, full drywall installation, plastering, sanding, and painting for this kitchen renovation. The work prepared and finished the walls and ceiling for the updated space.
Cabinets, countertops, and appliances were completed by others.
Bathrooms
PROJECT GALLERY
A bathroom transformation
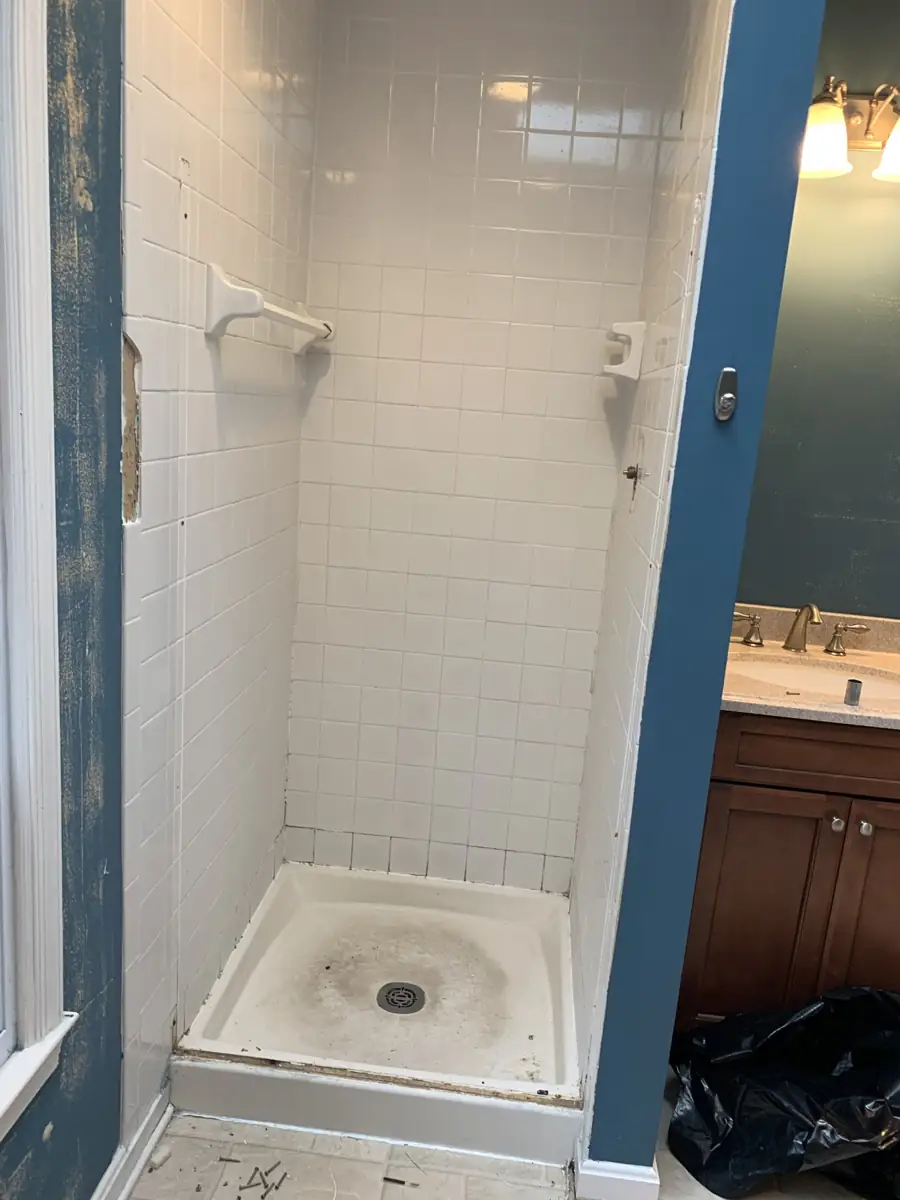
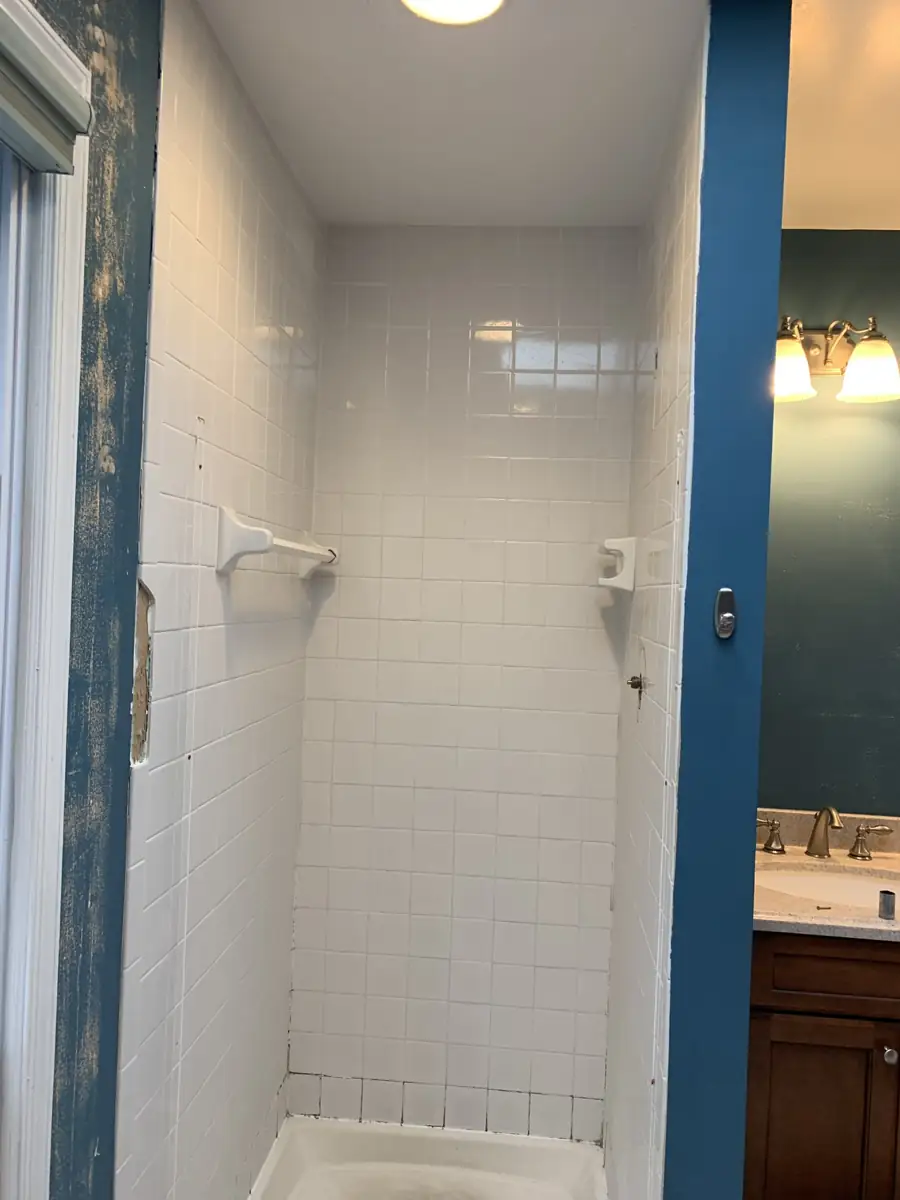
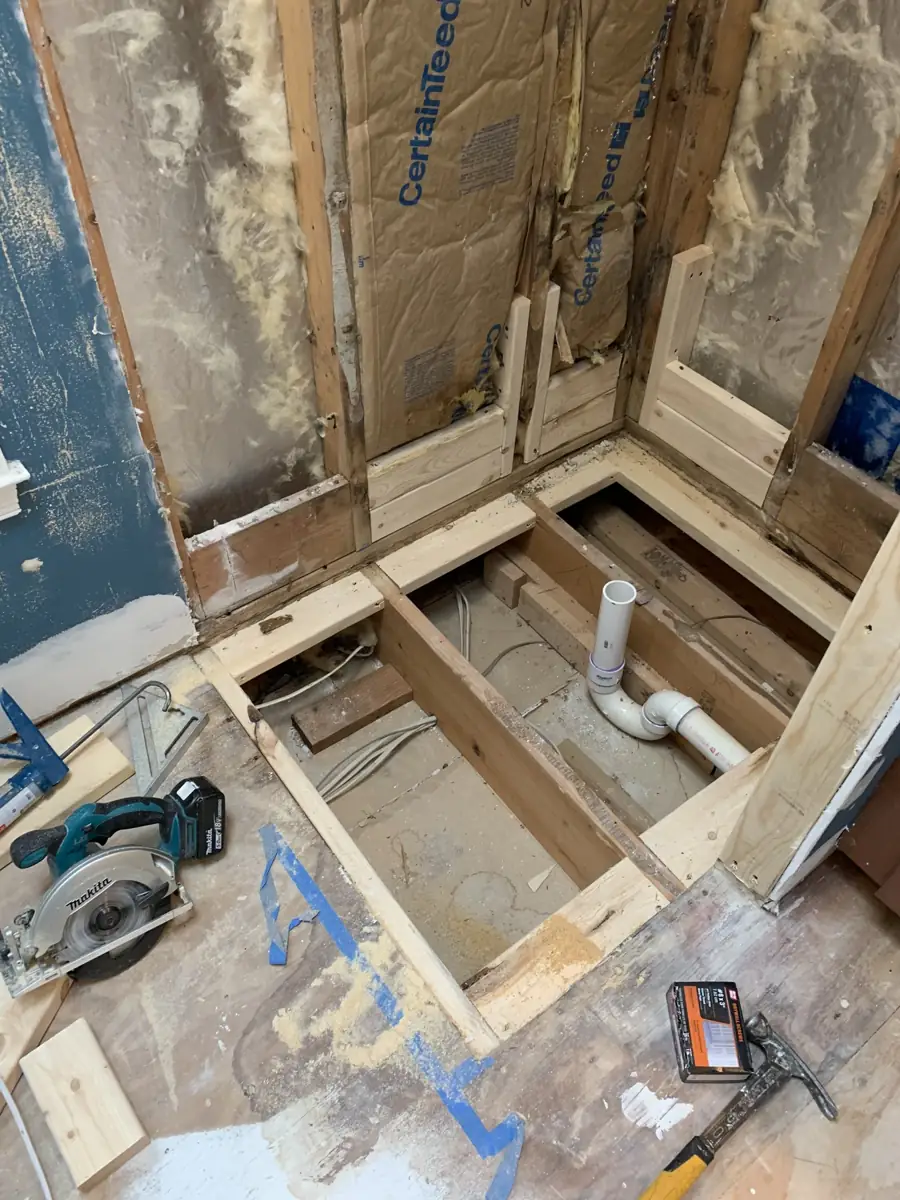
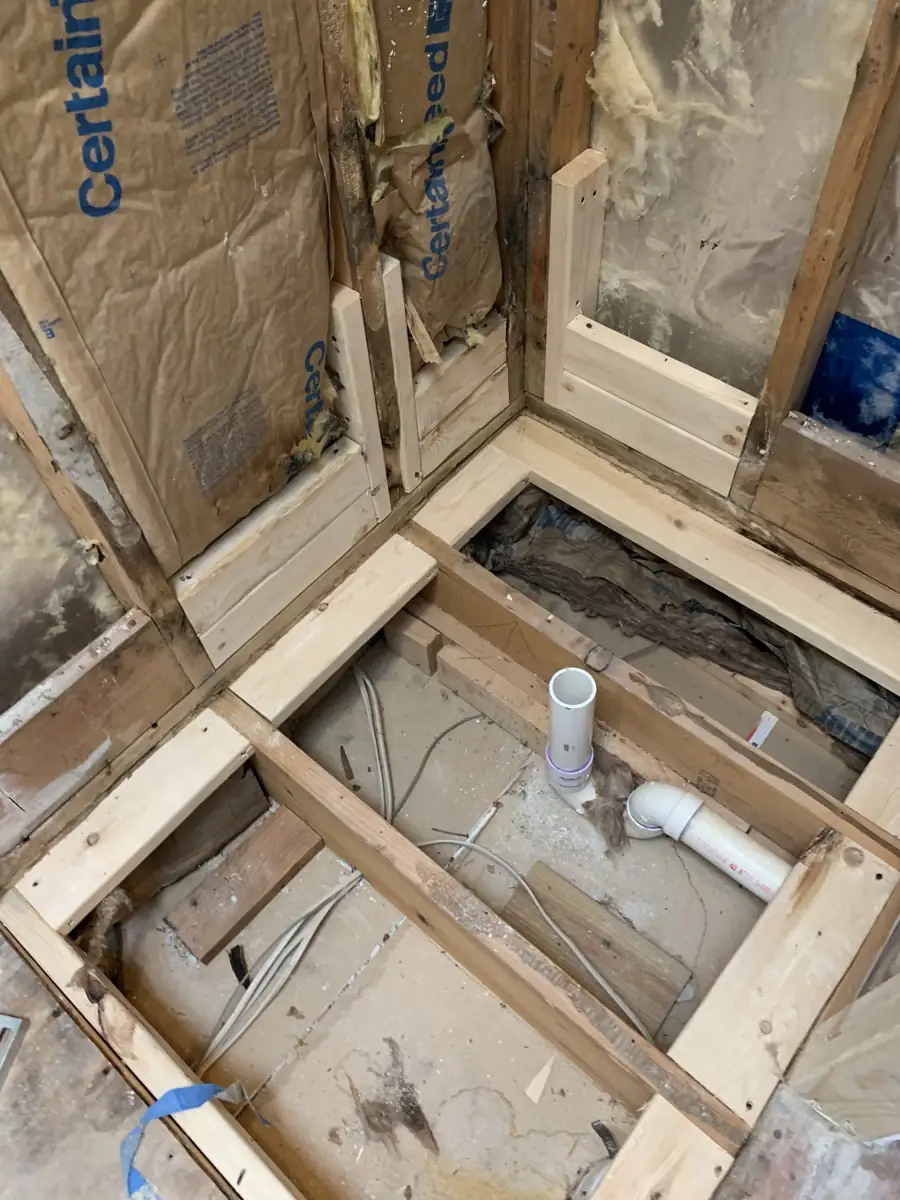
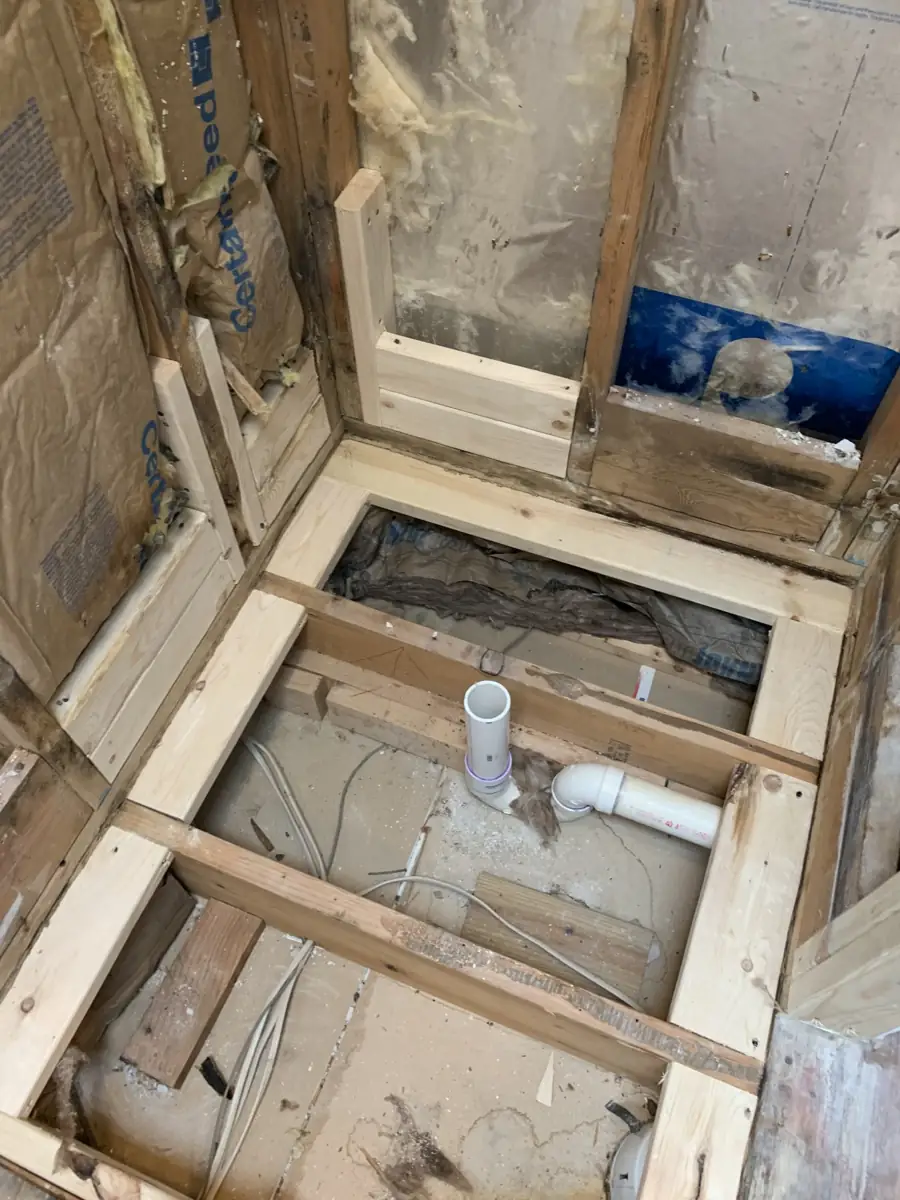
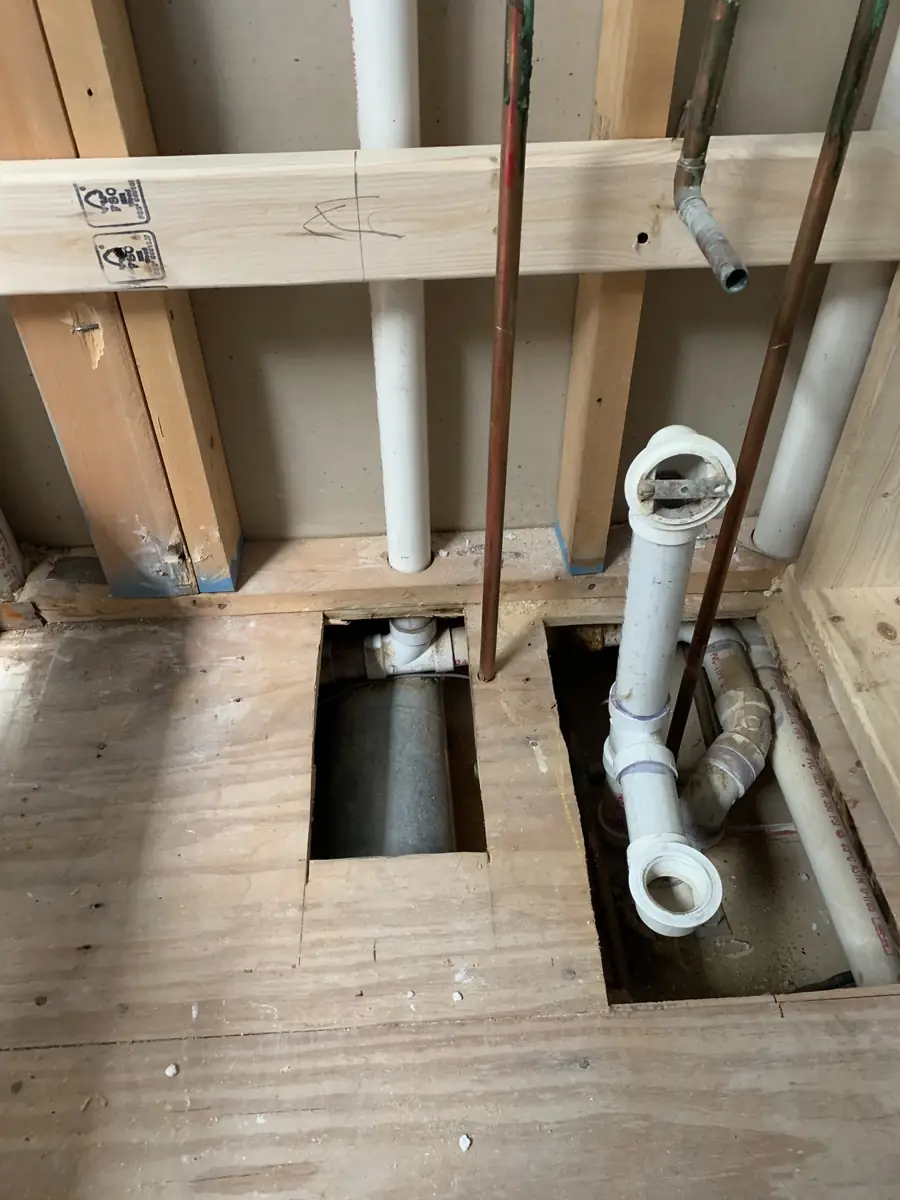
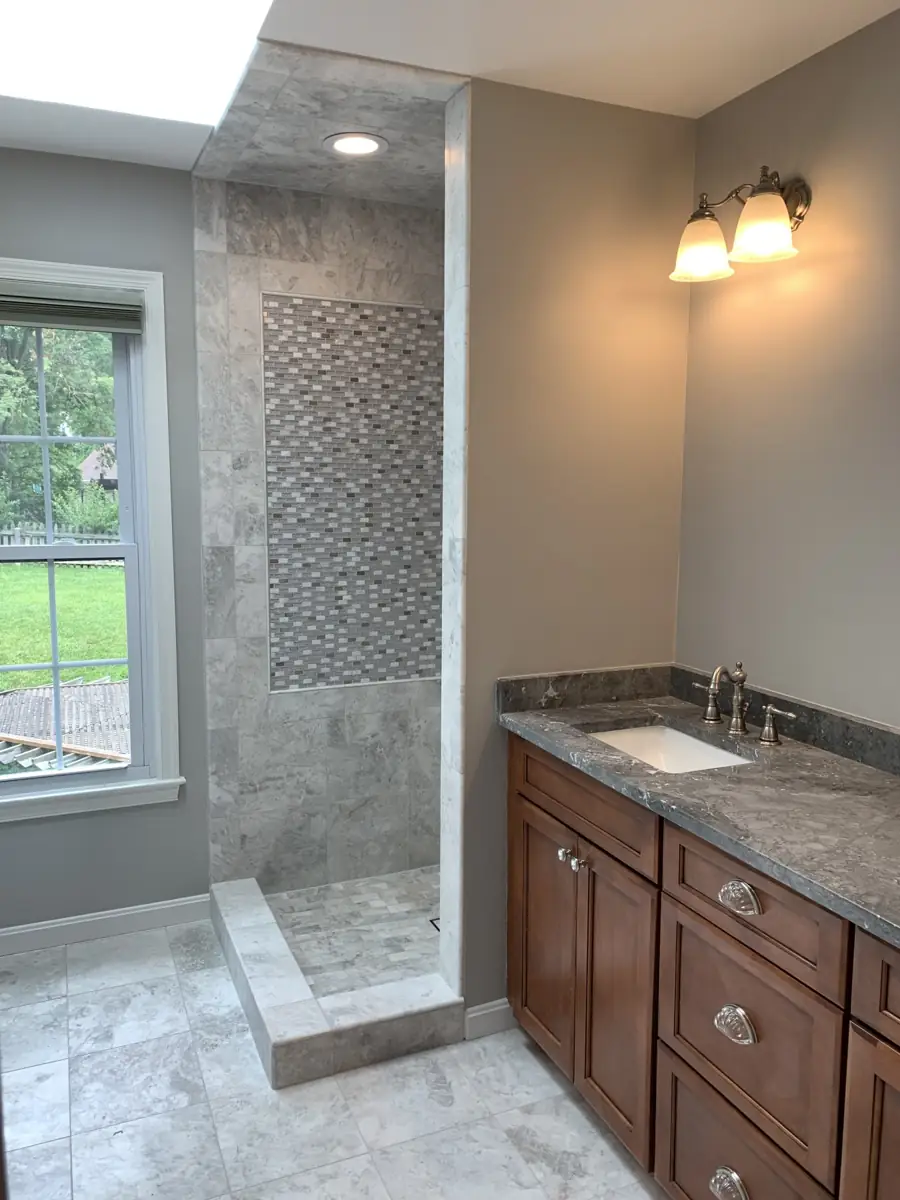
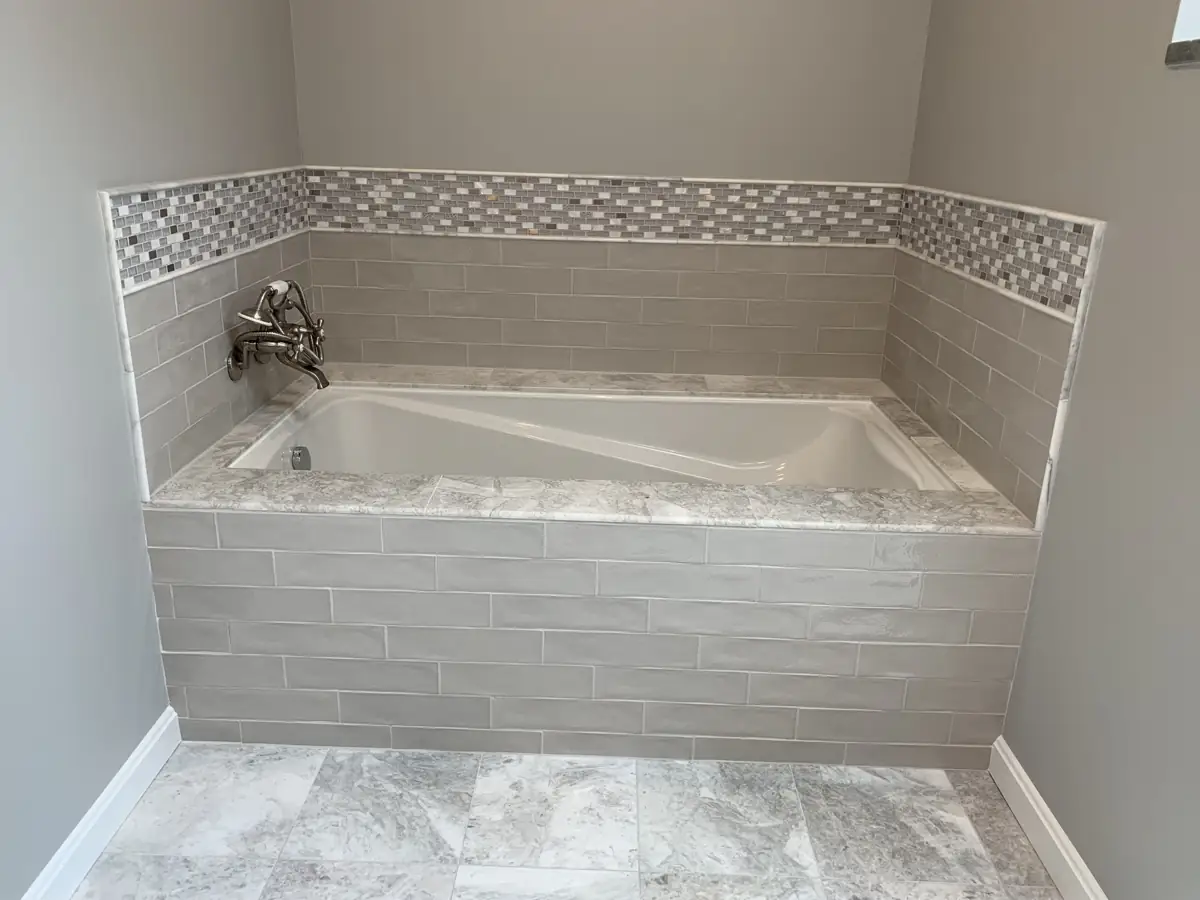
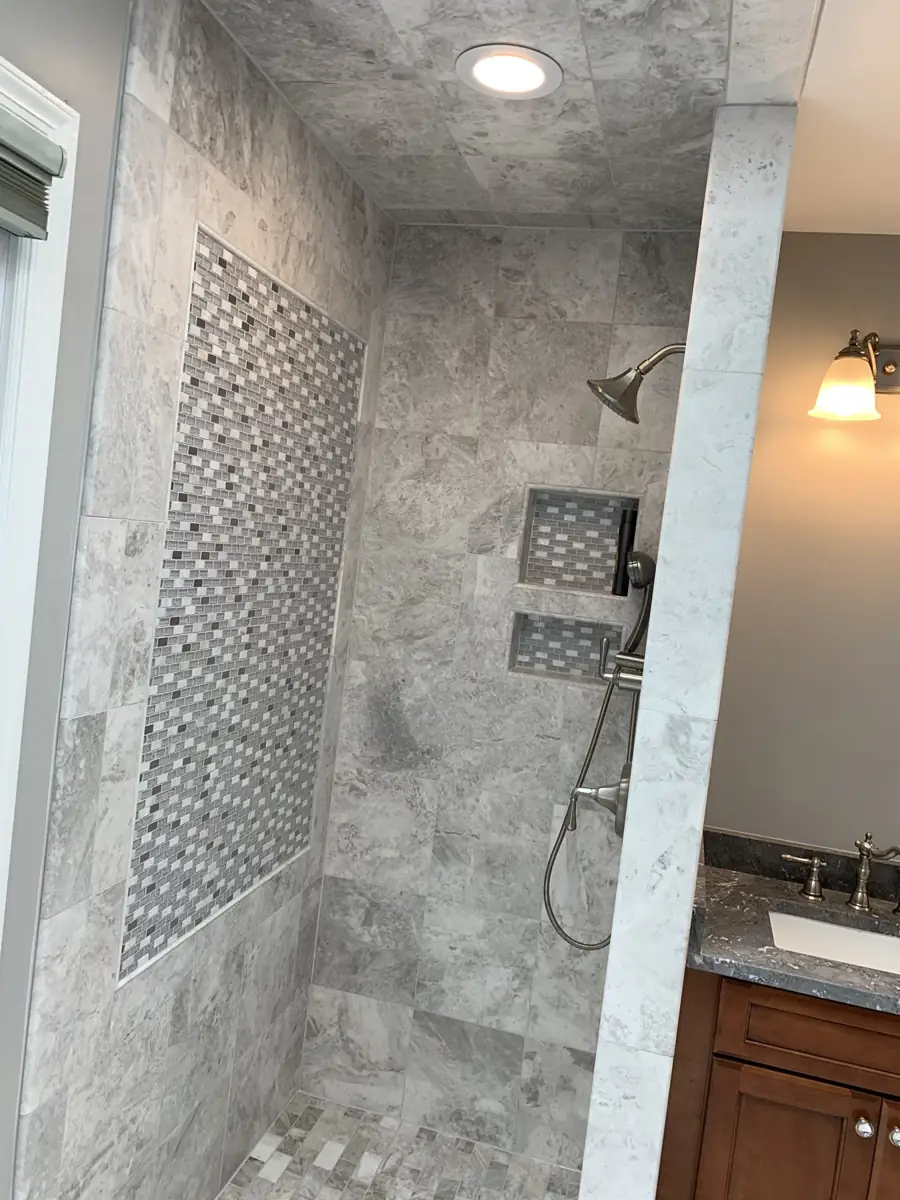
From the existing bathroom through demolition and work in progress to the finished space.
Click a photo to see the larger image.
Old / existing condition
Demolition
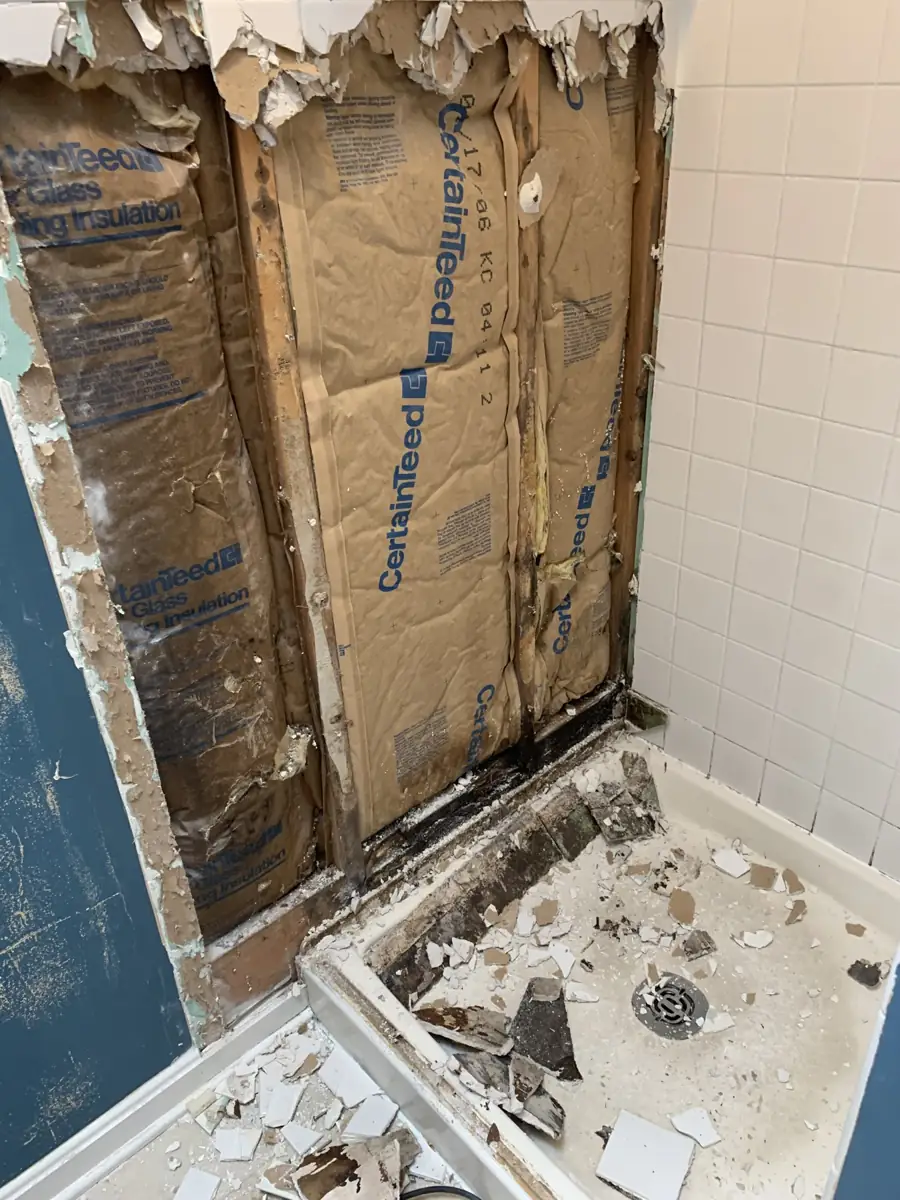
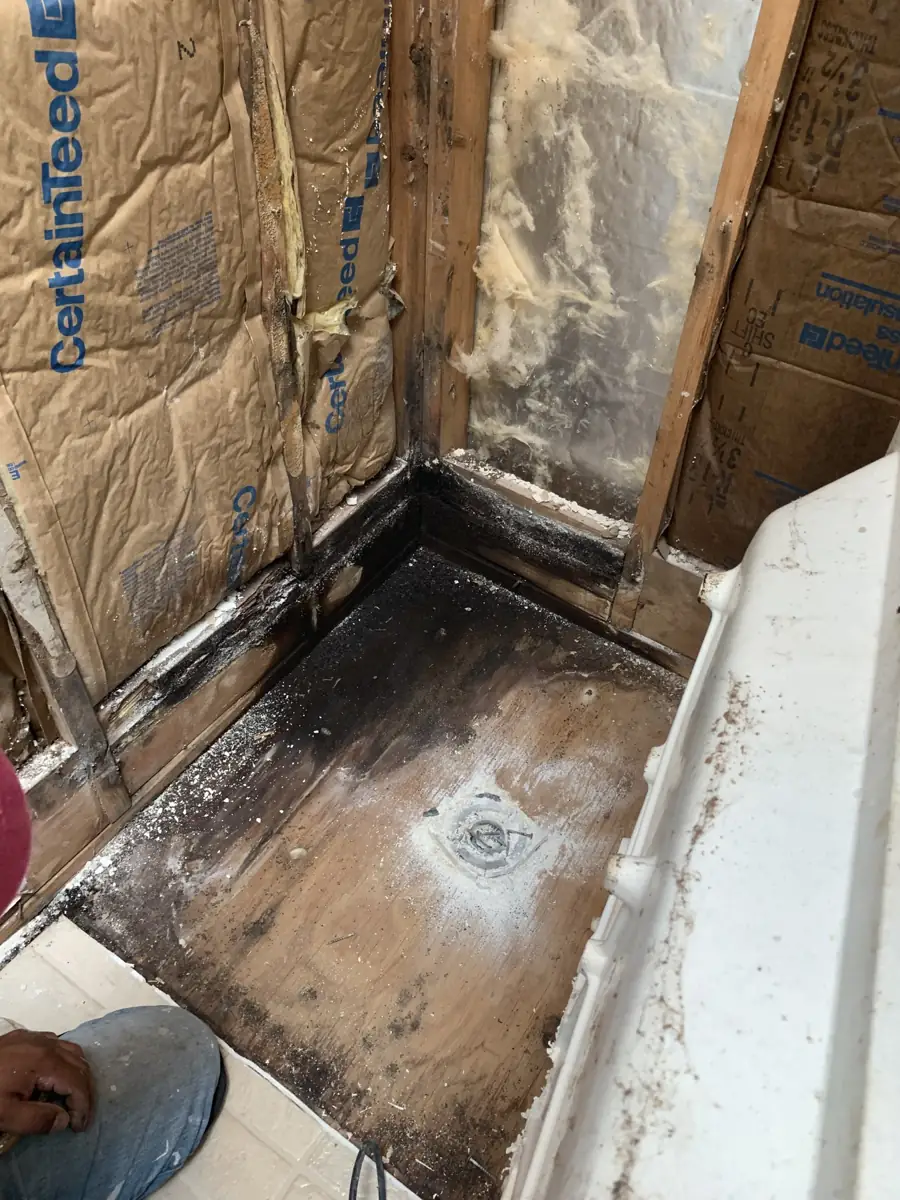
Work in progress
Finished work
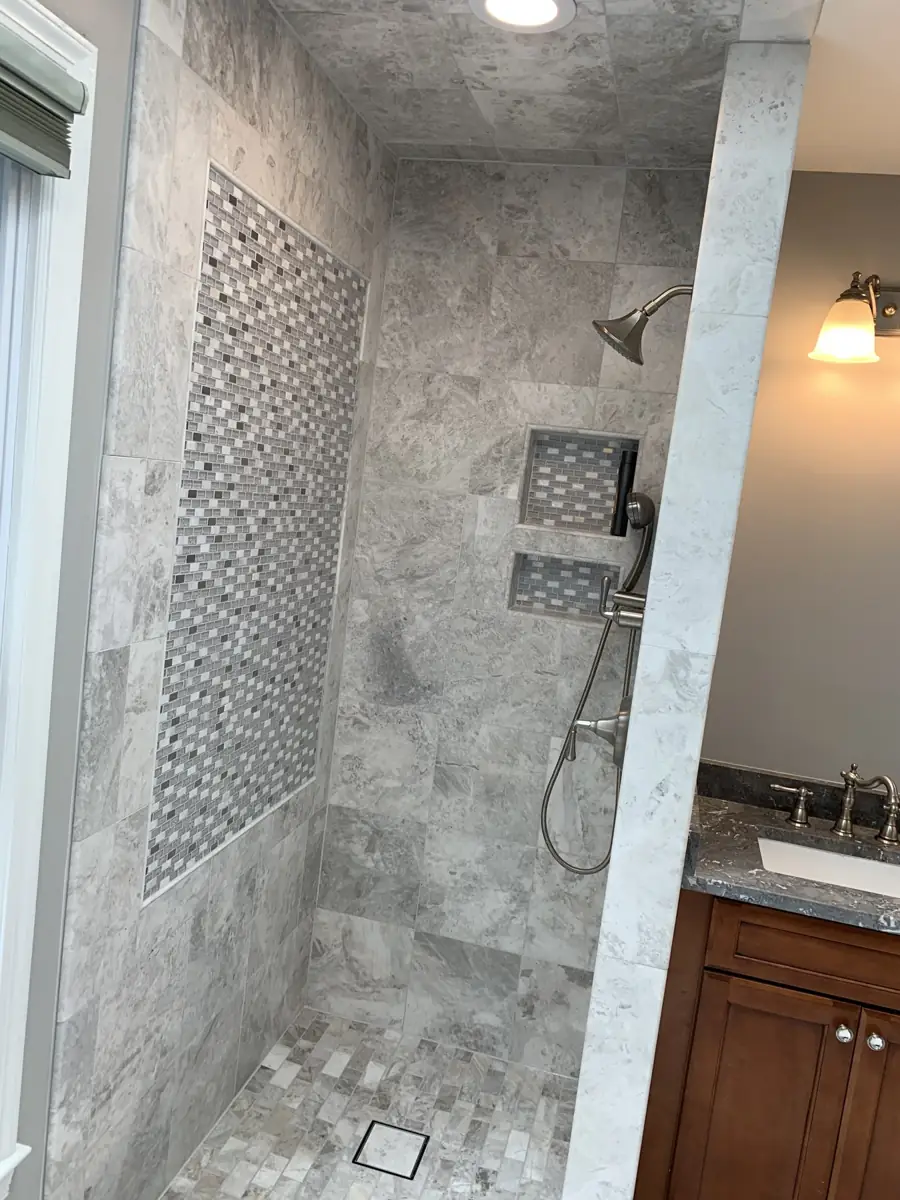
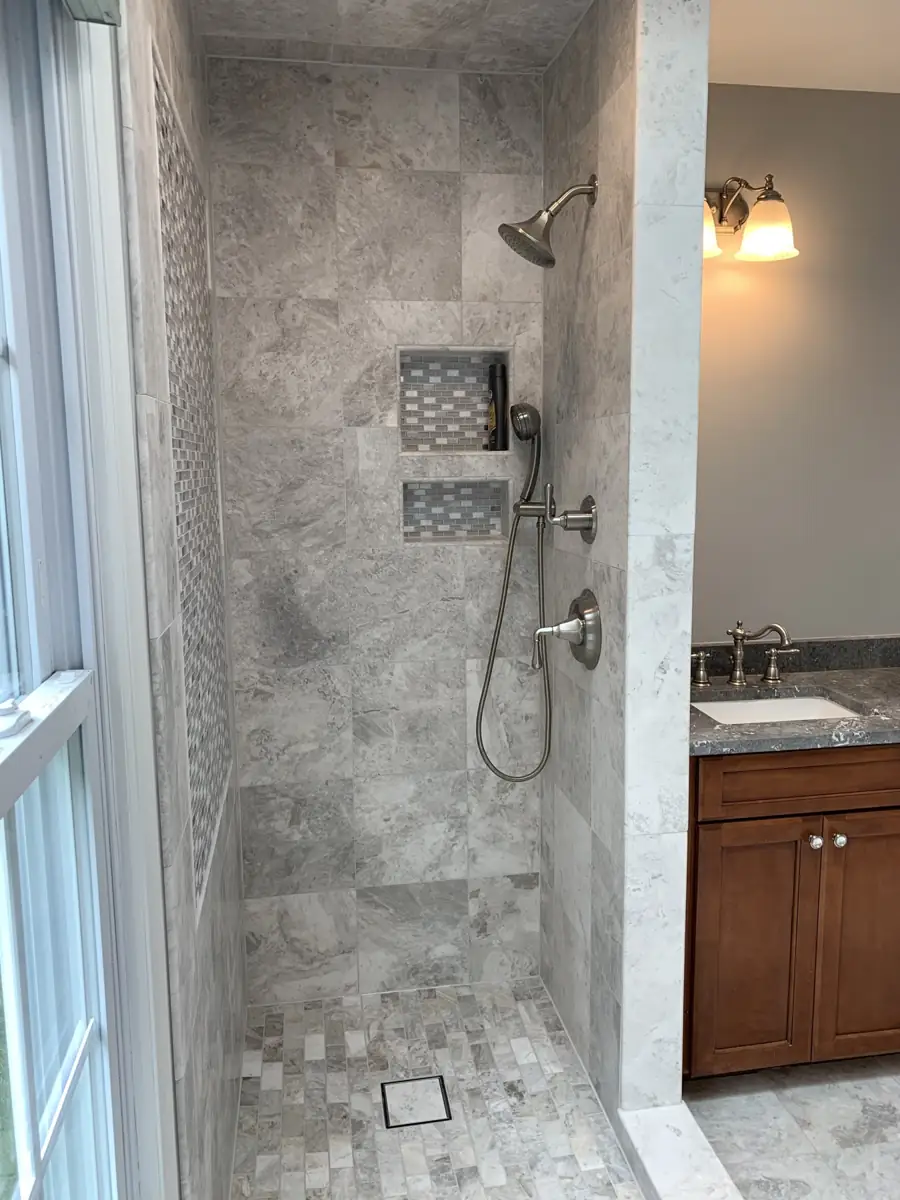
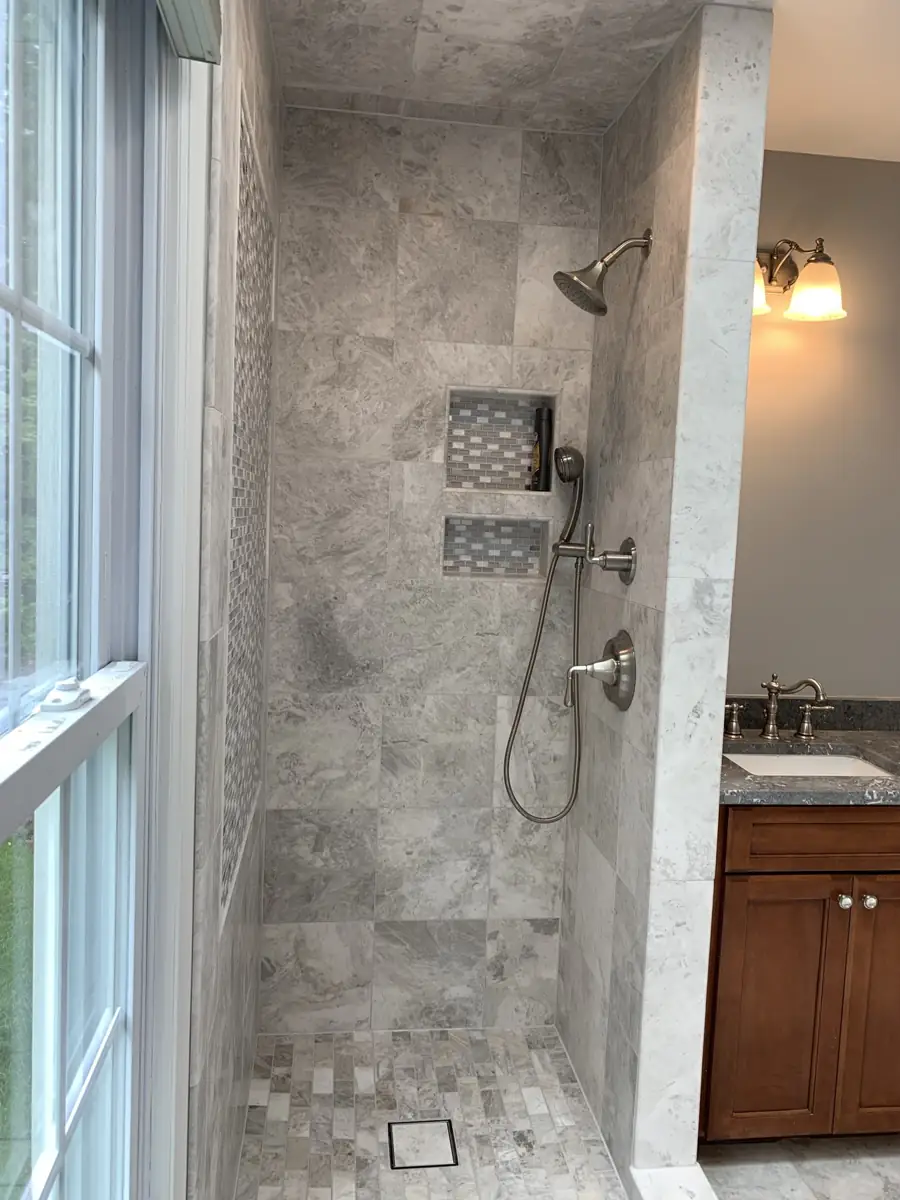
BATHROOM REMODELING
Bathroom expansion
and full remodel
We widened the bathroom to make room for a tub and completed a full remodel. The finished space features a freestanding tub, double vanity, glass-enclosed shower, tile flooring, and updated lighting.
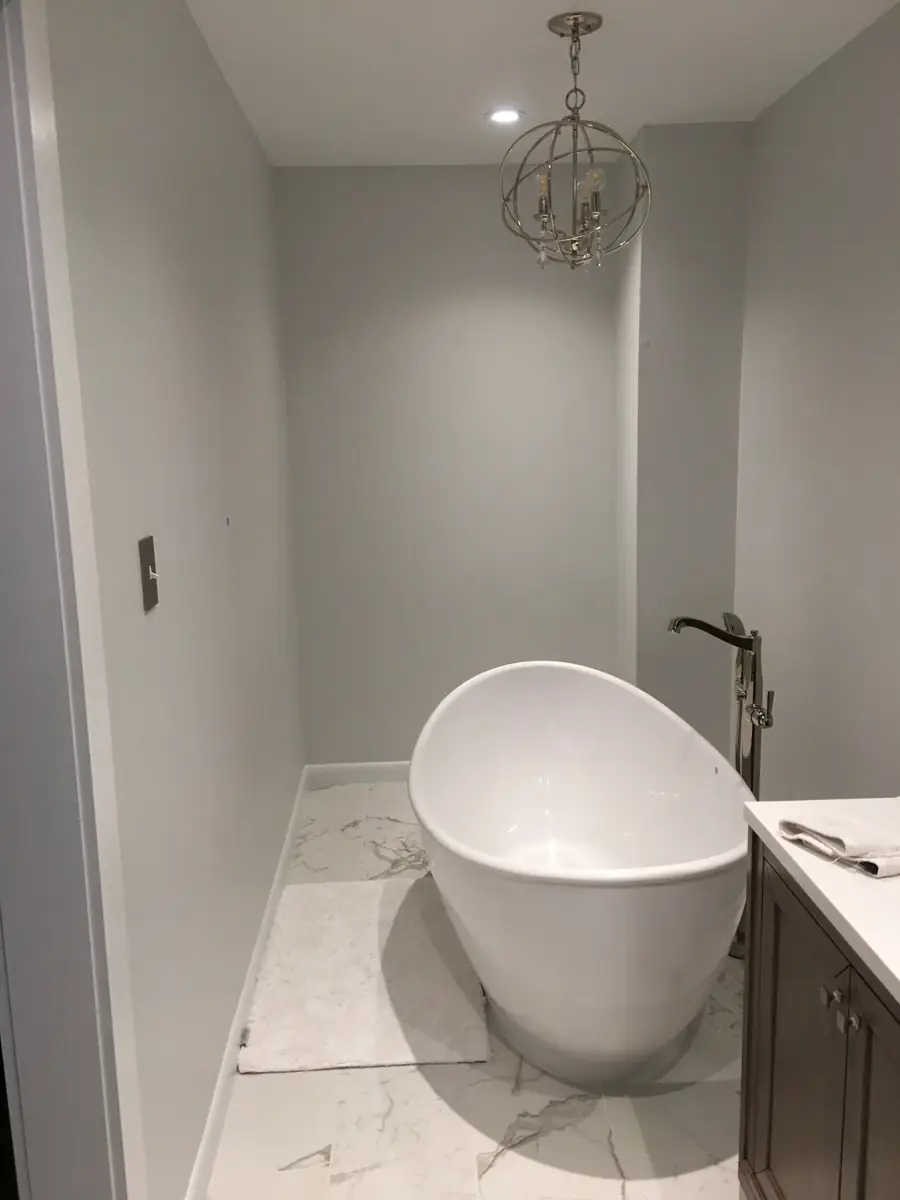
Freestanding tub in the expanded bathroom
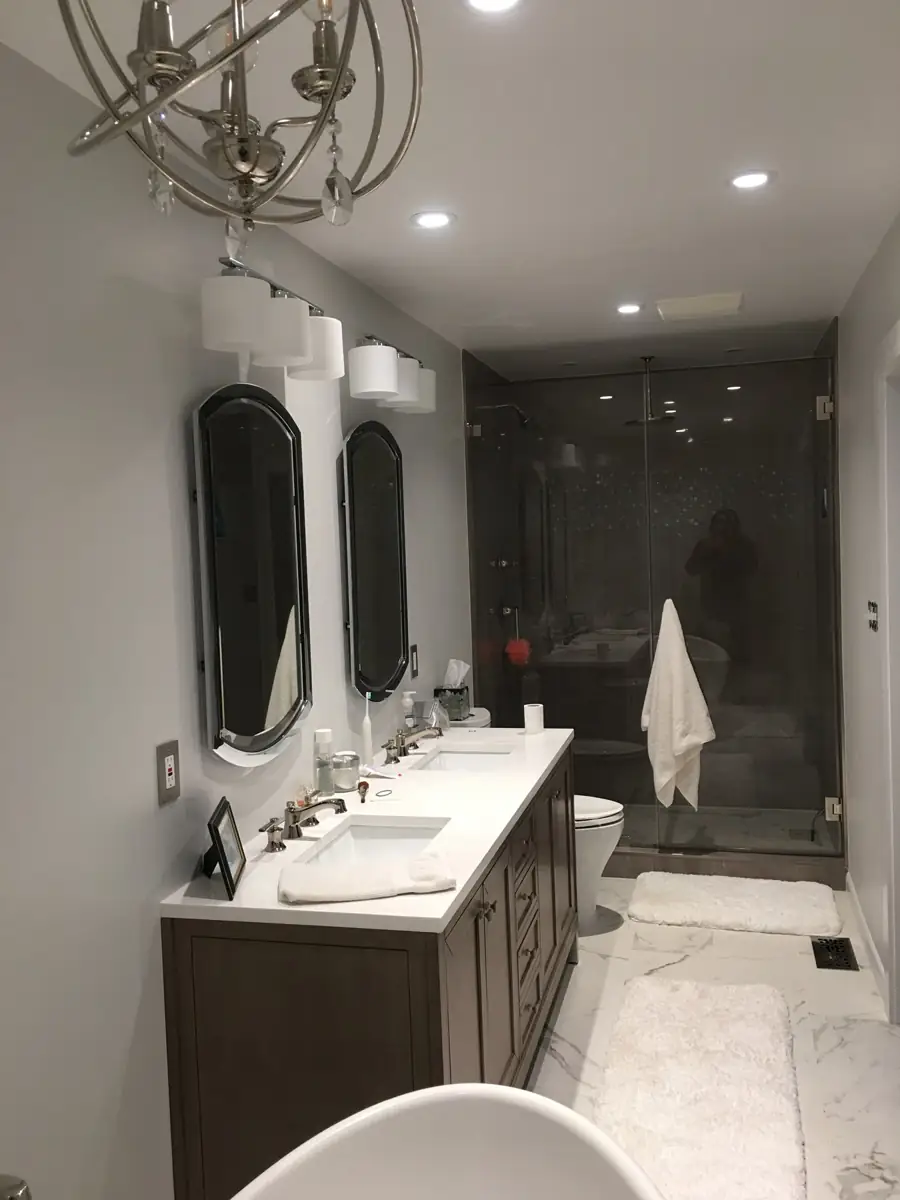
Overall view of the remodeled bathroom
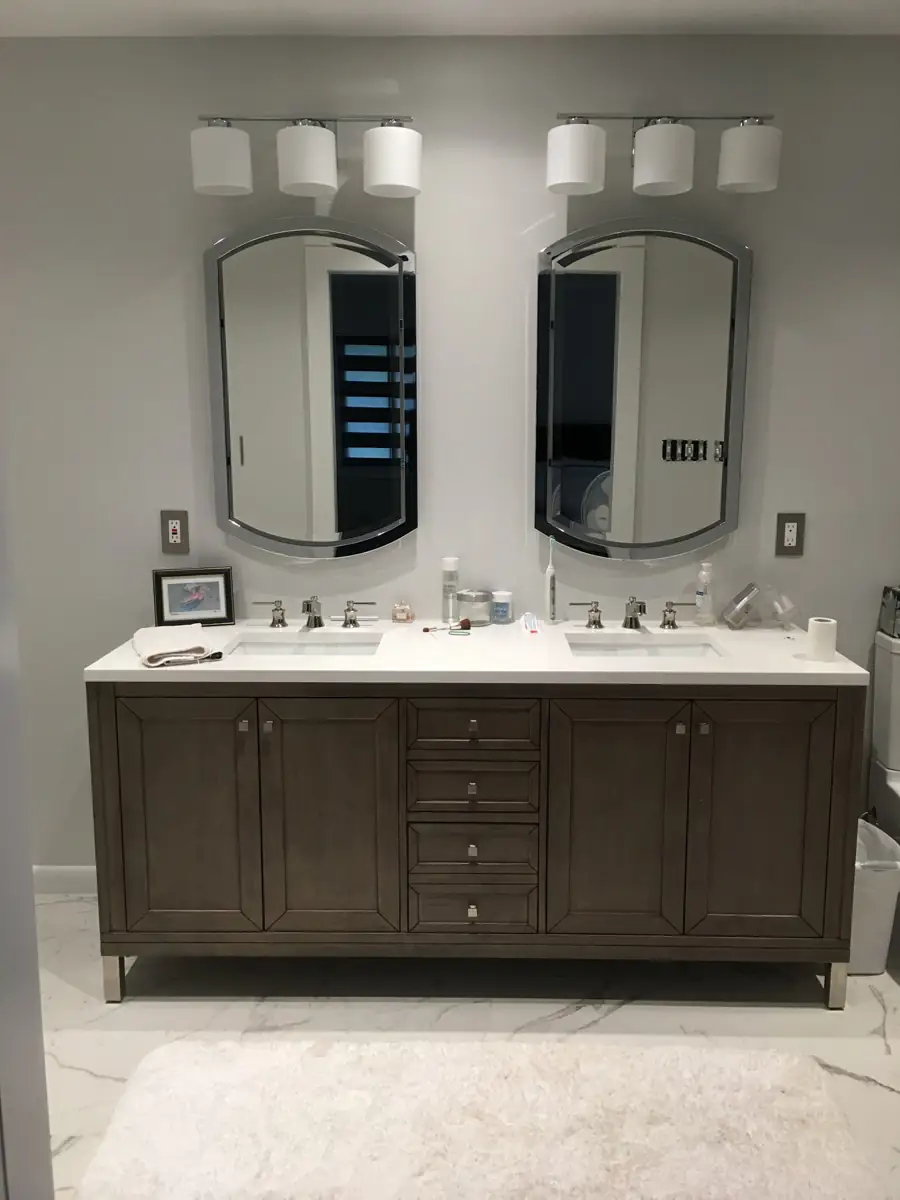
Double vanity, mirrors, and lighting
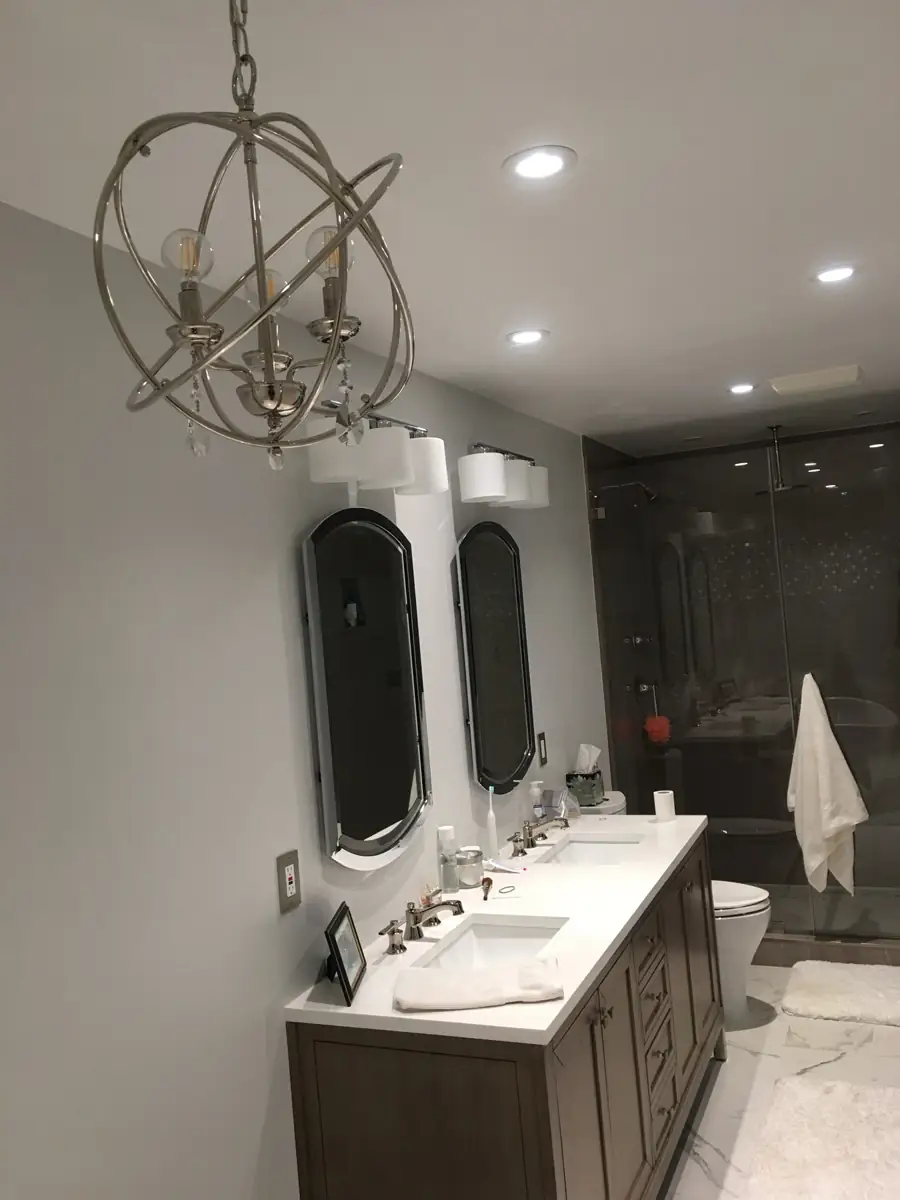
Vanity and ceiling lighting
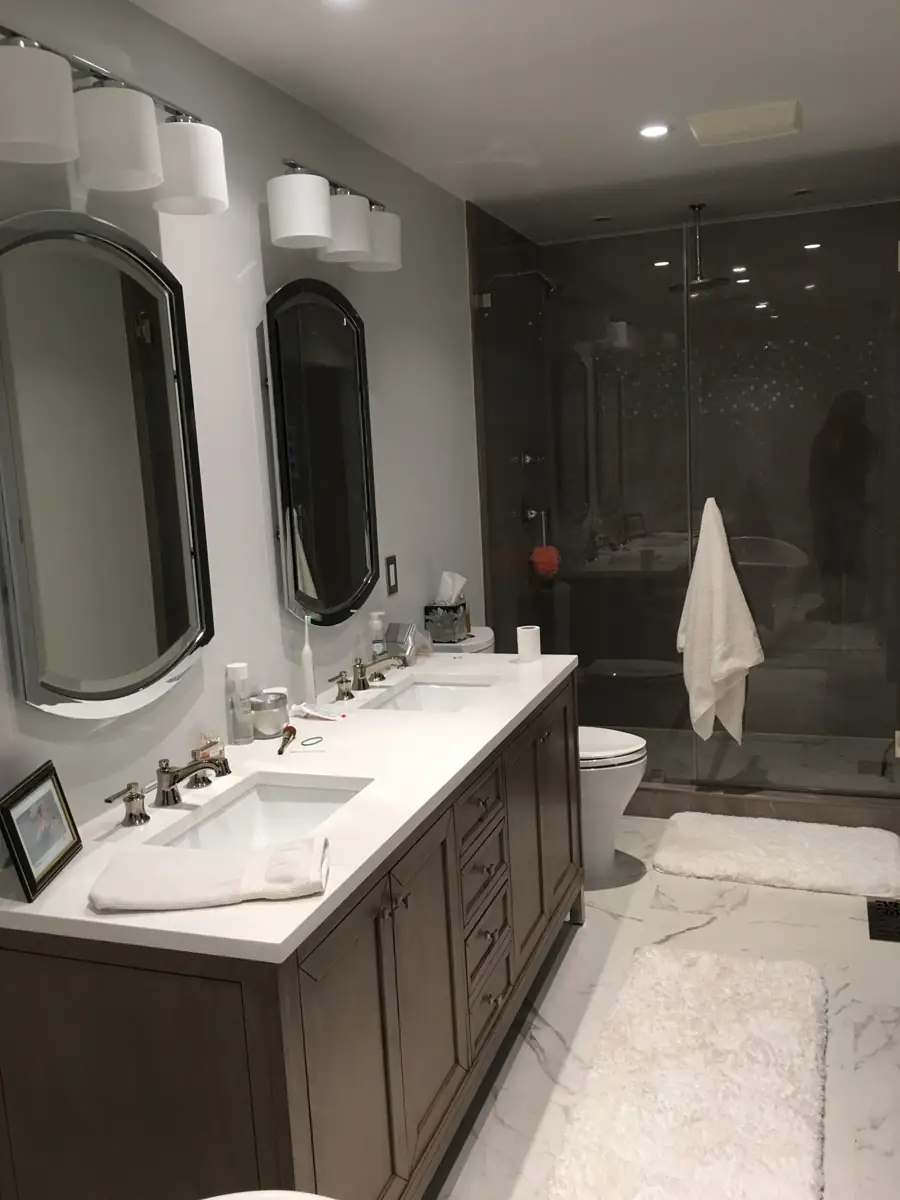
Vanity and tiled floor
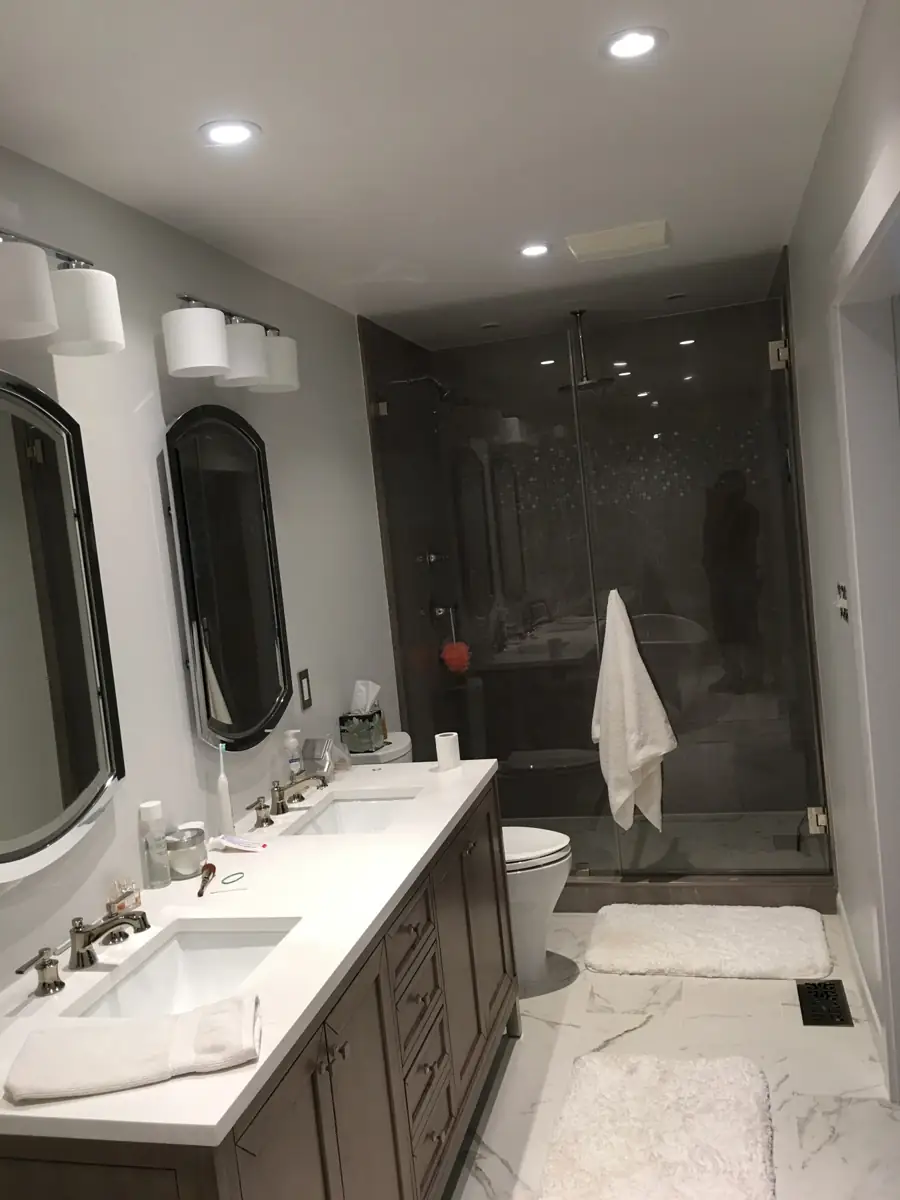
Glass shower enclosure and bathroom layout
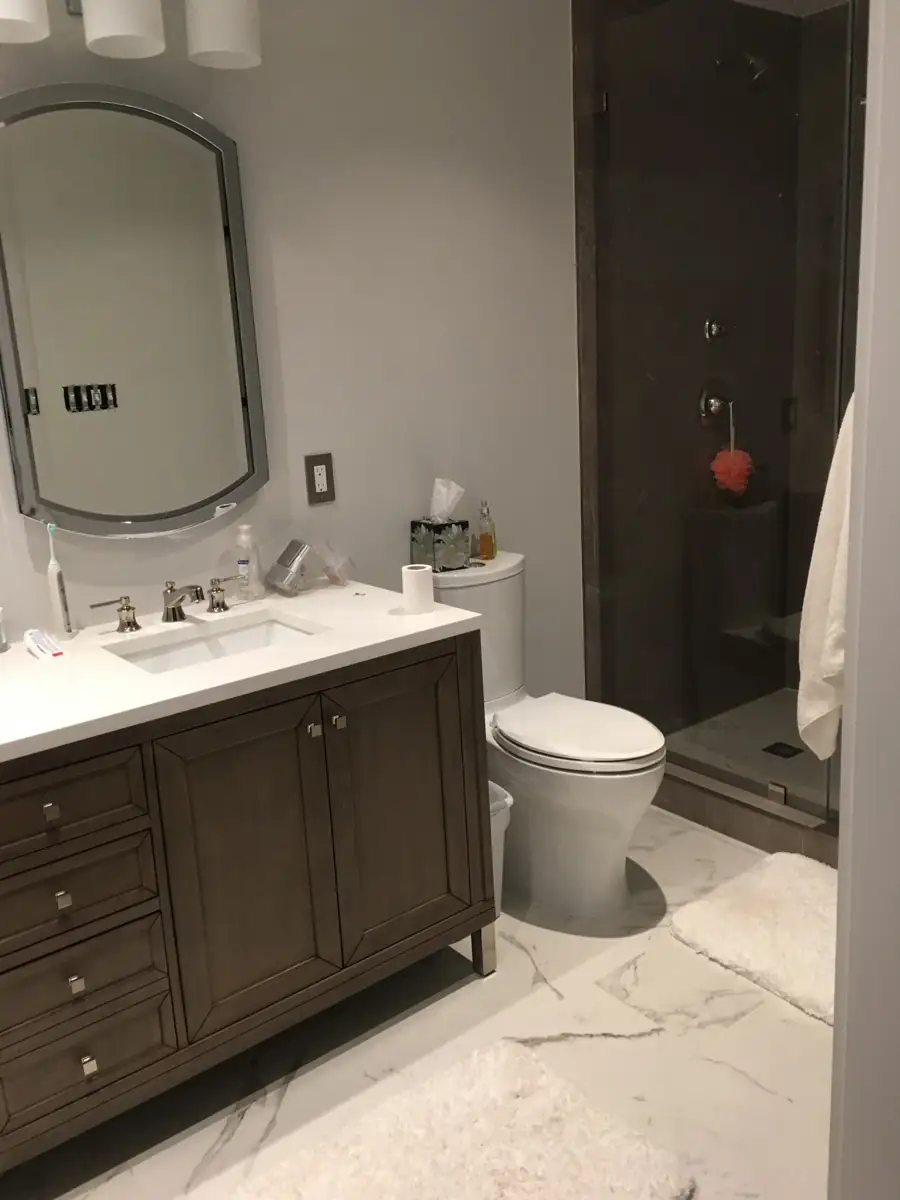
Vanity, toilet, and shower detail
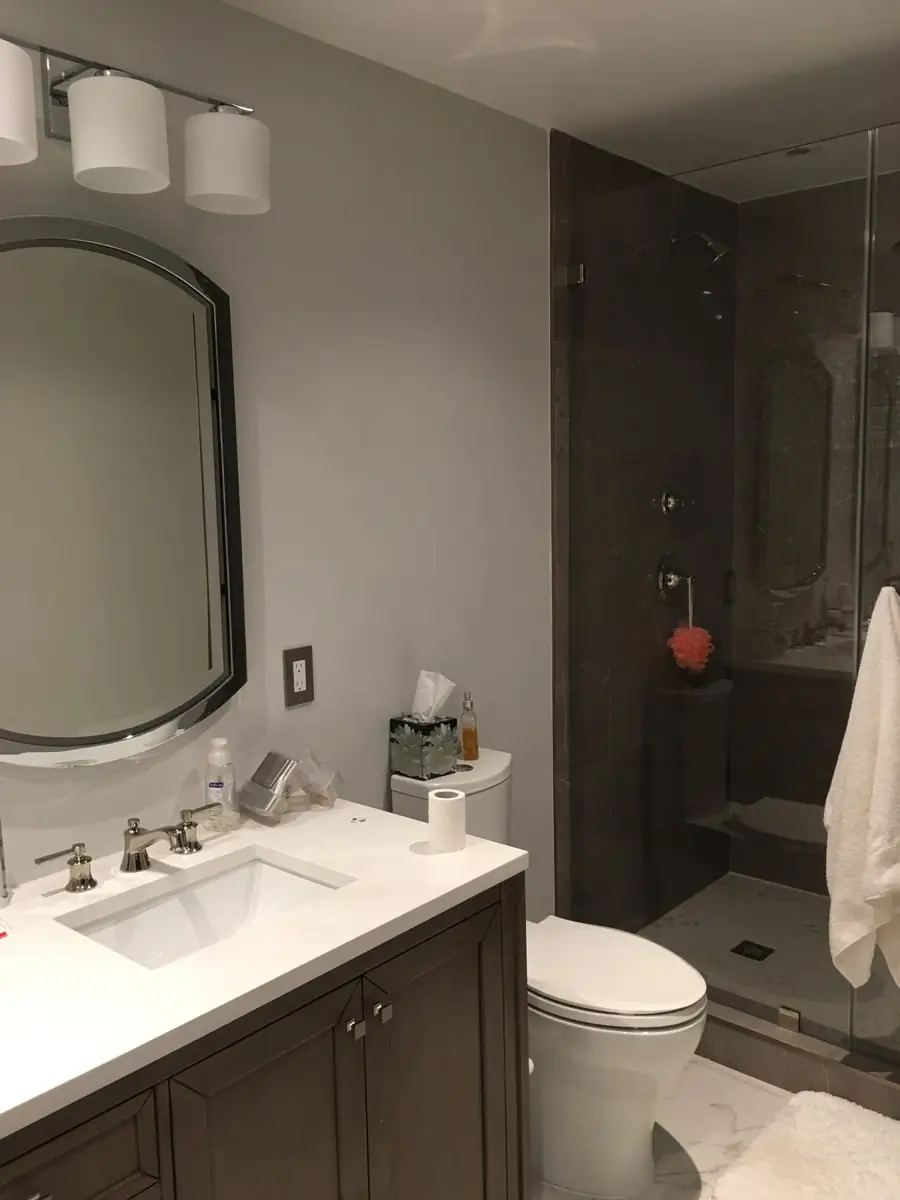
Shower fixtures and tile detail
BATHROOM REMODELING
From framing to
a finished bathroom
A bathroom remodel featuring a double vanity, framed mirrors, updated lighting, and a glass-enclosed shower with mosaic tile accents. Follow the plumbing and framing work through to the finished space.
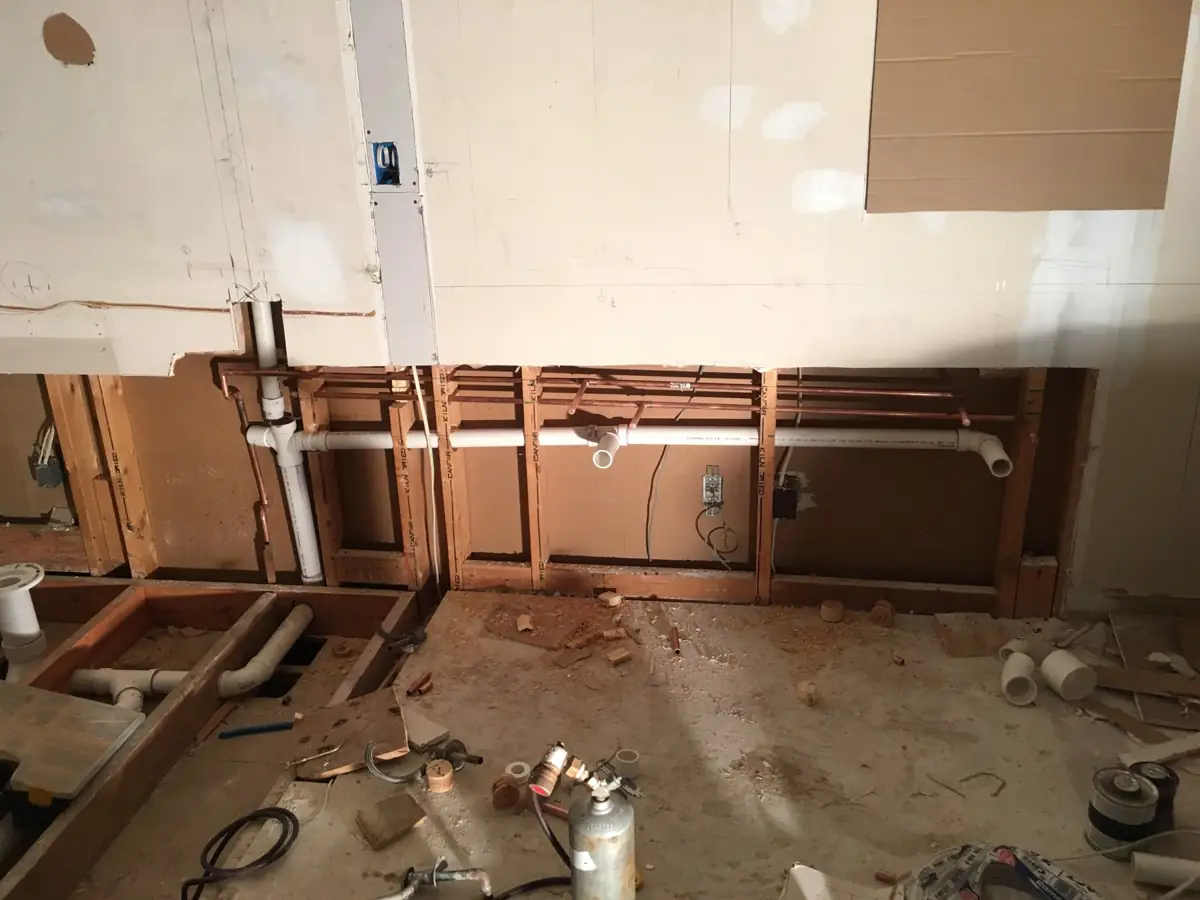
Exposed vanity plumbing and wall framing
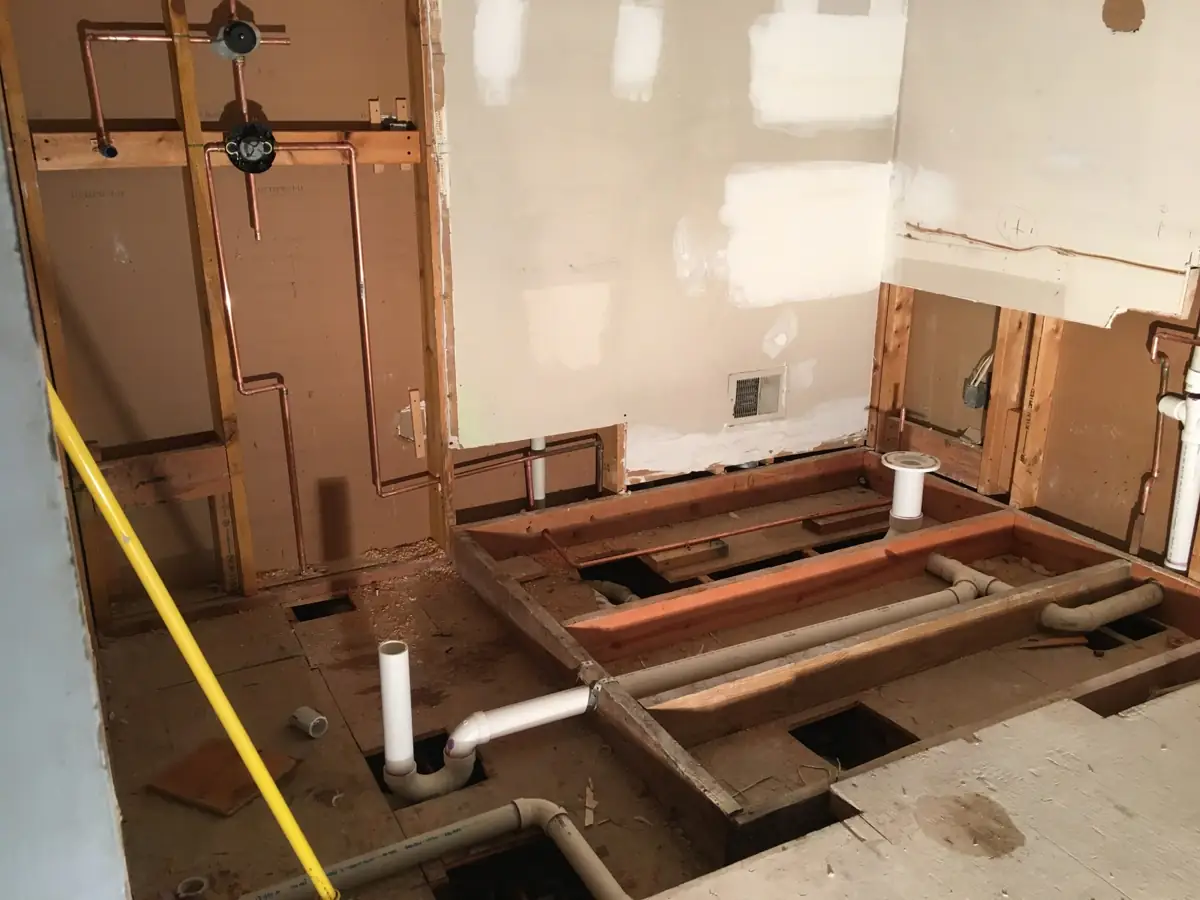
Shower plumbing and open floor framing
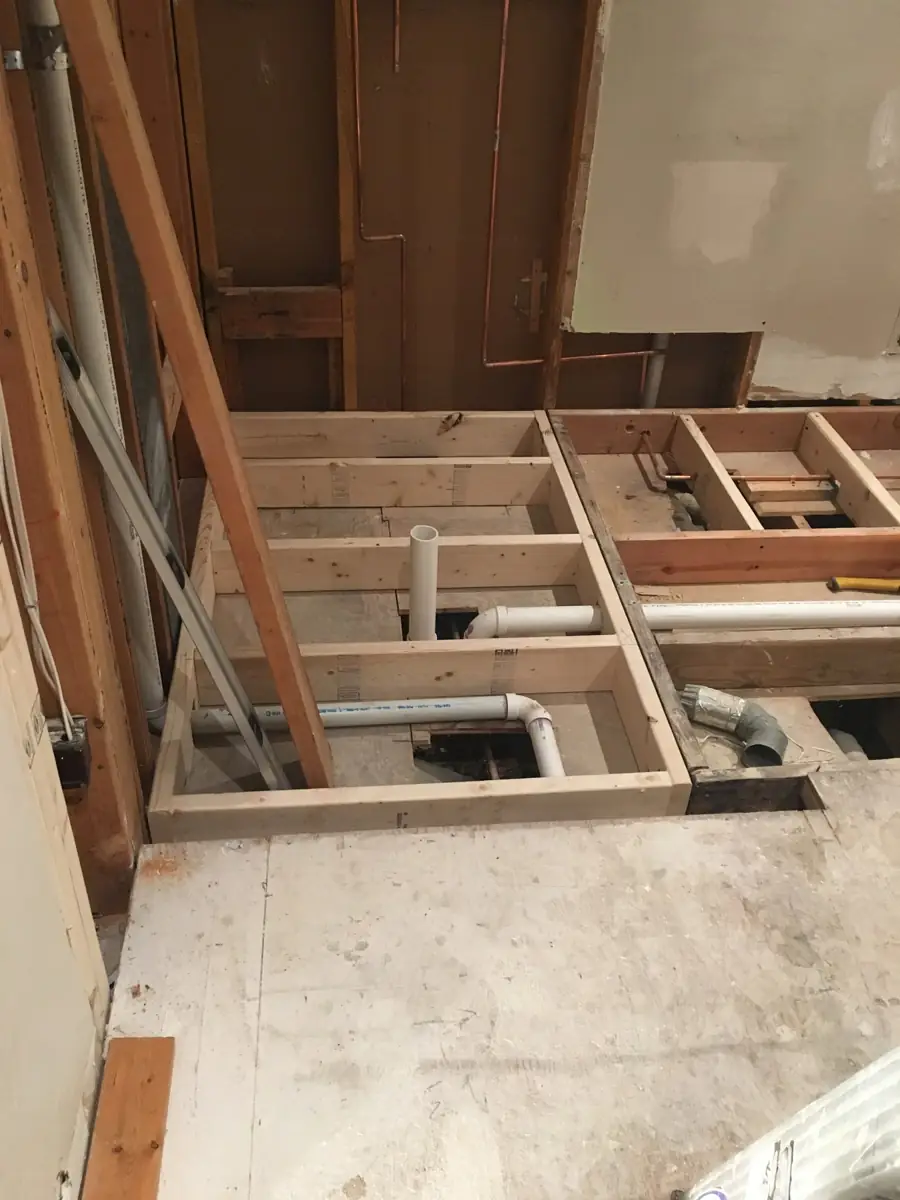
Additional floor framing around the plumbing
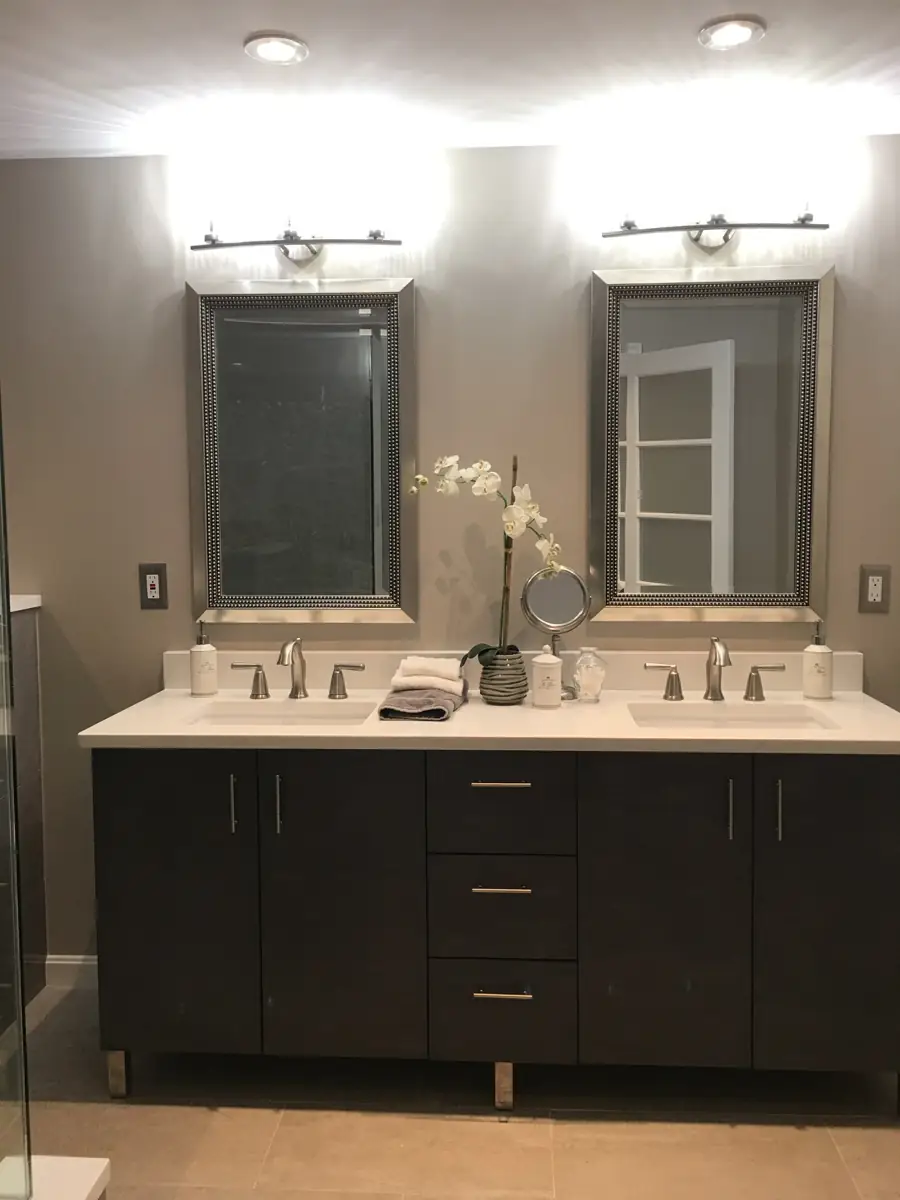
Double vanity with framed mirrors and updated lighting
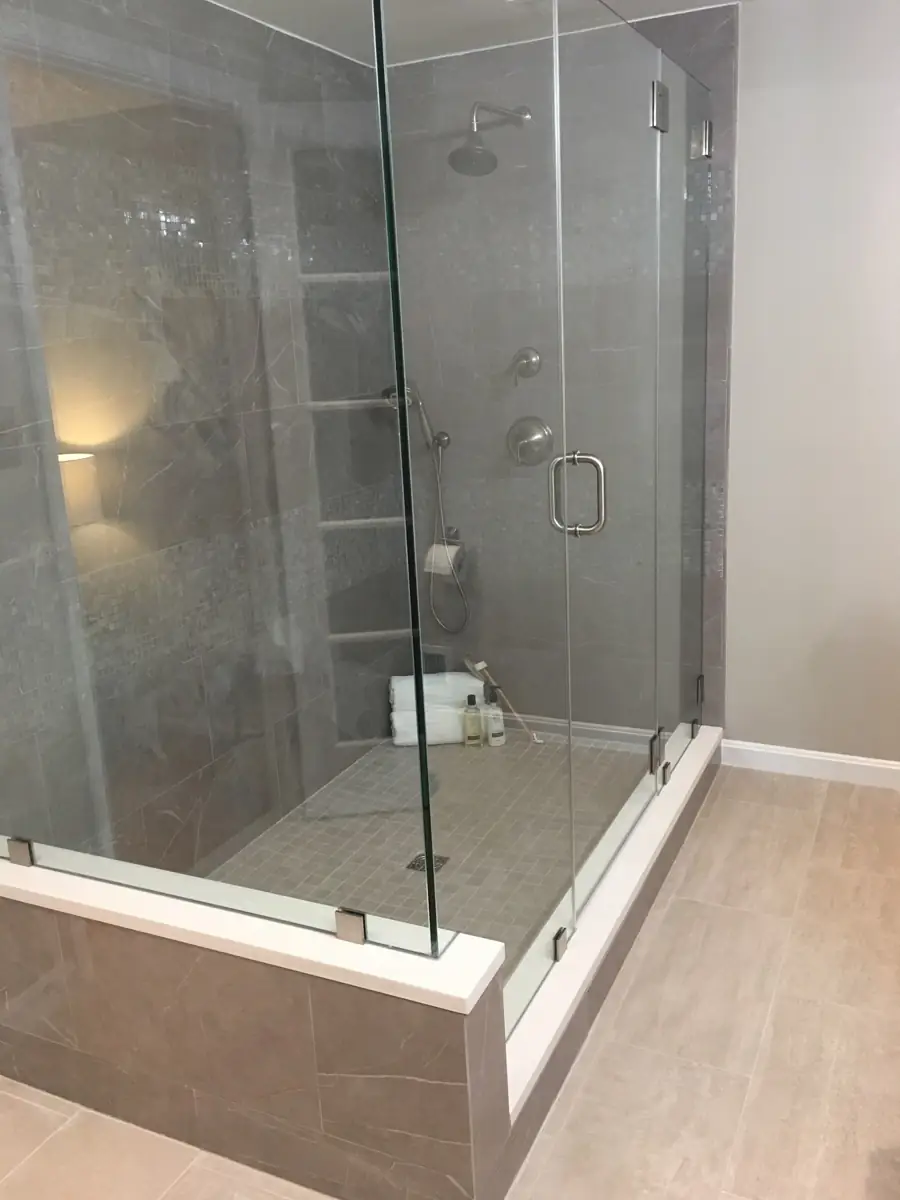
Glass-enclosed shower with mosaic tile accents
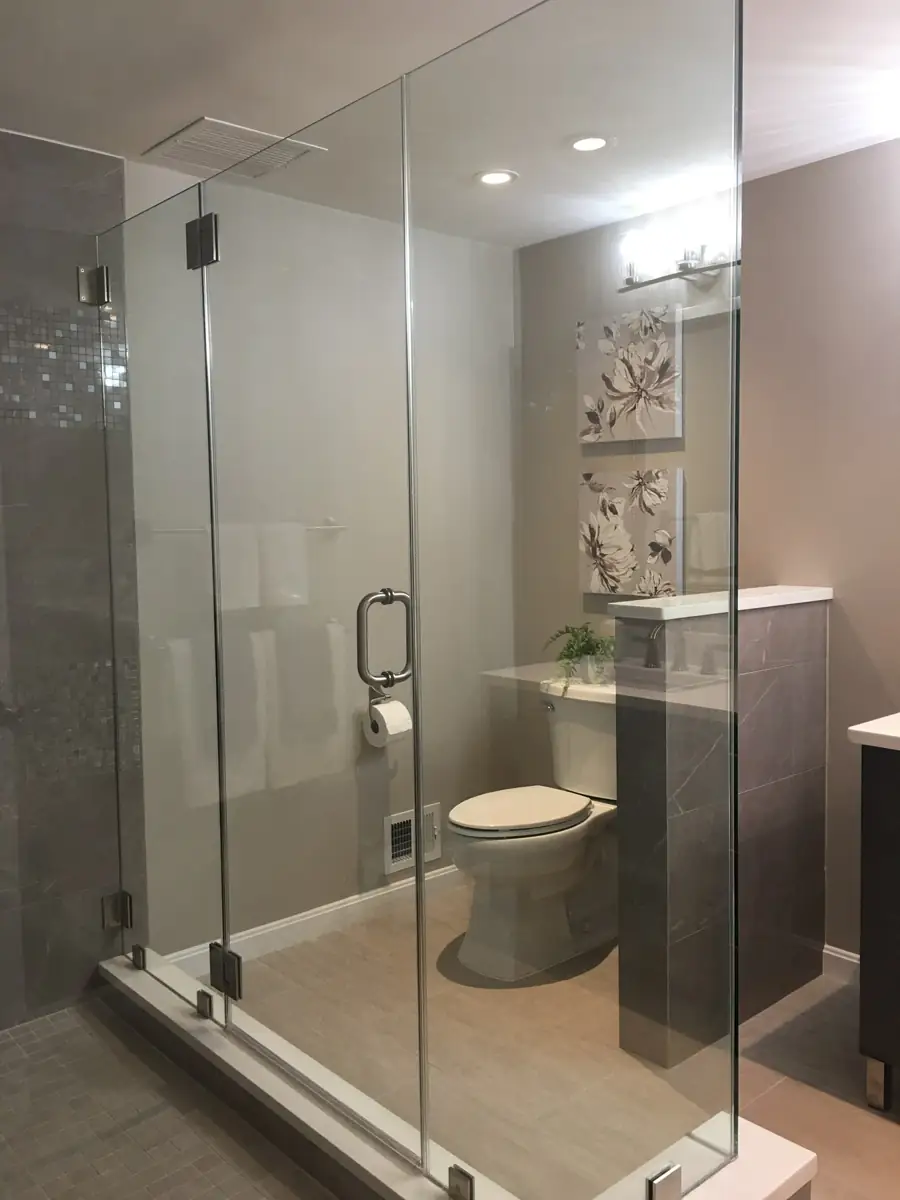
Finished shower enclosure and tiled partition
FULL BATHROOM REMODEL
A full bath remodel
with dark grout & fixtures
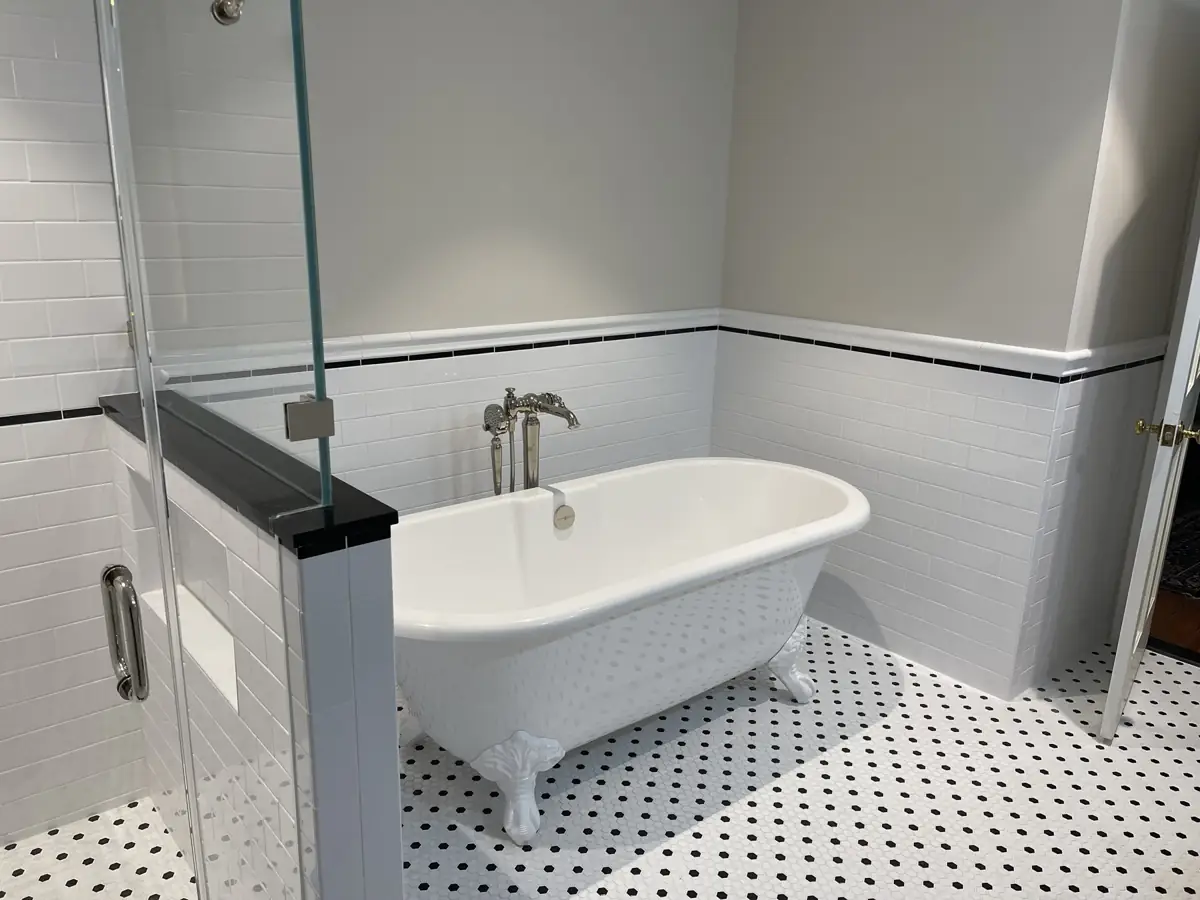
CHI completed this full bathroom remodel with white wall tile and contrasting dark grout, dark plumbing and lighting fixtures, a recessed shower niche, a vanity with a round mirror, and mosaic tile flooring.
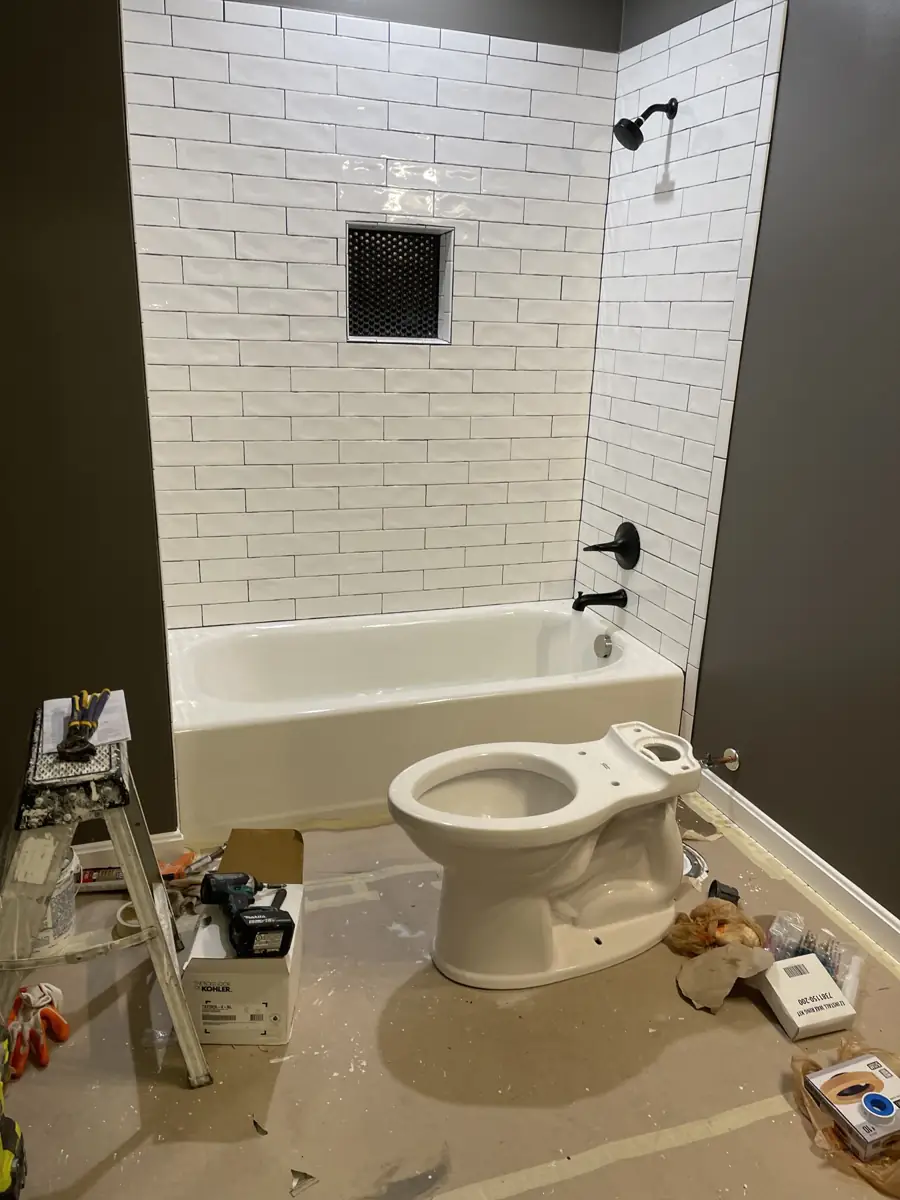
Tub surround and dark fixtures during installation
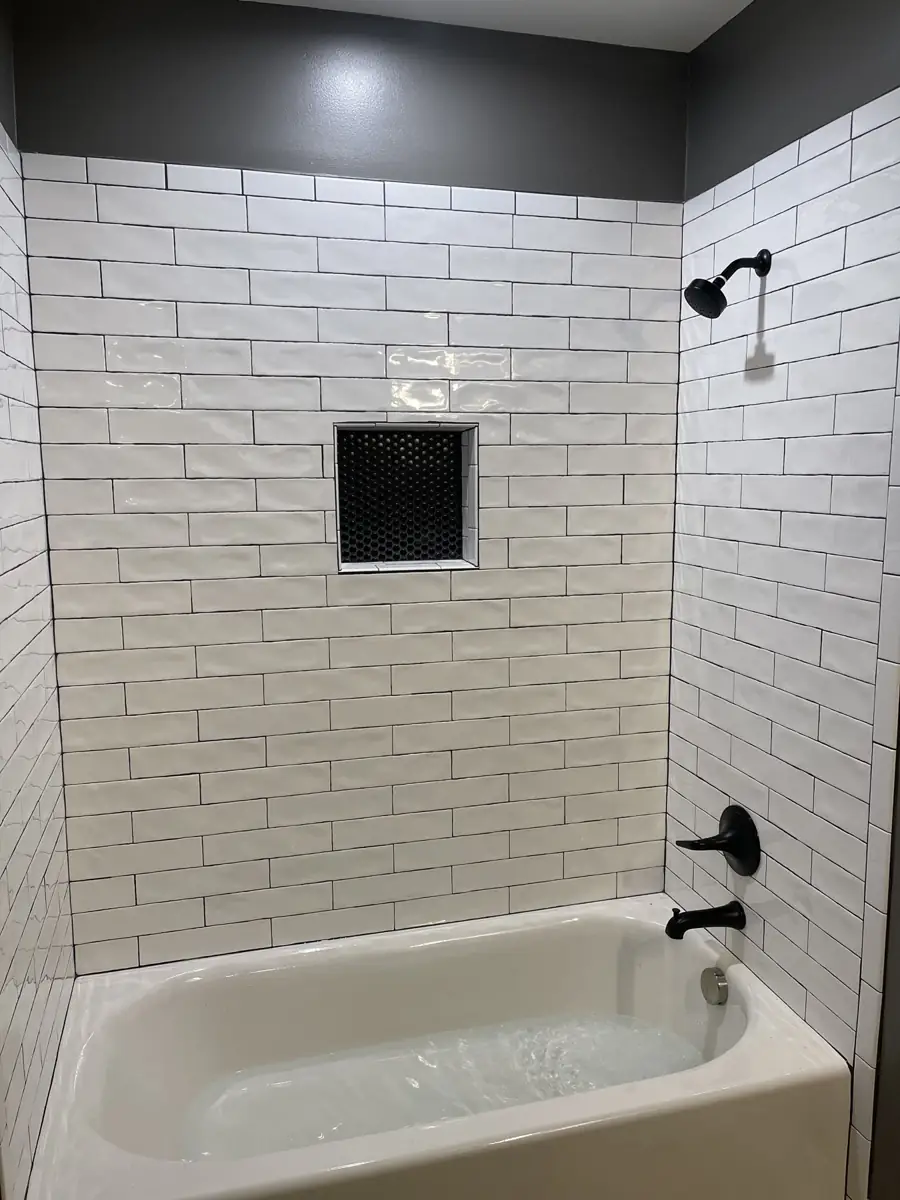
White wall tile with dark grout, a recessed niche, and dark tub and shower fixtures
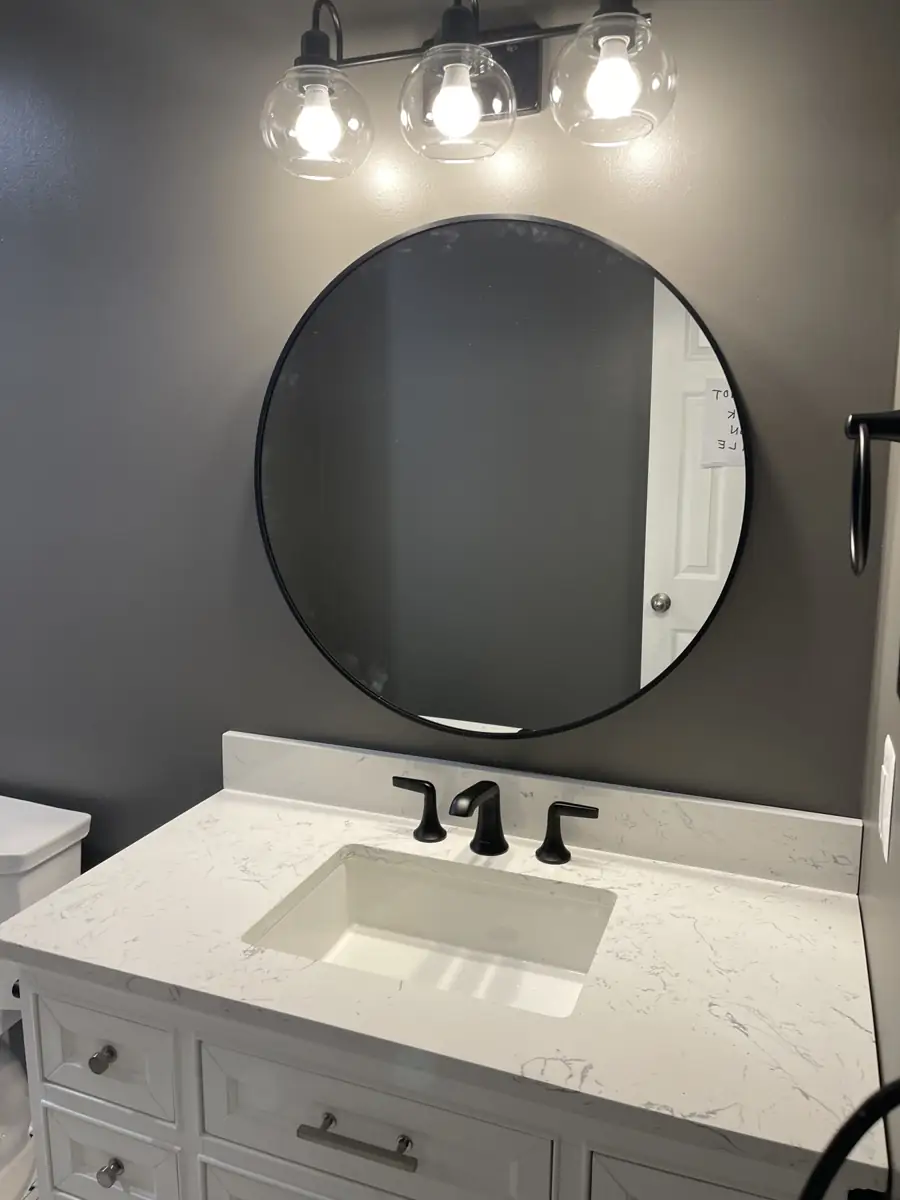
Vanity with dark faucet, round mirror, and matching light fixture
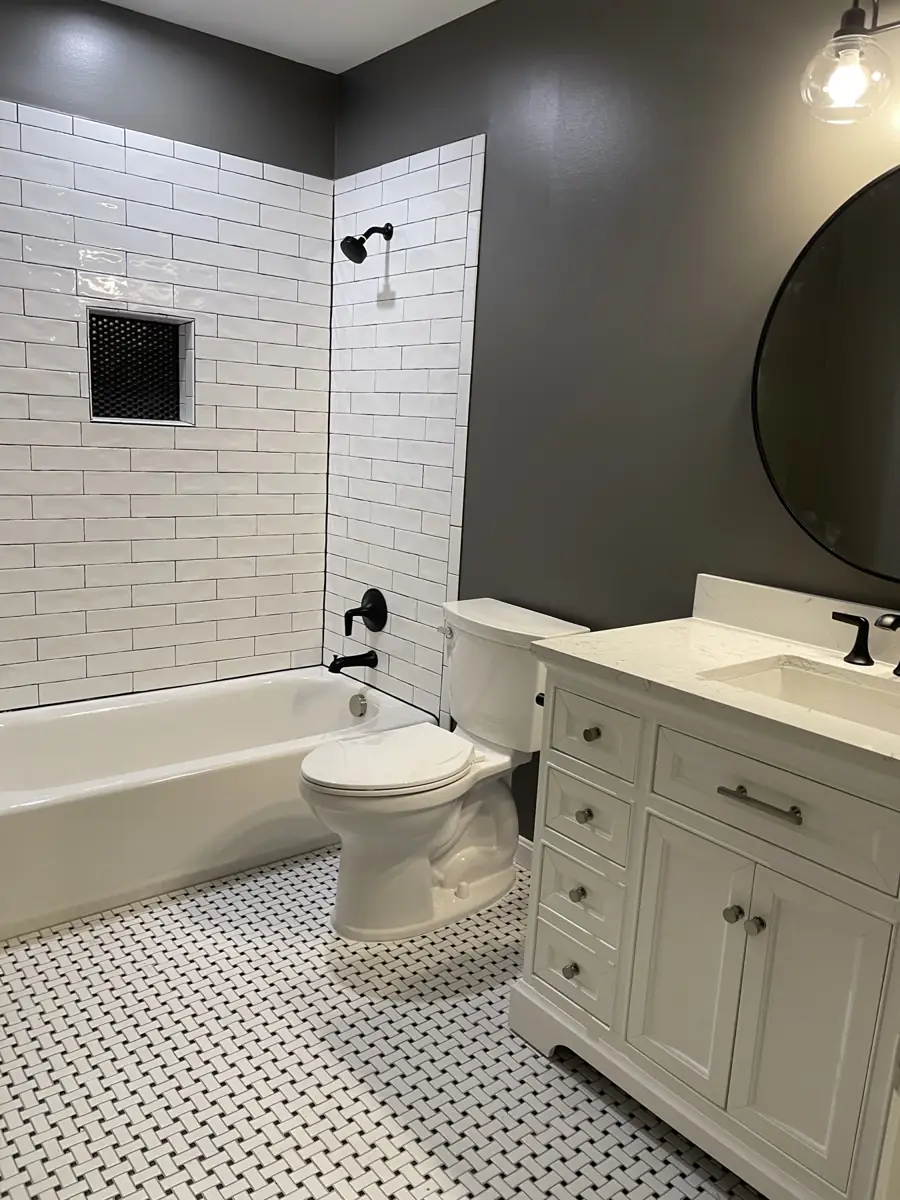
Finished bathroom with tiled tub surround, vanity, and mosaic floor
BATHROOM REMODELING
A custom shower
with a niche & handheld showerhead
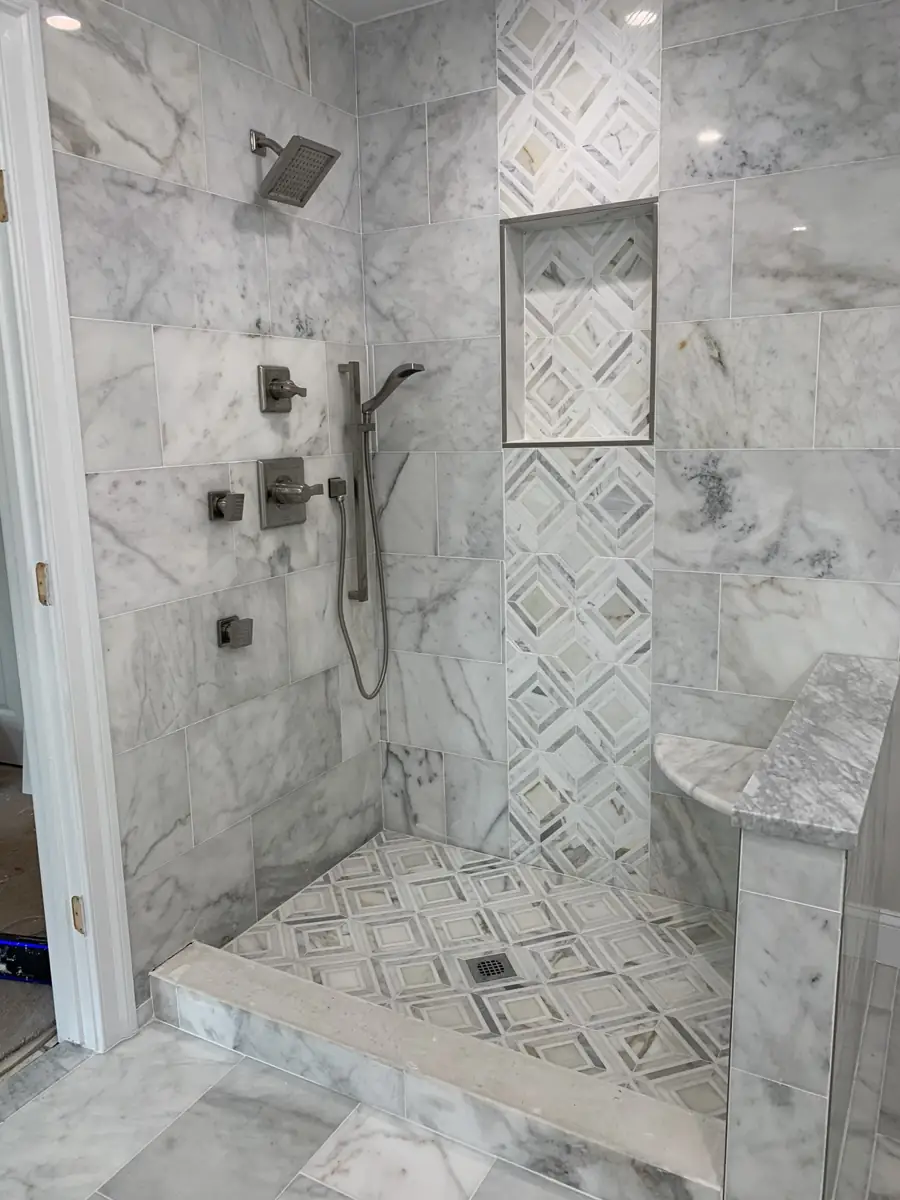
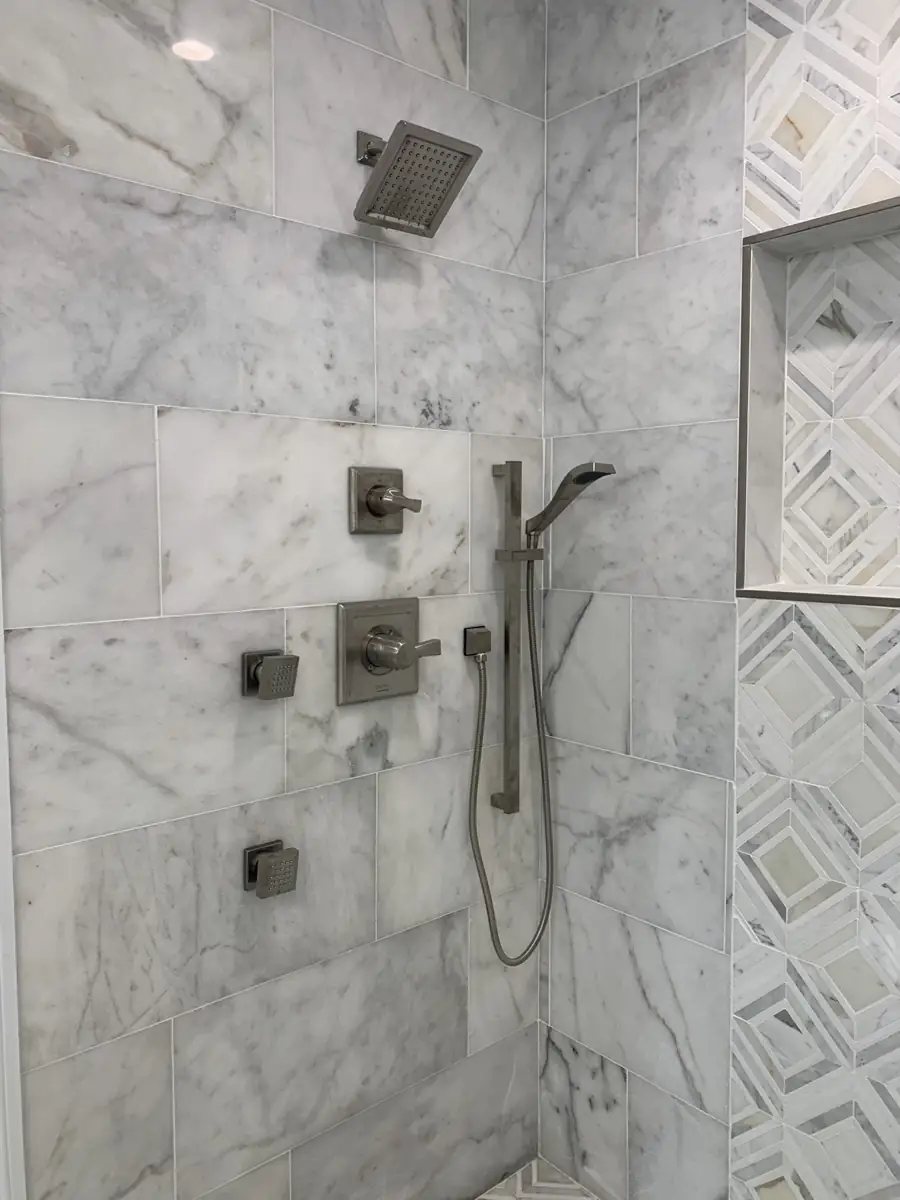
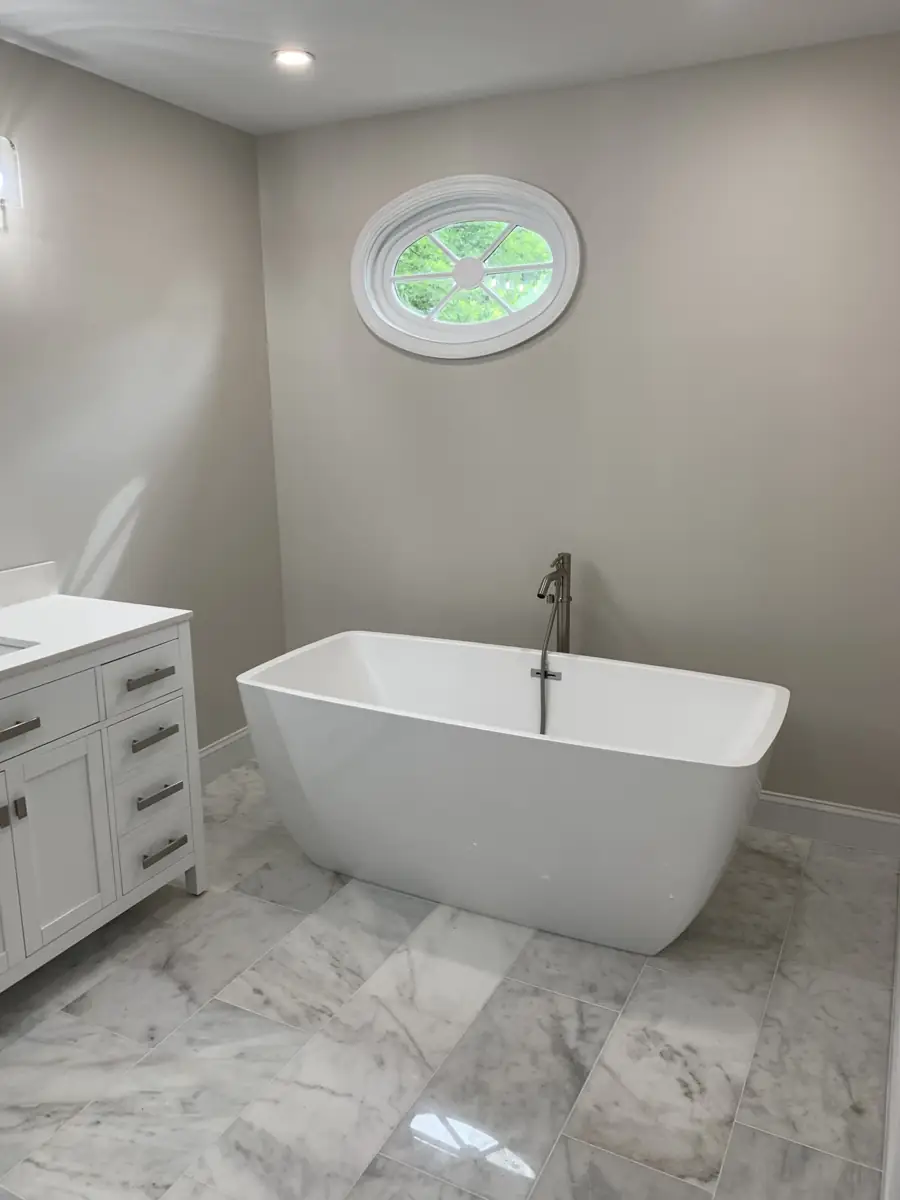
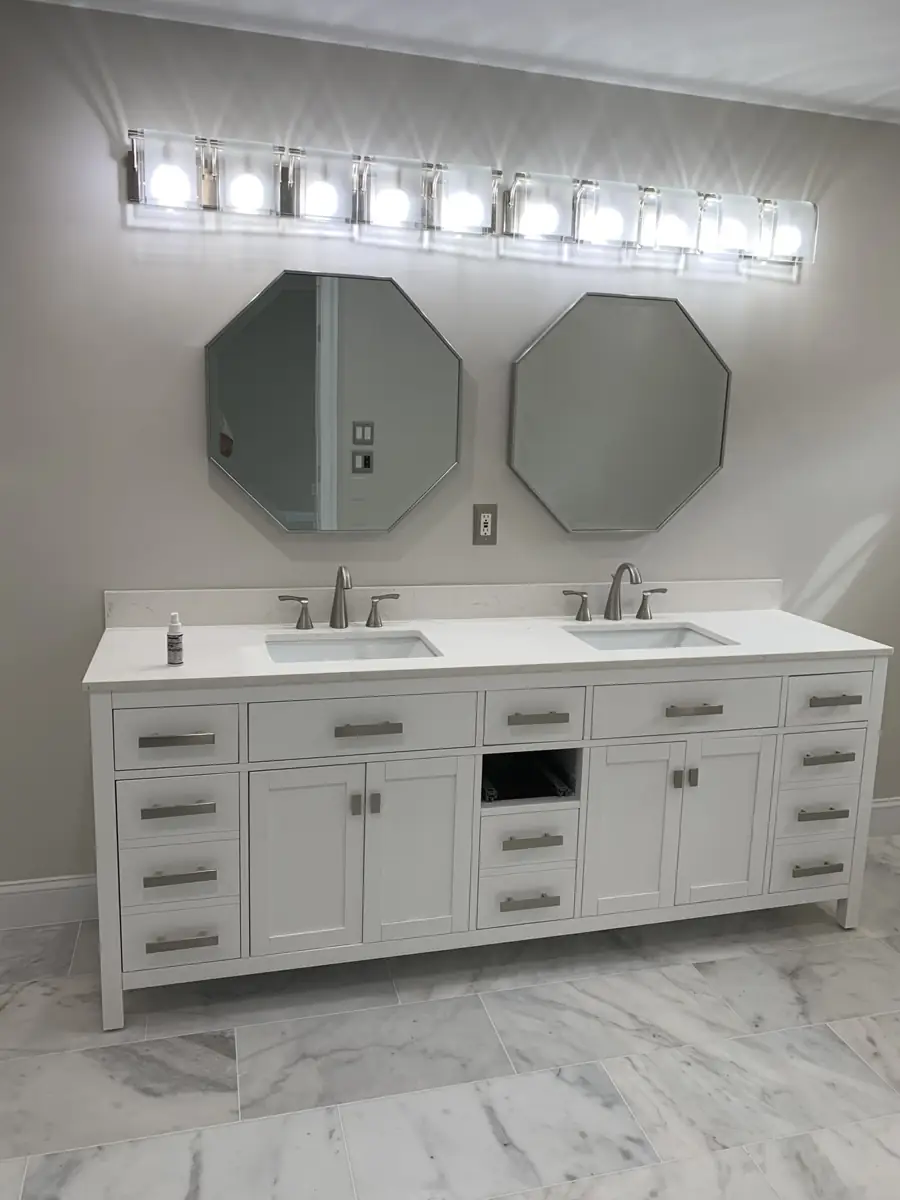
CHI remodeled this bathroom with a tiled shower featuring a recessed storage niche, a handheld showerhead, overhead showerhead, and body sprays. Patterned accent tile and a corner bench complete the shower, while a freestanding tub and double vanity bring the room together.
POWDER BATHROOM REMODEL · GREAT FALLS, VA
A powder room refresh
with a tile accent wall
CHI completed a full powder bathroom remodel in Great Falls, Virginia. A dark tile accent wall creates a focal point behind the toilet, complemented by a wood vanity, a round mirror, and patterned floor tile.
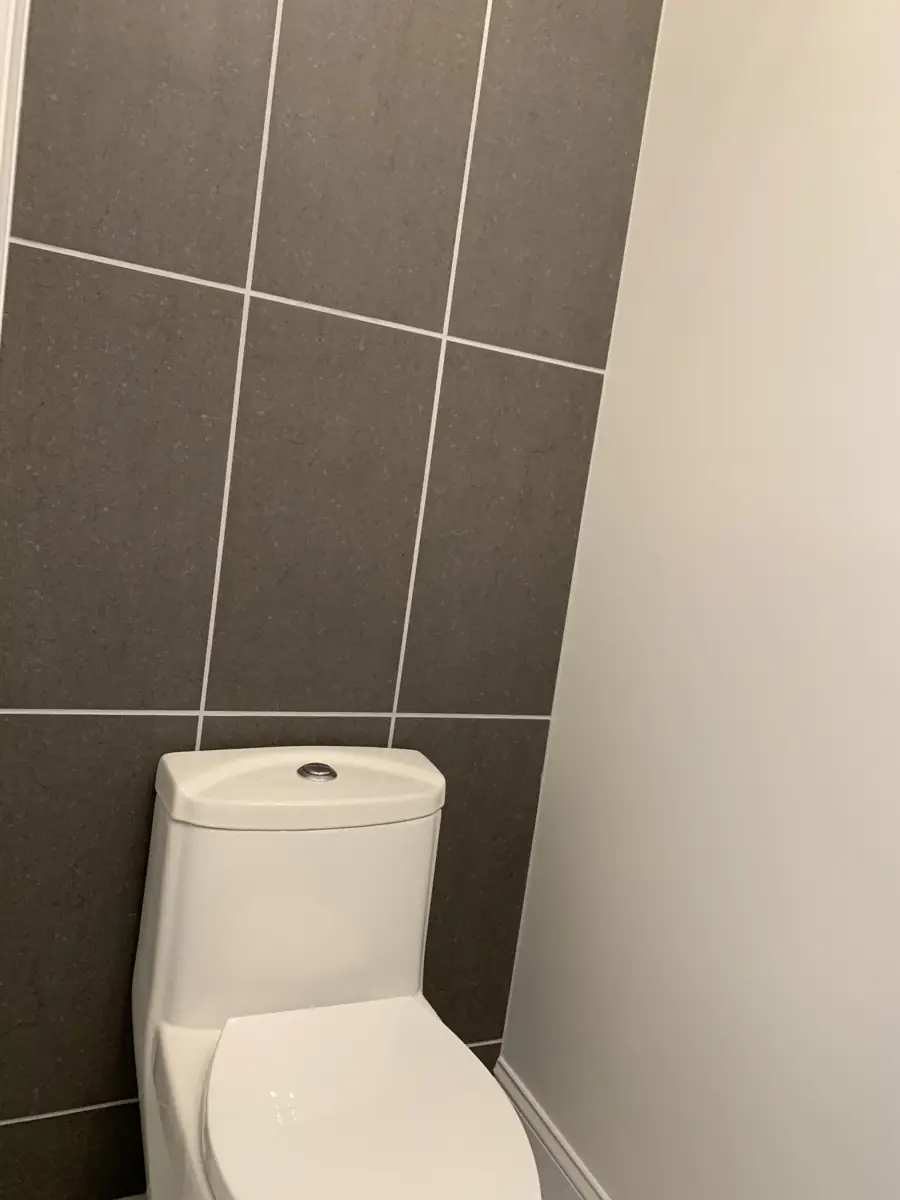
Dark tile accent wall behind the toilet
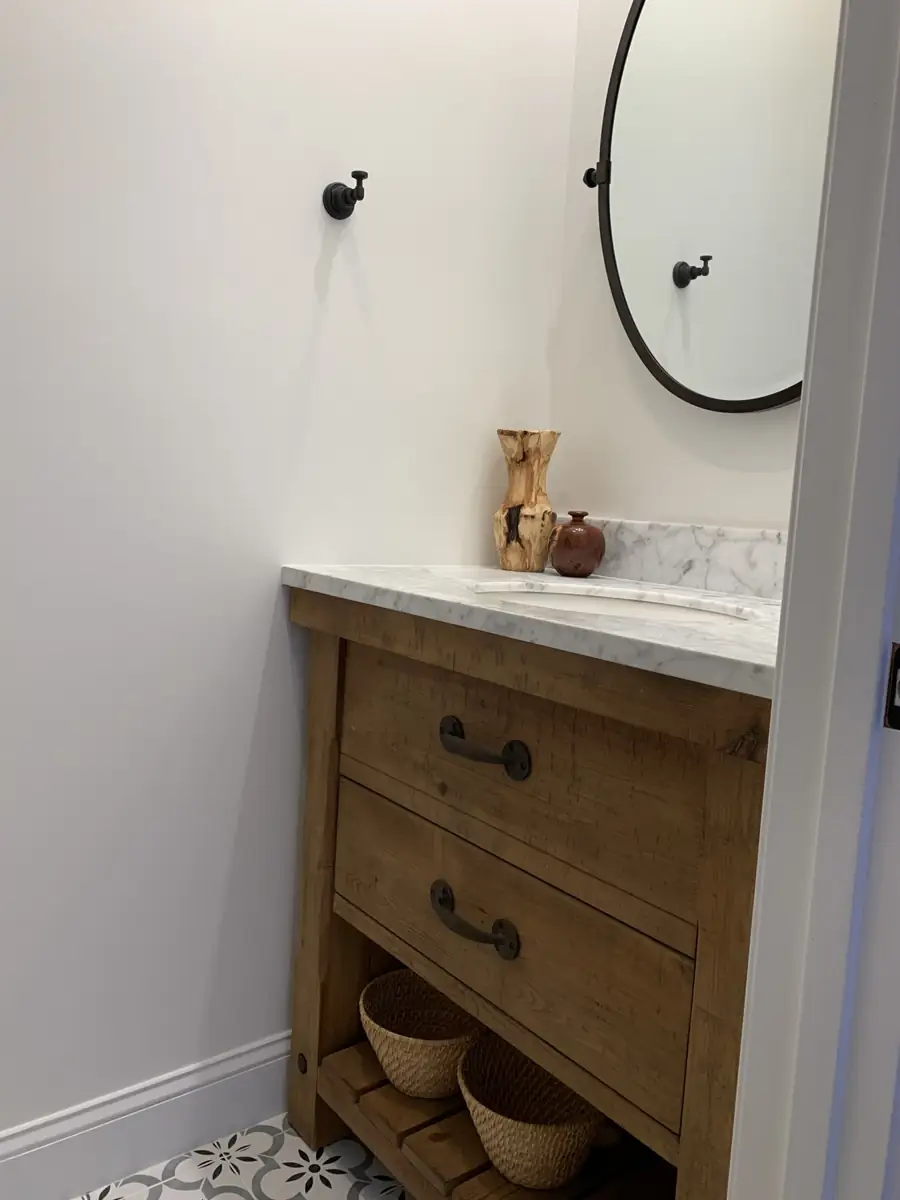
Wood vanity, round mirror, and patterned floor tile
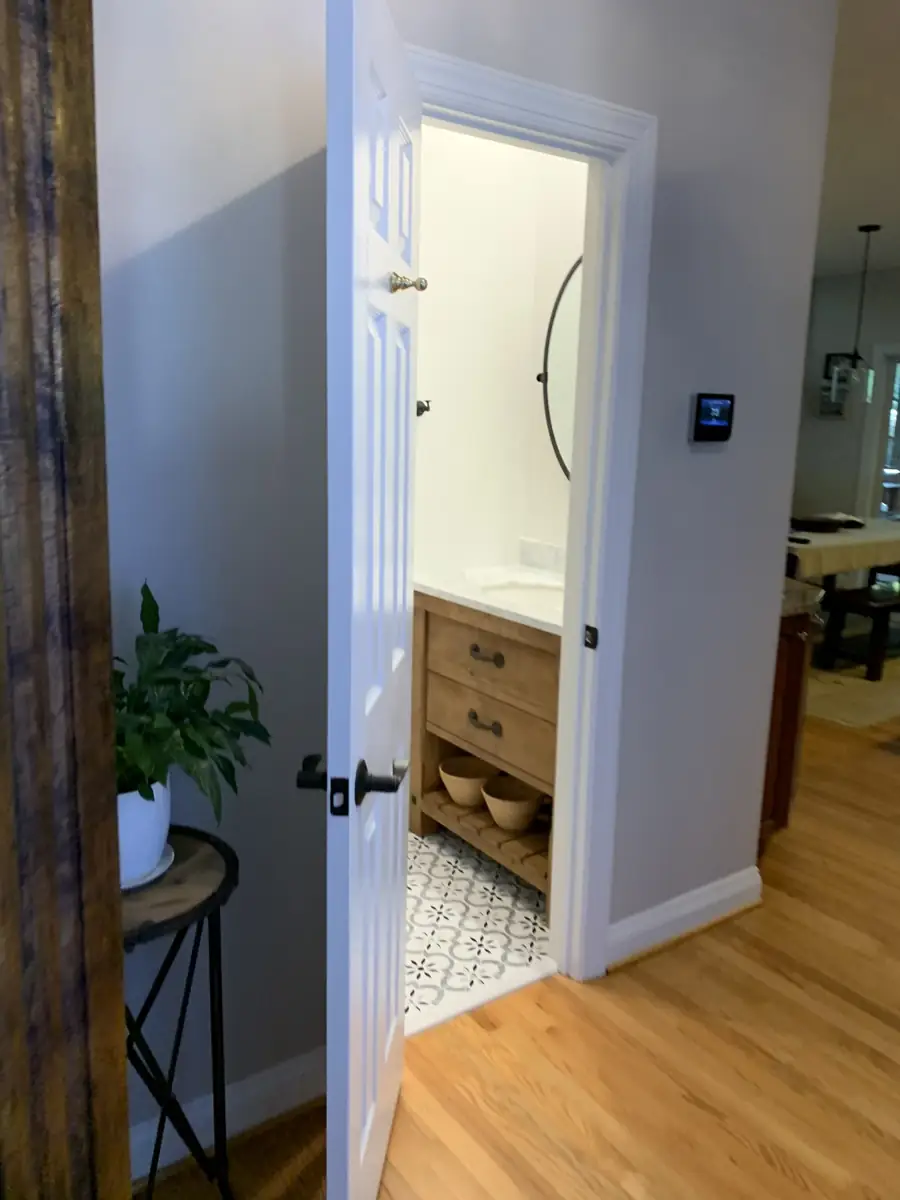
View into the remodeled powder bathroom from the hallway
Painting & Lighting
INTERIOR PAINTING · LEESBURG, VA
Full kitchen painting
in Leesburg
CHI completed a full kitchen painting job in Leesburg, Virginia. These finished views showcase the refreshed walls and ceiling around the island, cooking area, and adjoining dining space.
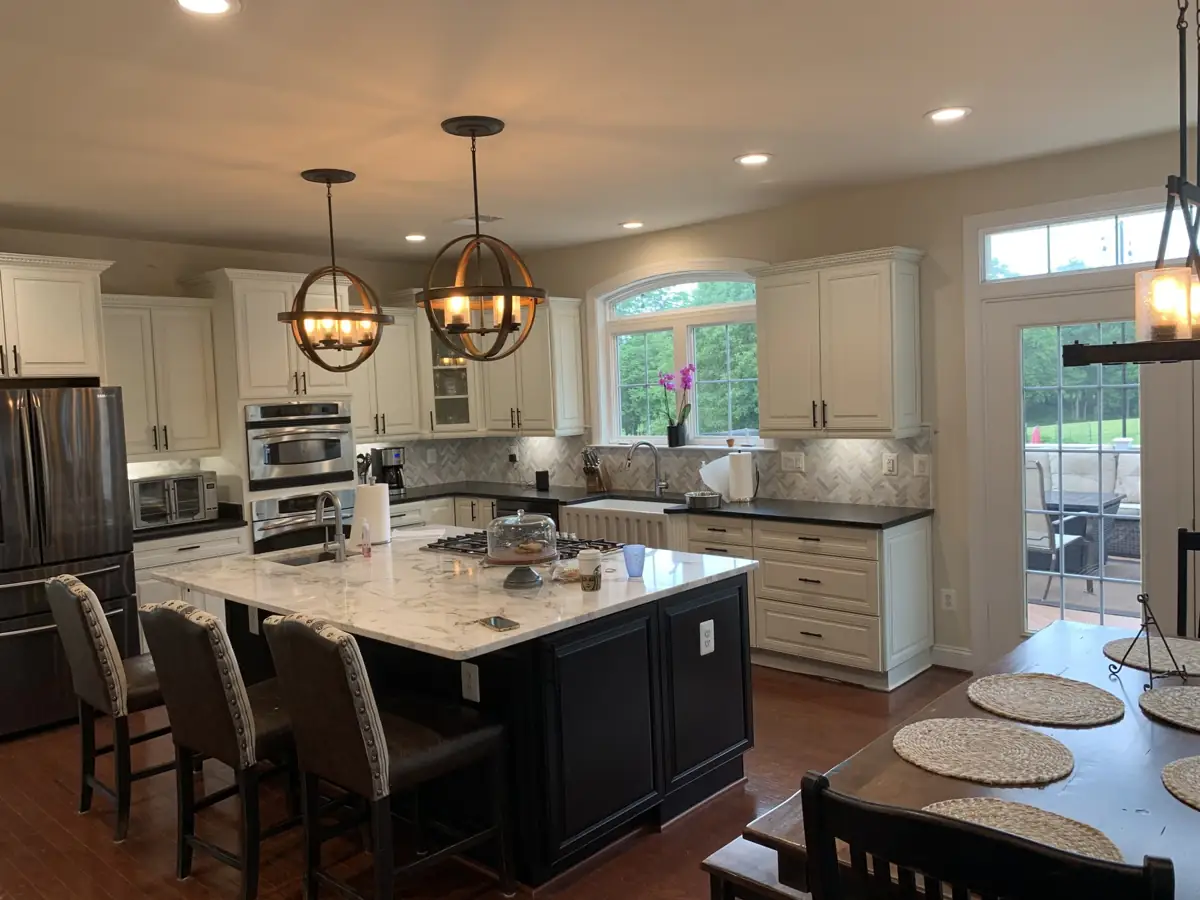
Finished kitchen painting — island and surrounding kitchen
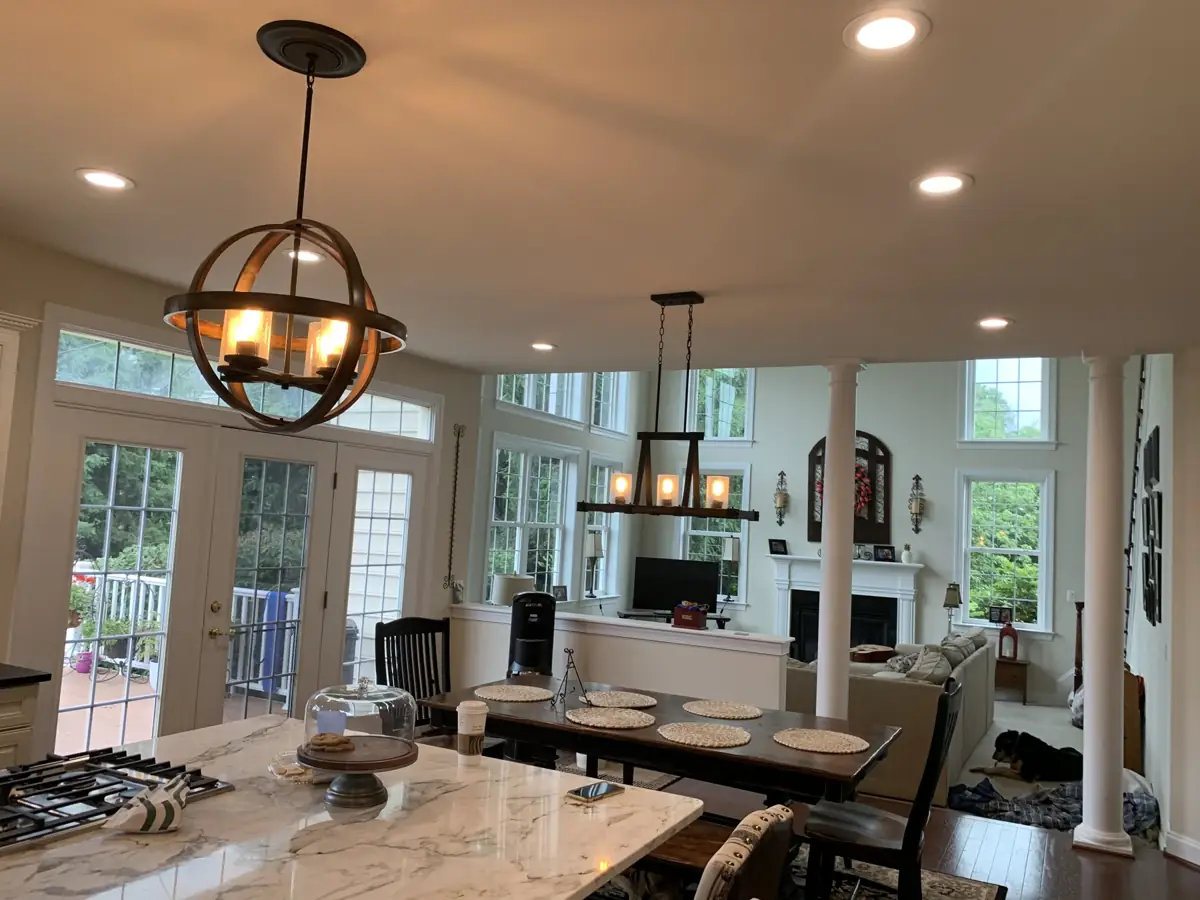
Painted walls and ceiling toward the adjoining dining area
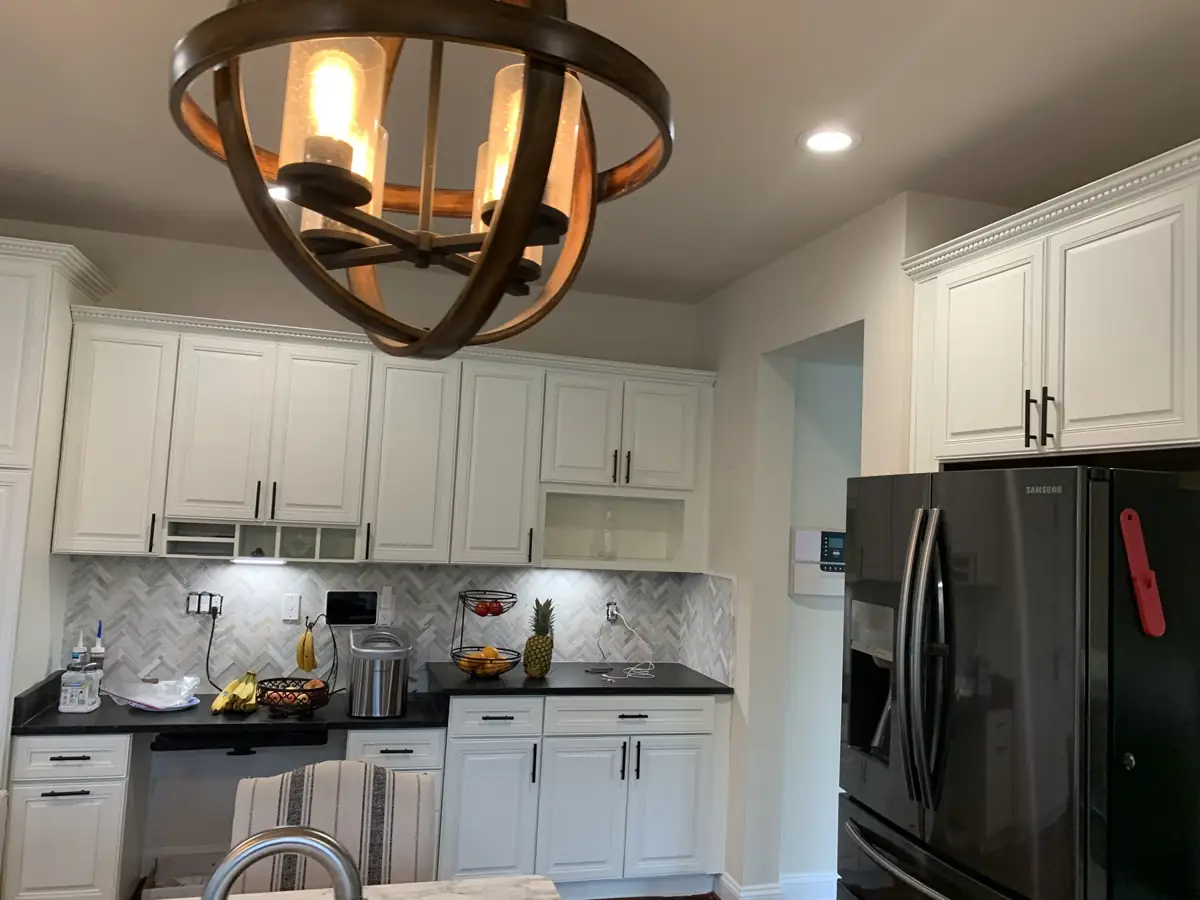
Finished painting above the cabinets and cooking area
INTERIOR PAINTING
Kitchen & living
area painting
CHI completed painting throughout the kitchen and adjoining living area shown here. These finished views capture the coordinated neutral palette across the connected spaces.
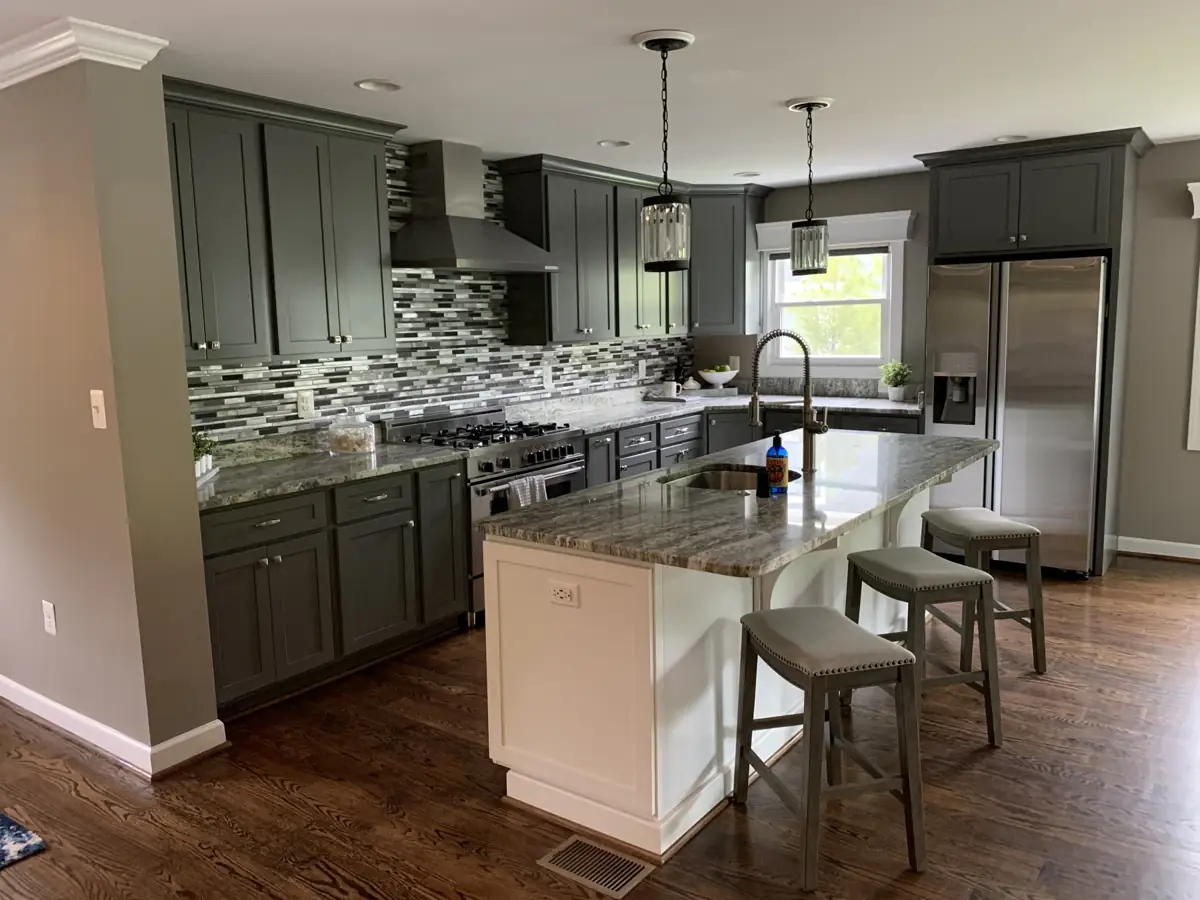
Kitchen and island area after painting
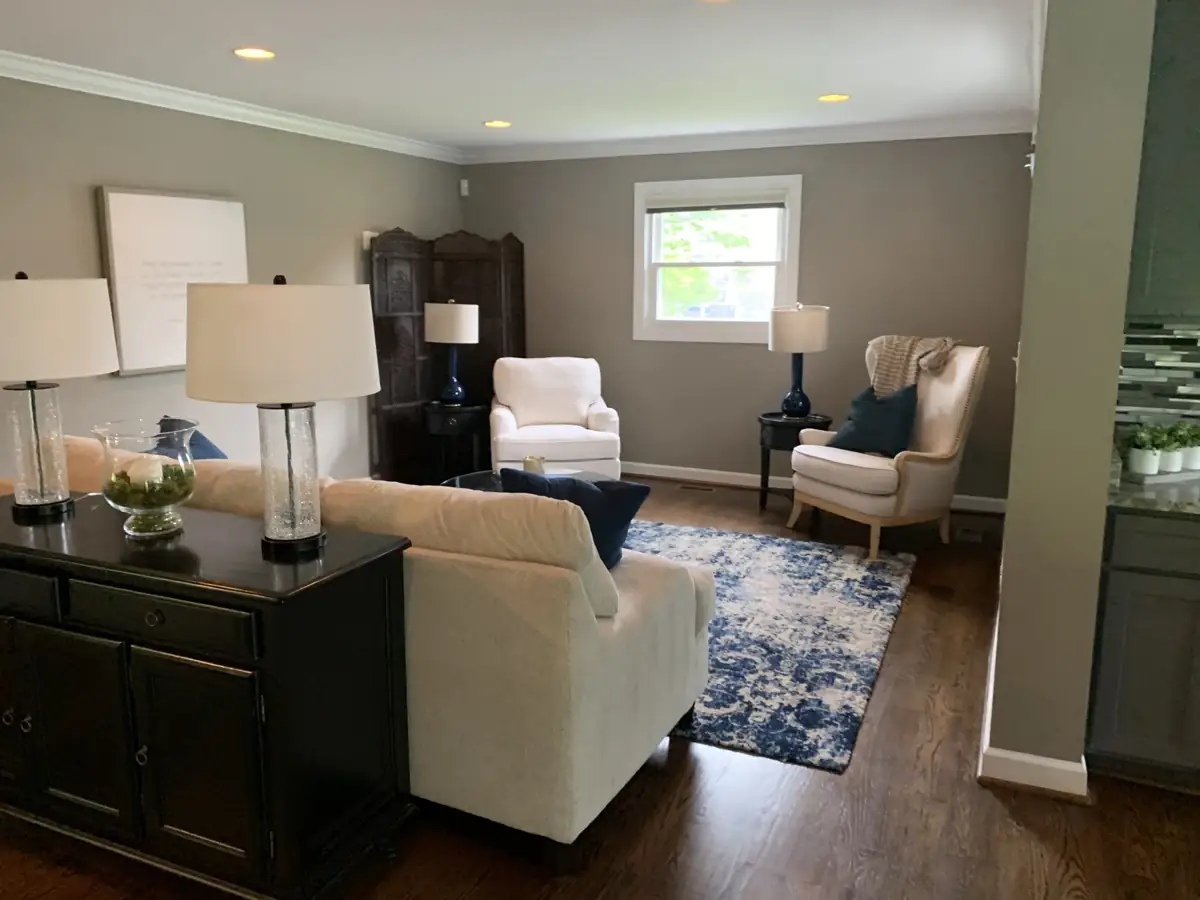
Adjoining living room after painting
SMALL INTERIOR PAINTING PROJECT
A small space,
two shades of gray
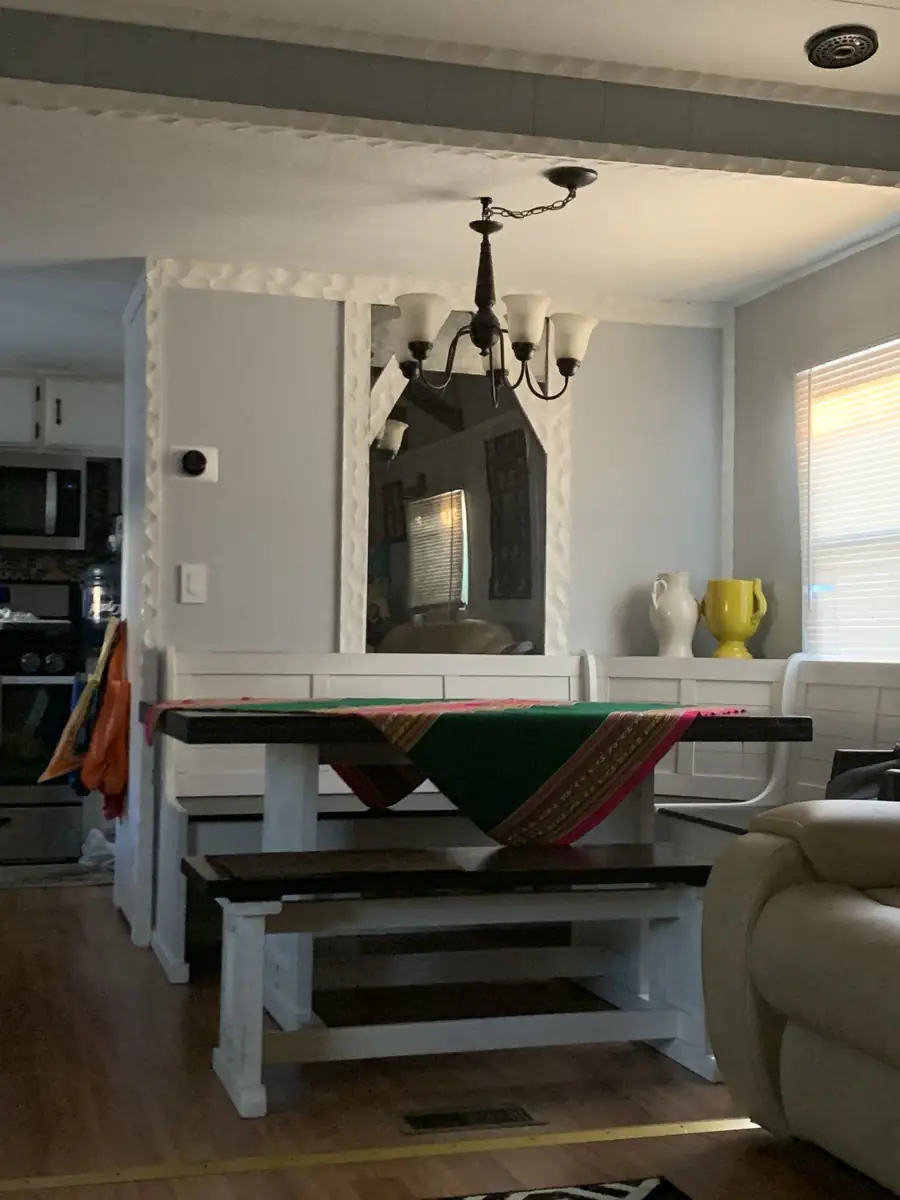
CHI refreshed this cozy dining area with a two-tone gray paint scheme. Light gray walls and a darker gray overhead beam add contrast alongside the white decorative trim.
WALLPAPER REMOVAL, DRYWALL & PAINTING
From wallpaper removal
to a fresh kitchen finish
As part of this kitchen renovation, CHI removed the wallpaper, patched the drywall, finished the repaired surfaces, and sanded them smooth before painting. Careful preparation brought a fresh, consistent finish to the kitchen walls.
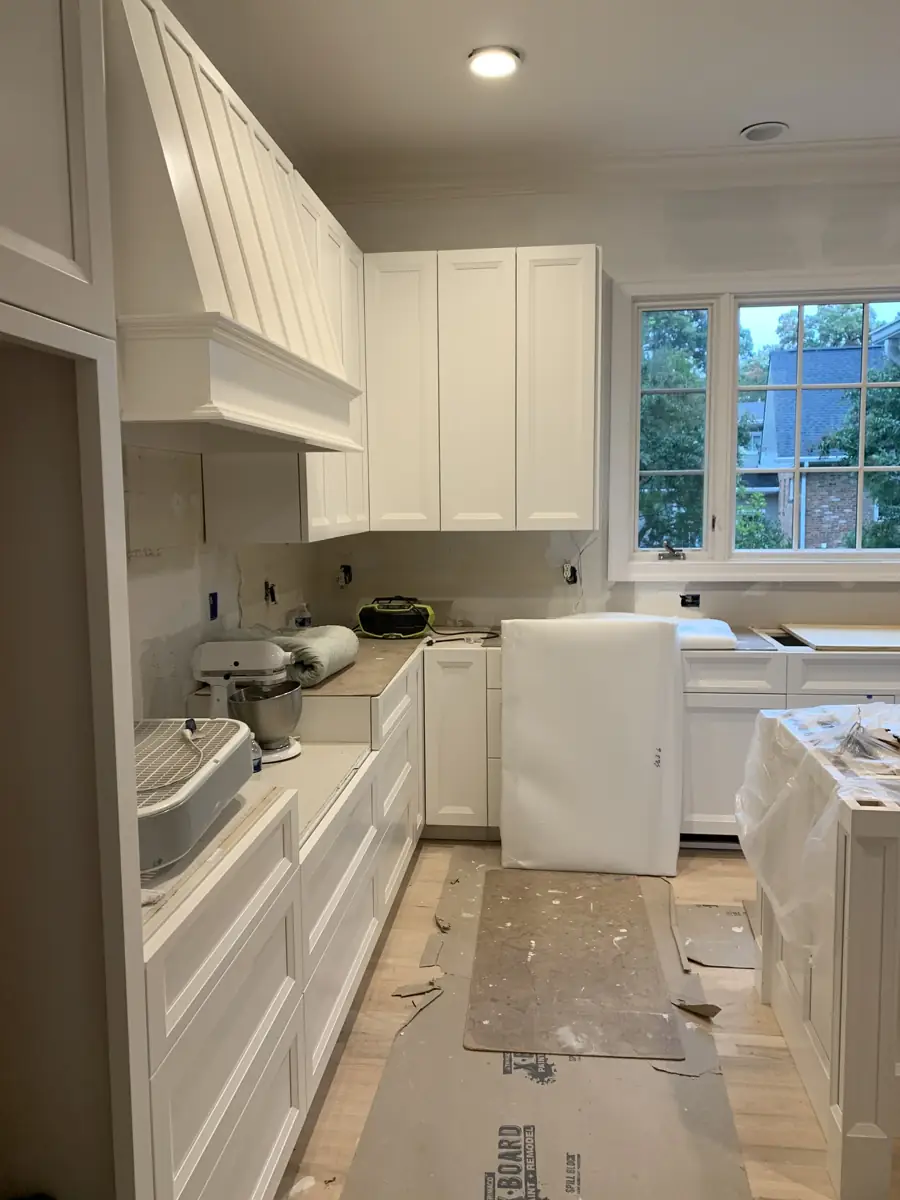
Protected kitchen surfaces during the renovation
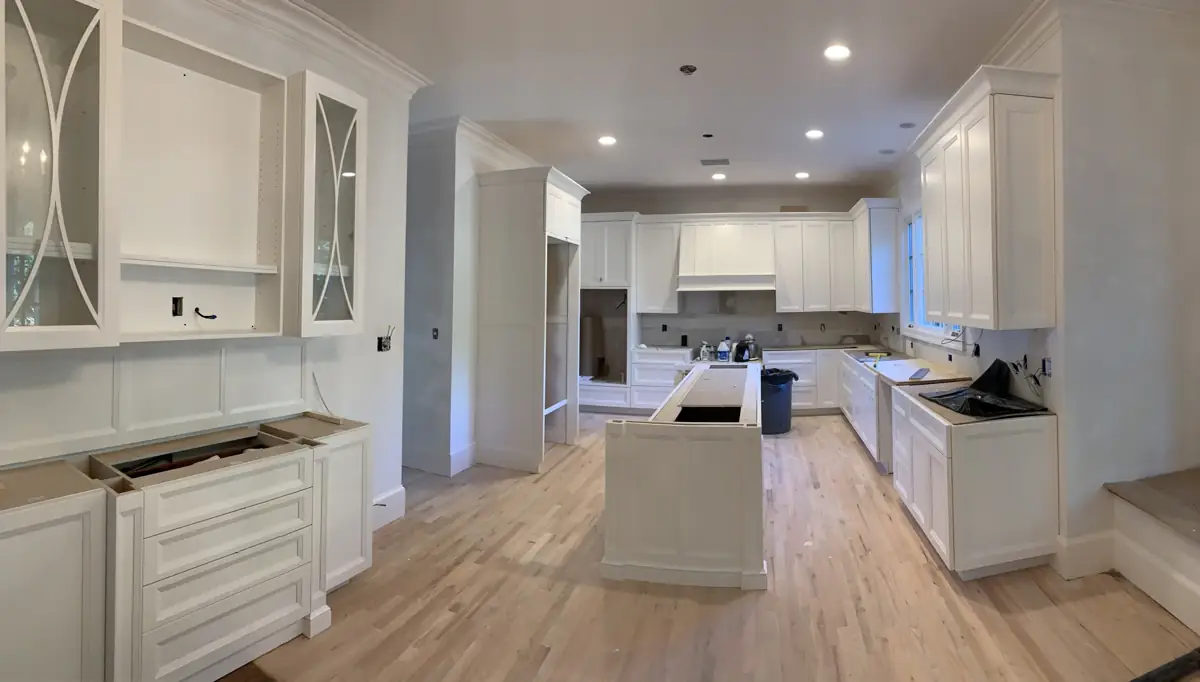
Kitchen and adjoining walls as the renovation progressed
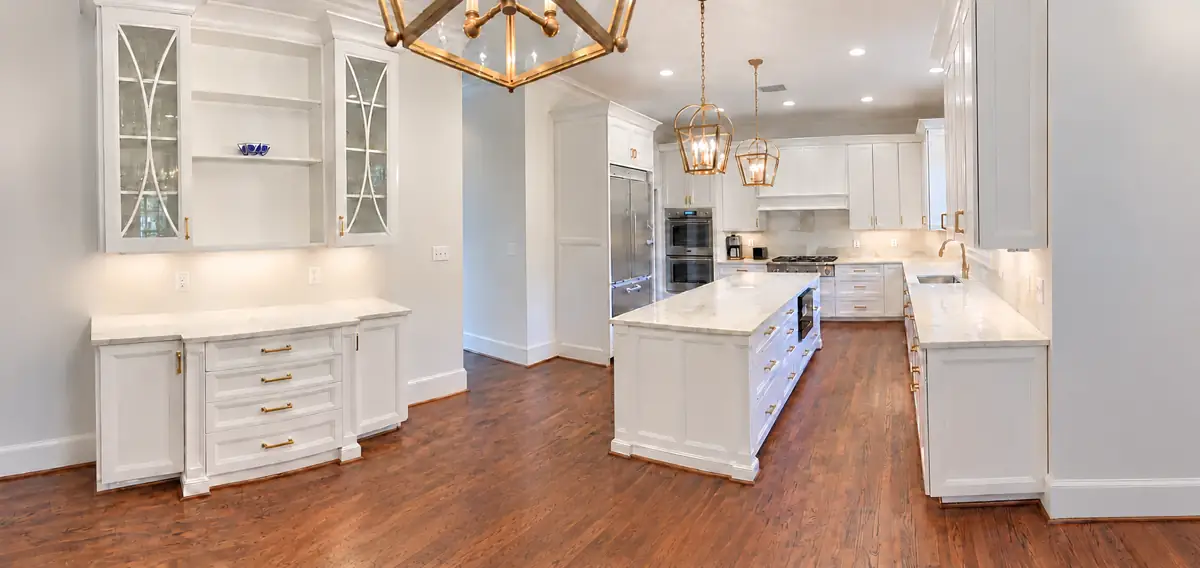
Wide kitchen view showcasing the painted walls and ceiling
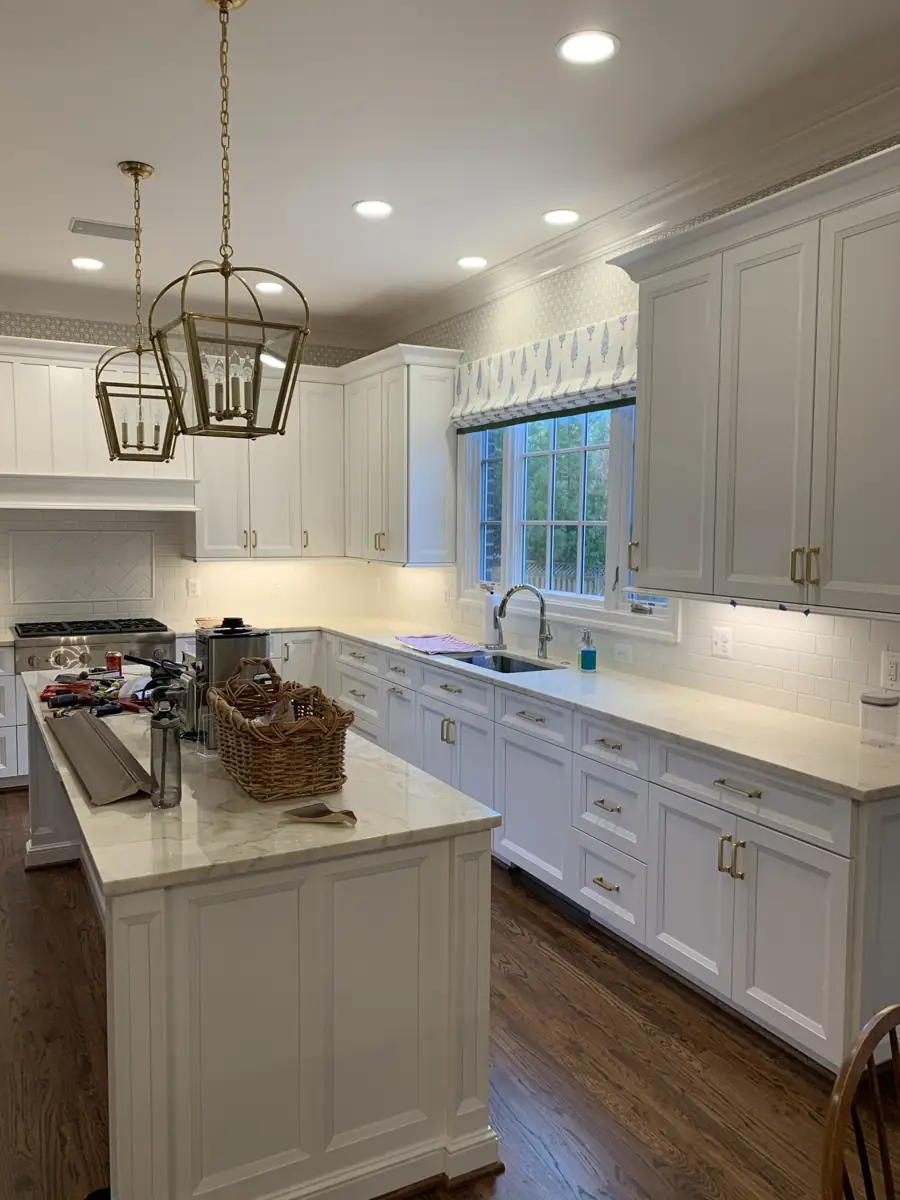
Painted kitchen around the island and window wall
INTERIOR PAINTING
Full kitchen
paint job
CHI completed a full paint job in this kitchen. These finished views showcase the refreshed space from the cooking and sink areas to the coffee station.
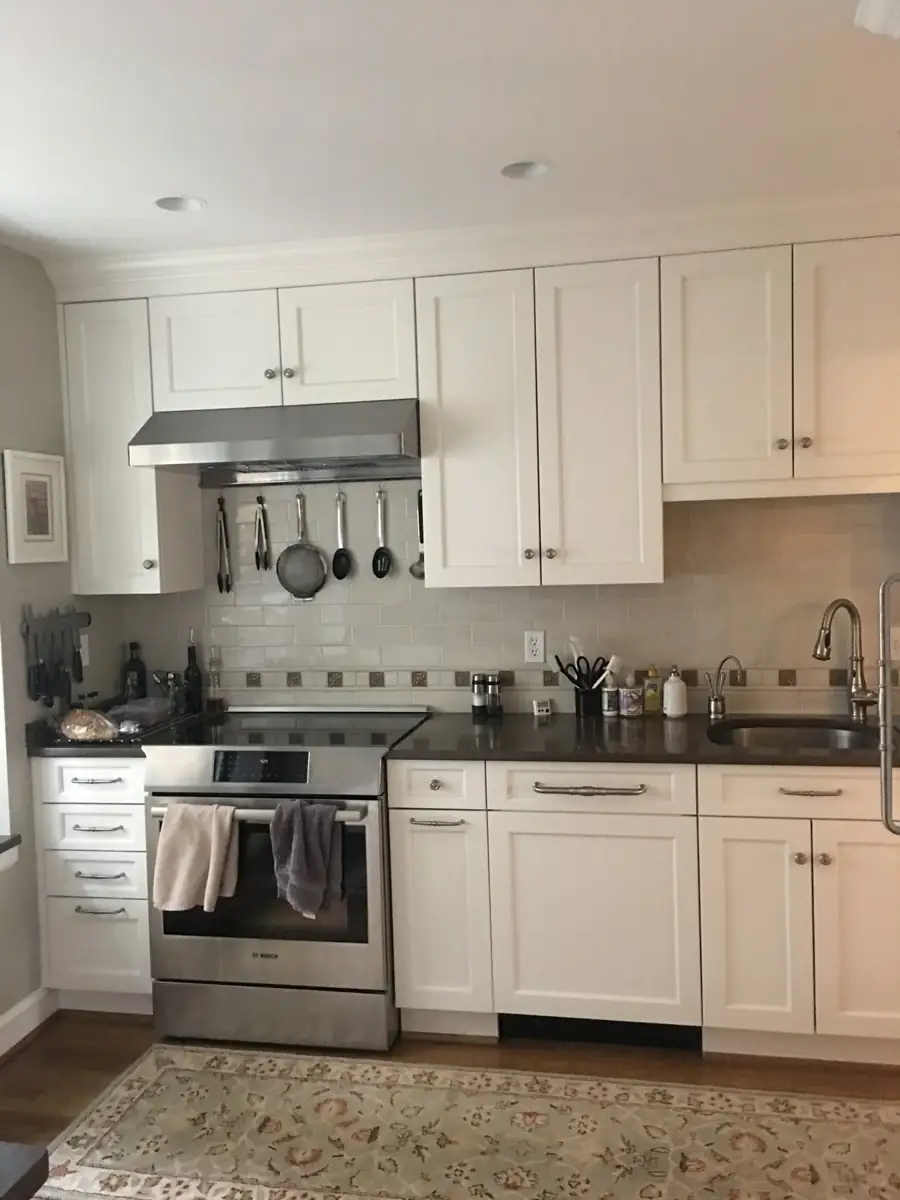
Finished kitchen — range and cabinet wall
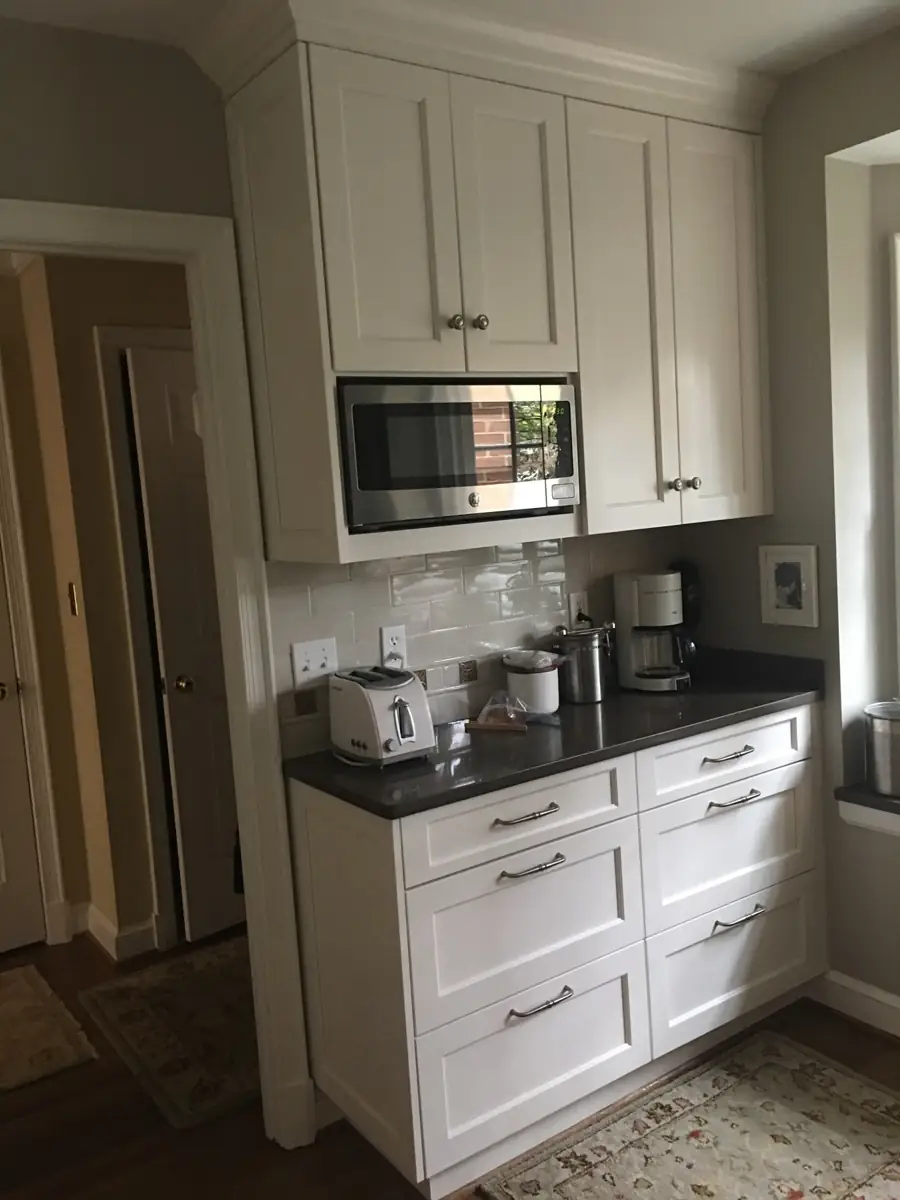
Finished kitchen — microwave and coffee area
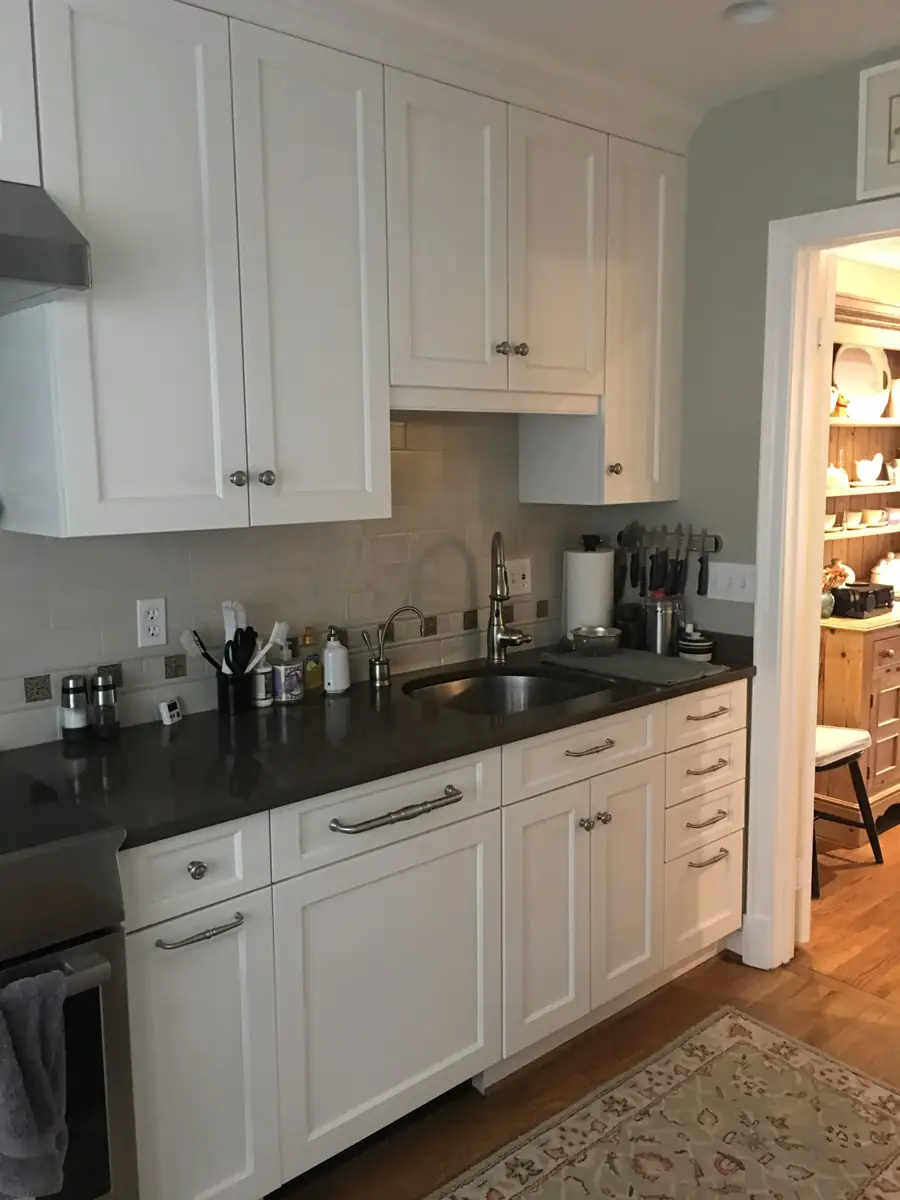
Finished kitchen — sink wall and doorway
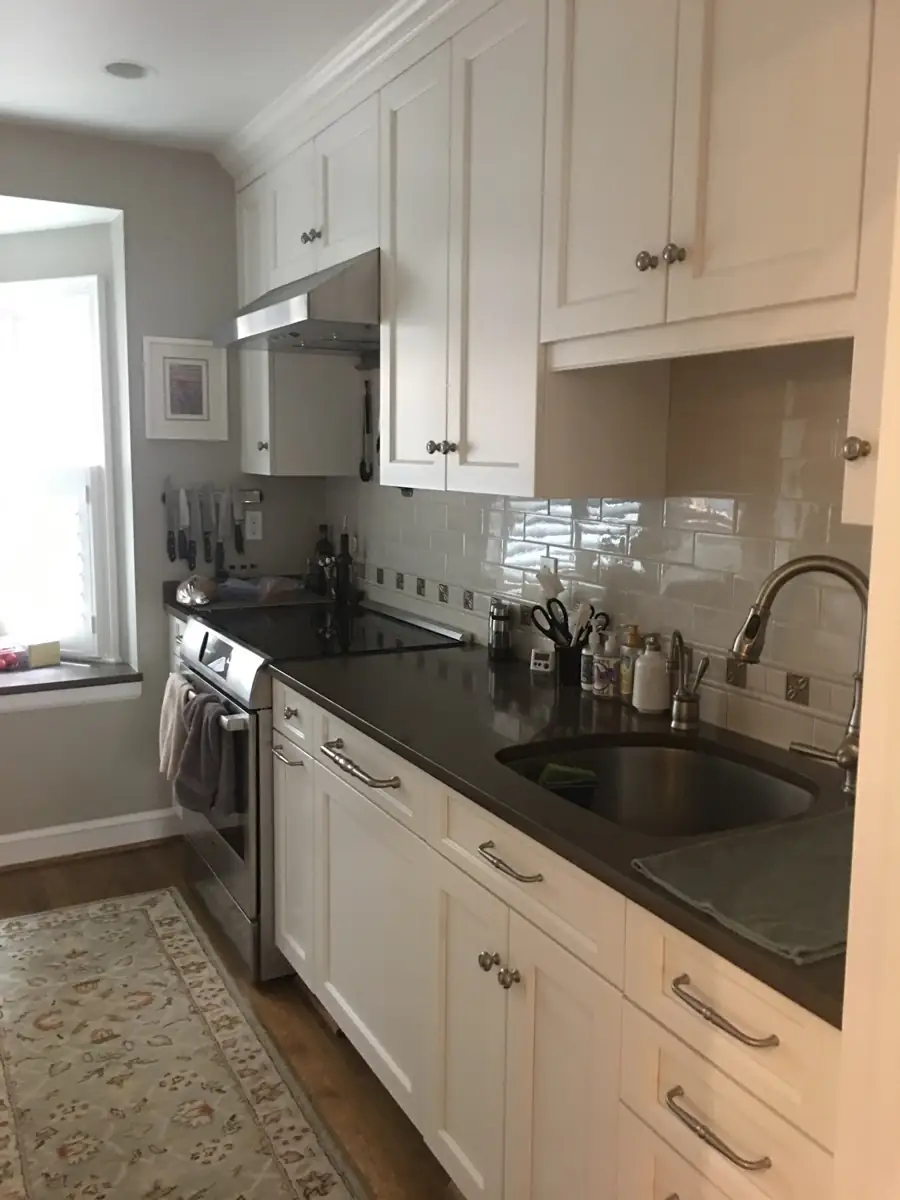
Finished kitchen — view toward the window
DRYWALL REPAIR & INTERIOR PAINTING
From drywall repairs
to a freshly painted bathroom
After demolition, CHI repaired the bathroom drywall, finished the joints and patches, and sanded the surfaces smooth before completing the full painting job. The finished views show the painted walls and ceiling around the tub and shower.
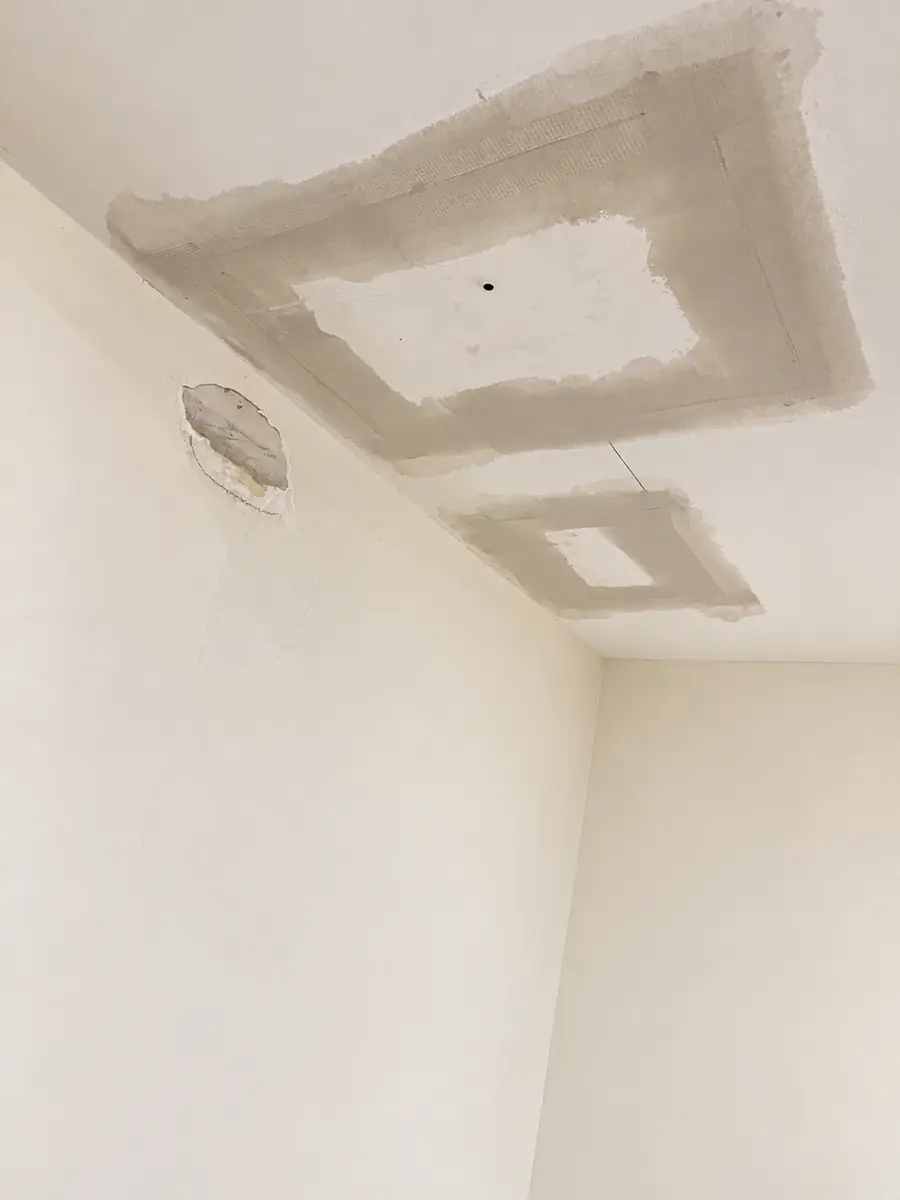
Ceiling drywall patches and joint finishing before sanding and painting
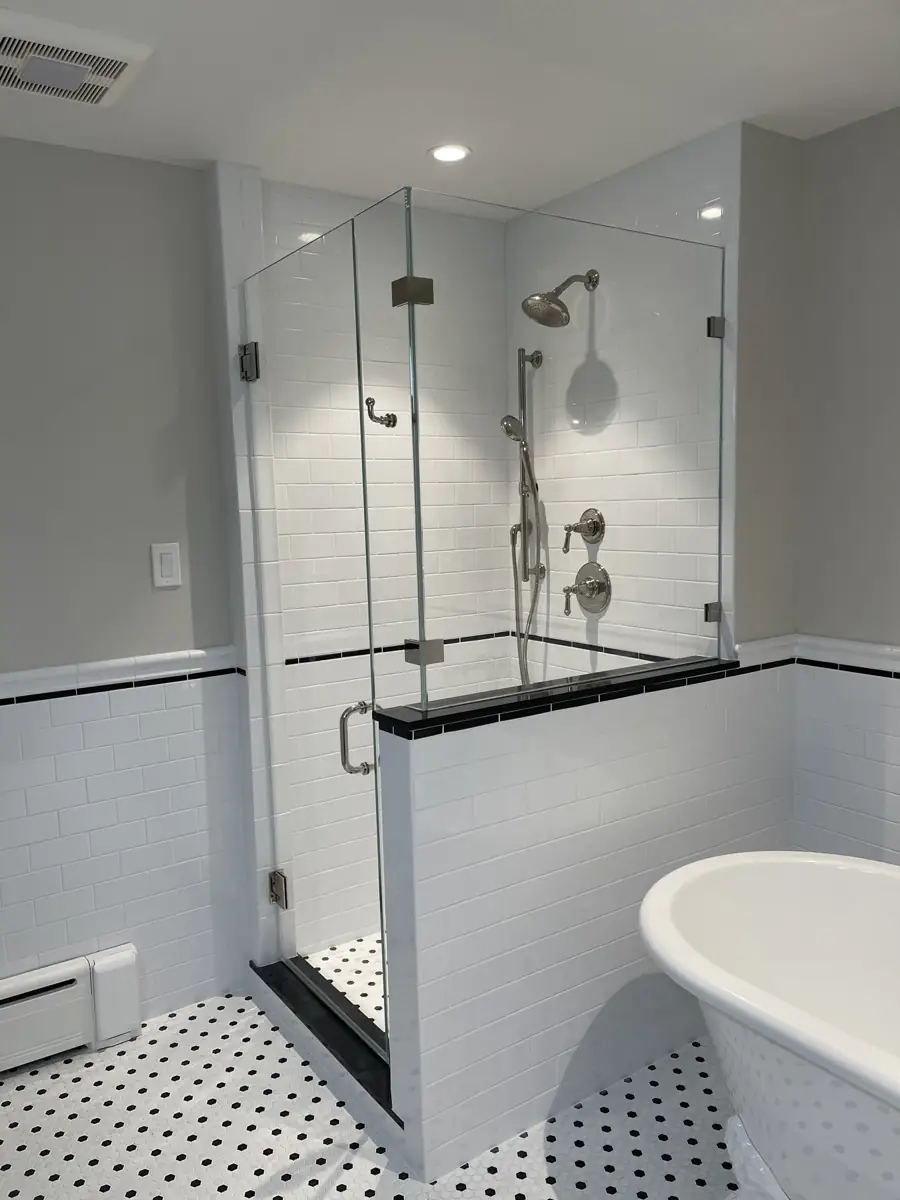
Painted walls and ceiling beside the glass shower
Finished gray walls and clean edges above the tiled tub surround
The progress photo has been retouched to remove a person and handheld tools.
PAINTING & DRYWALL REPAIR
Bathroom painting,
drywall repair & finishing
CHI completed a full painting job, drywall patching, and finishing work in this bathroom. These photos show the finished space.
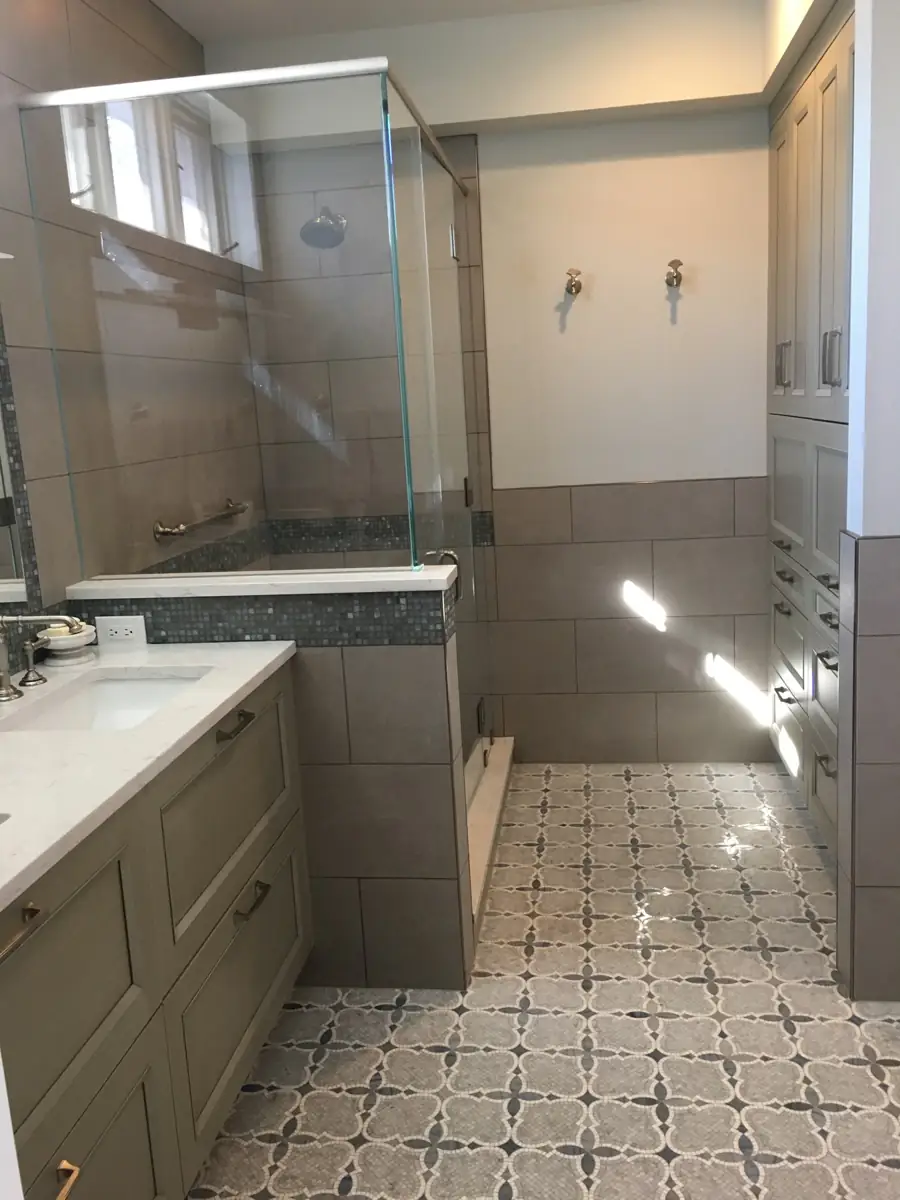
Finished bathroom — overall view
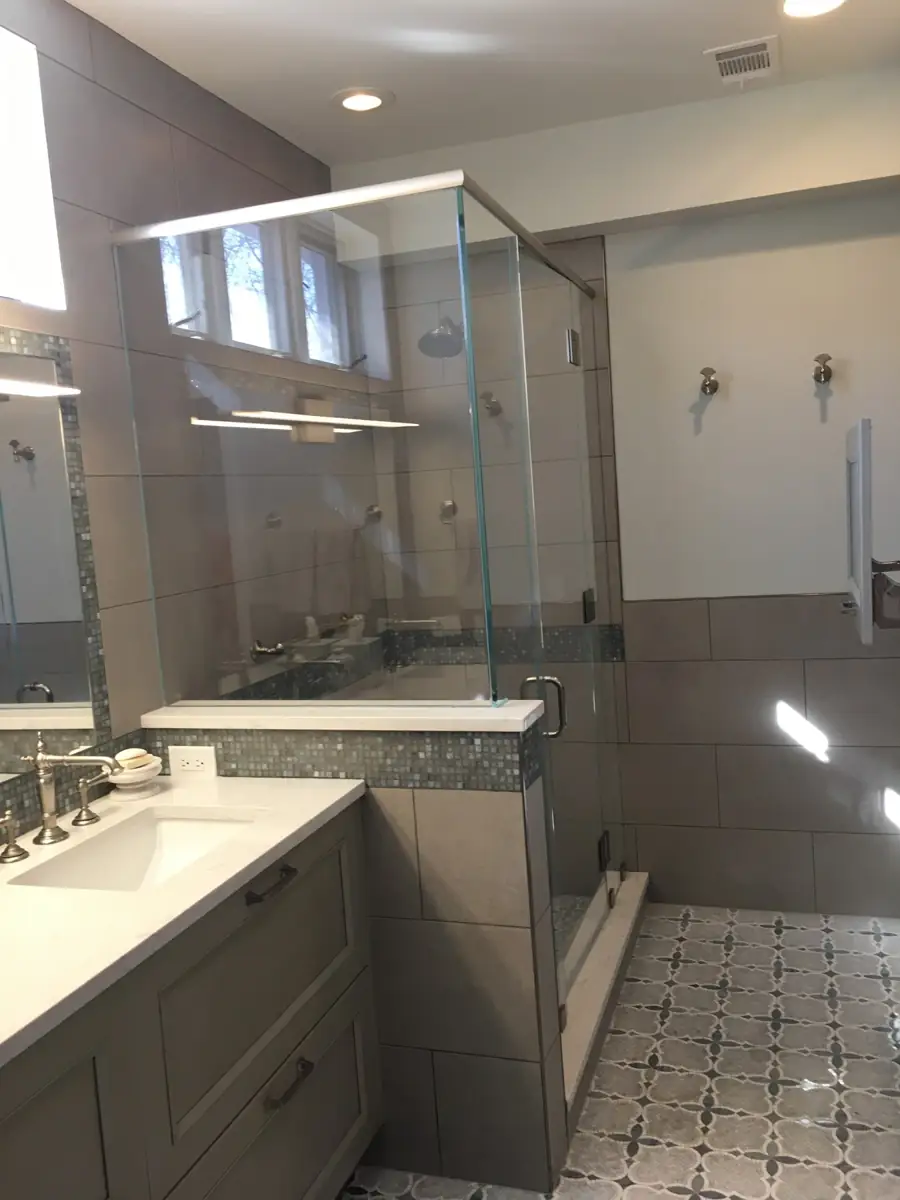
Finished walls and ceiling around the shower
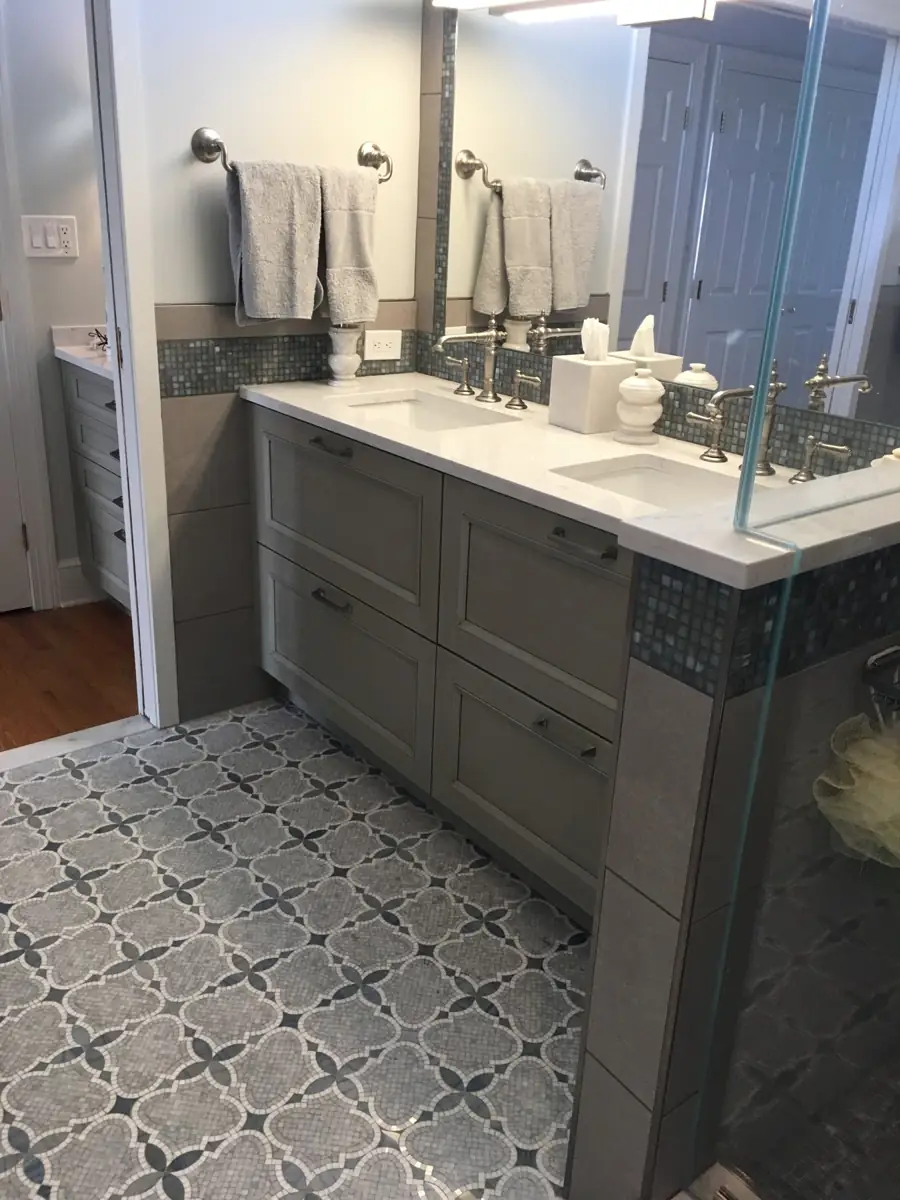
Finished vanity area and doorway
INTERIOR PAINTING
Bedroom painting
CHI completed painting work in this bedroom. This photo shows the finished space.
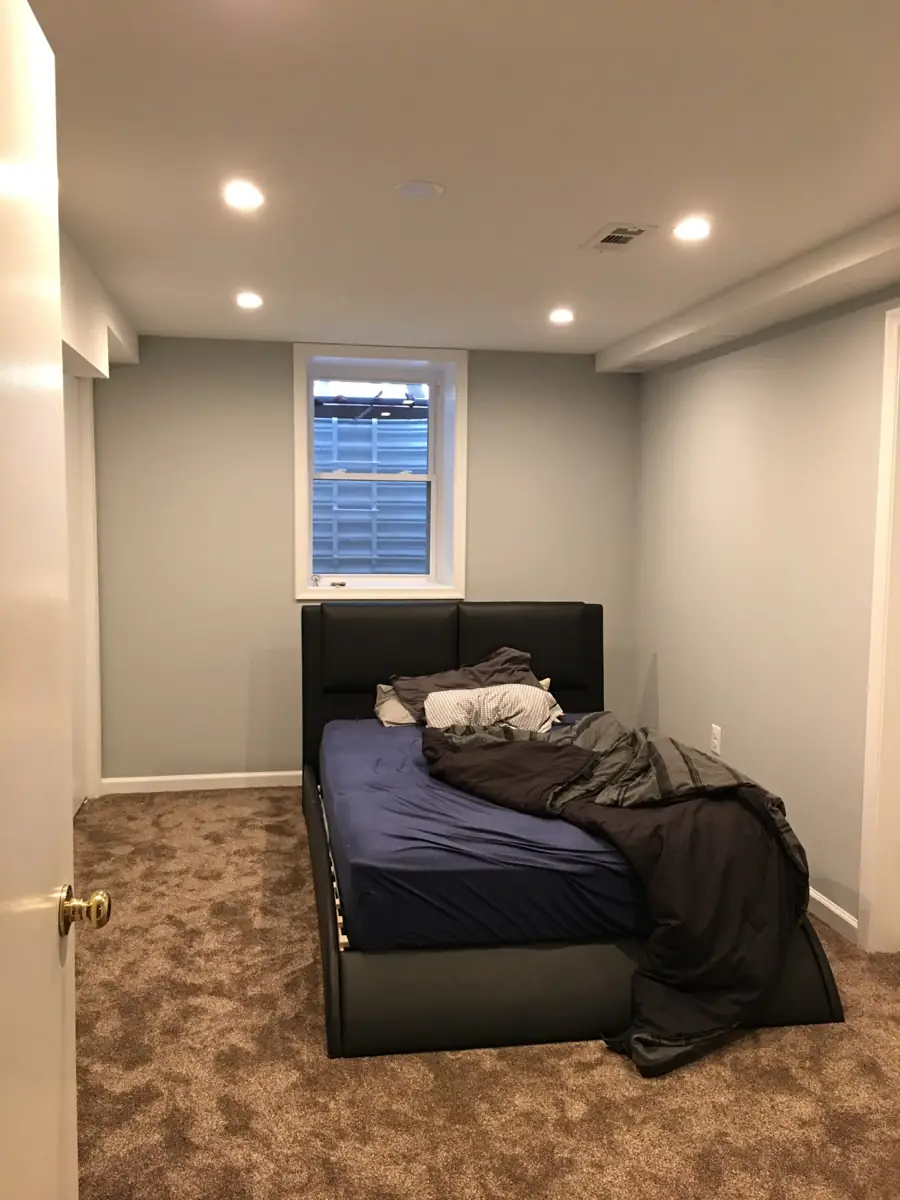
Finished bedroom painting
PAINTING & LIGHTING
Painting & lighting
CHI completed painting and lighting work in this space.
These retouched previews have been digitally decluttered. The dining table and chairs were removed from the kitchen view, and loose items were removed from the countertops and living room background.
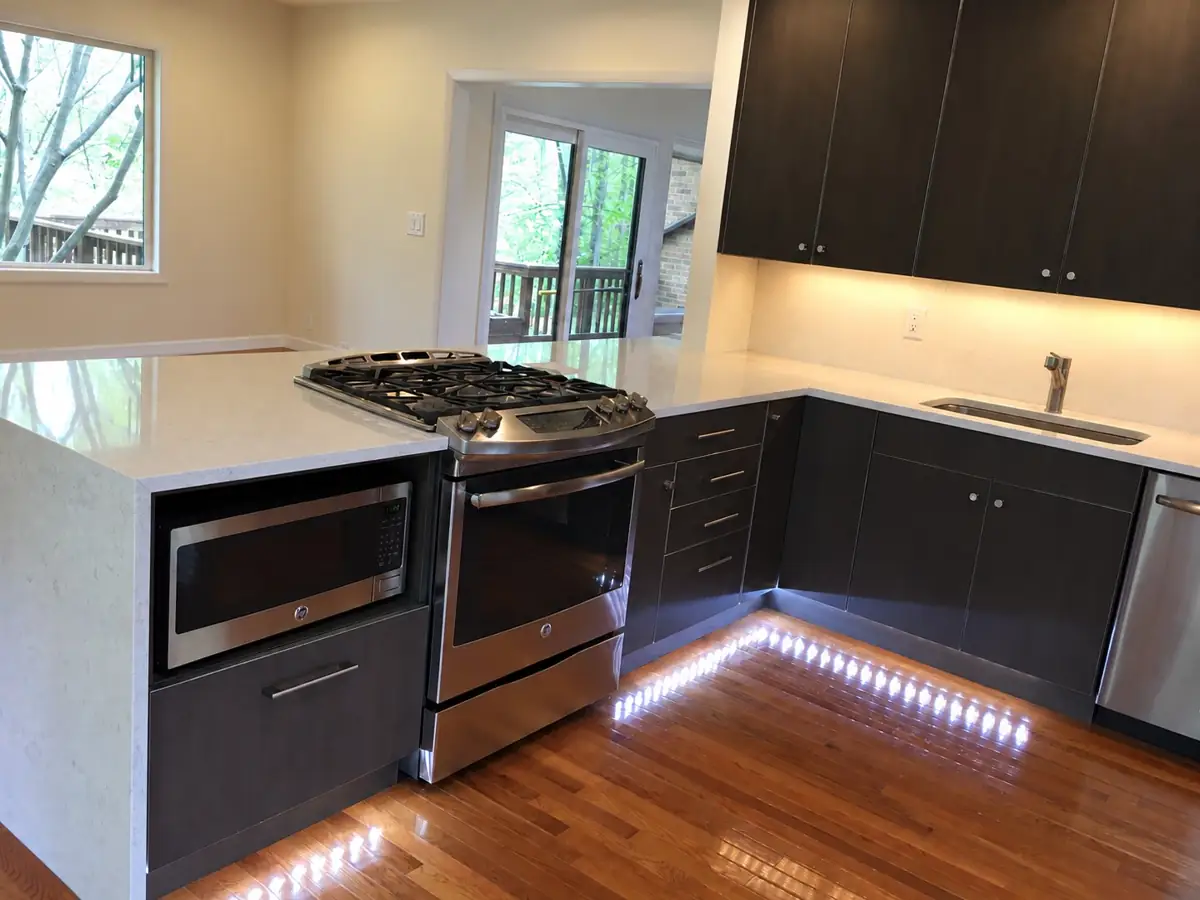
Kitchen lighting and adjoining dining area
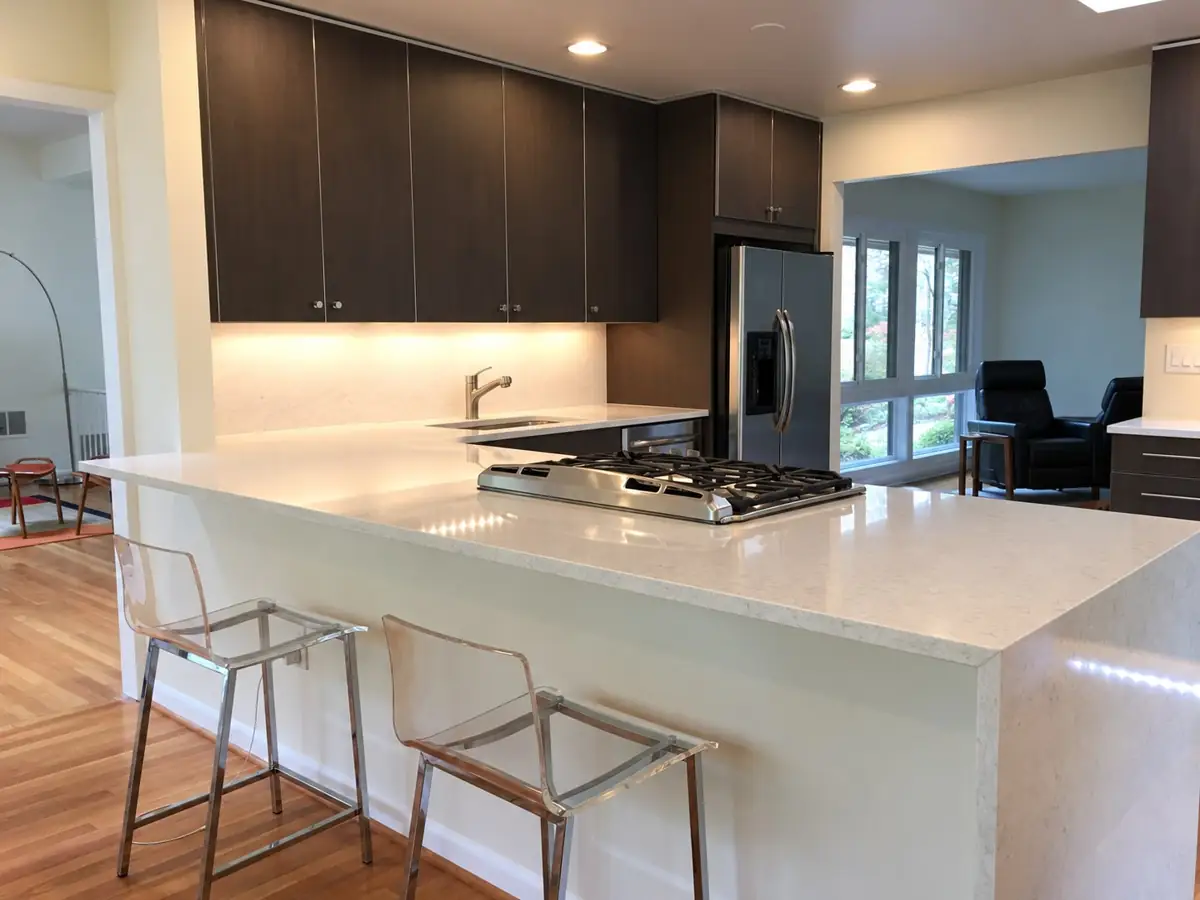
Kitchen and living room view
Flooring
INTERIOR PAINTING & HARDWOOD FLOORING
Fresh paint & hardwood
through the living spaces
CHI completed painting and hardwood flooring work in this home. Neutral painted walls, white trim, and warm wood floors connect the living and dining areas with the kitchen.
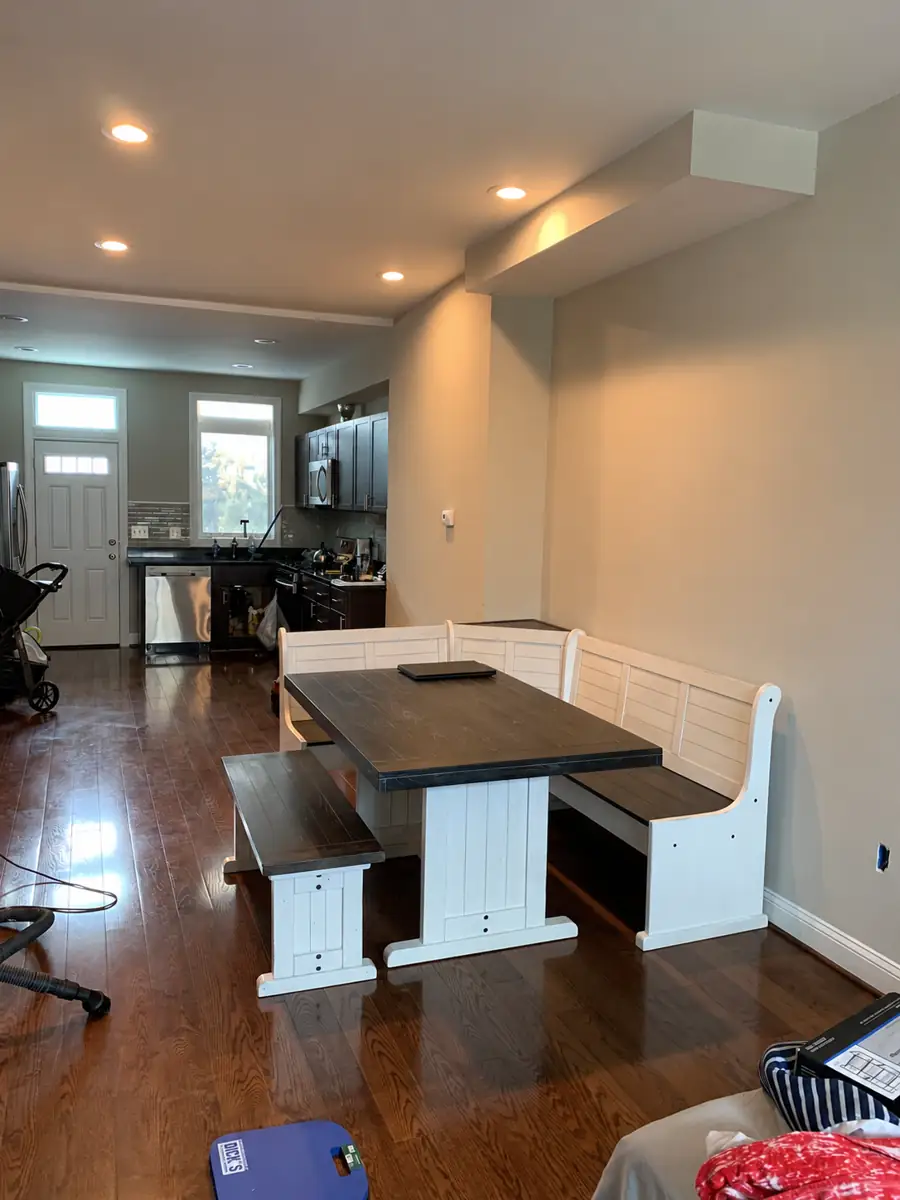
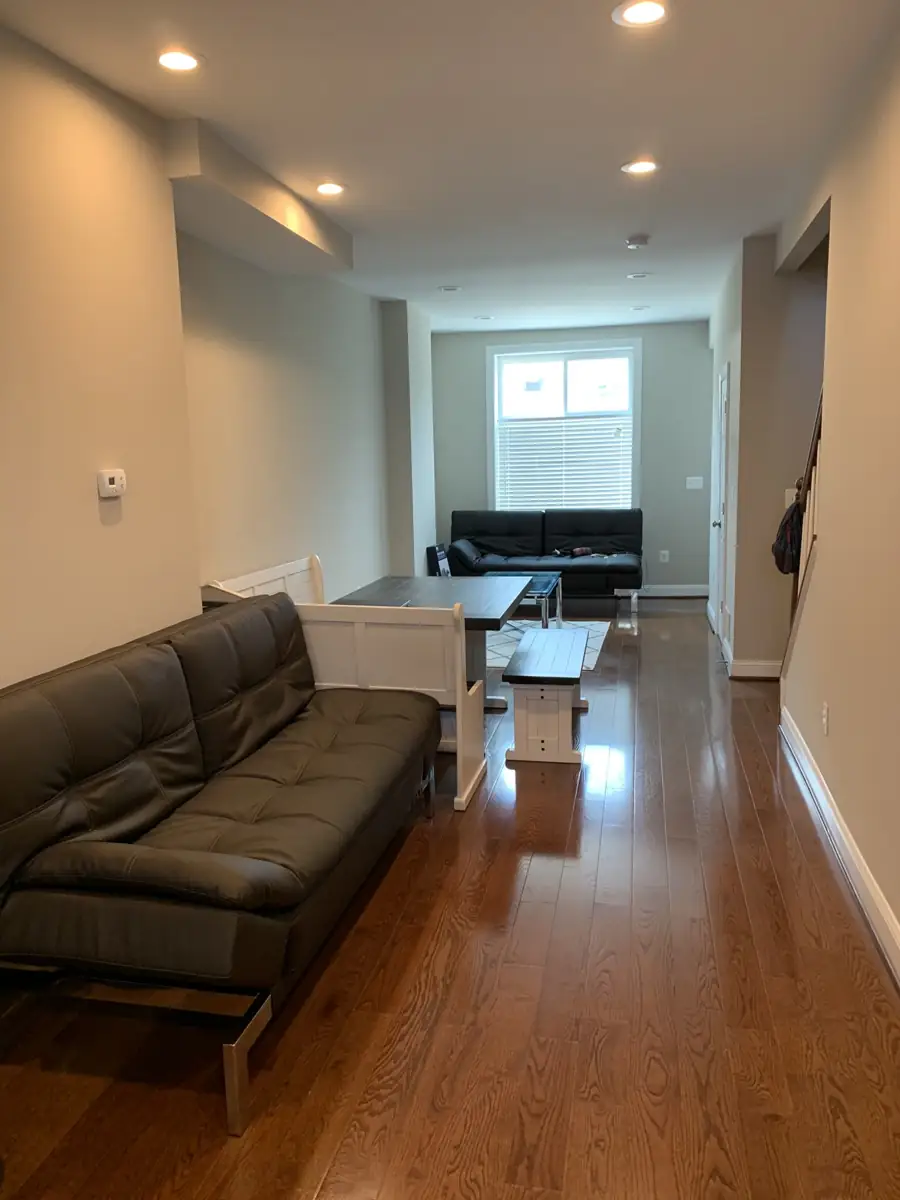
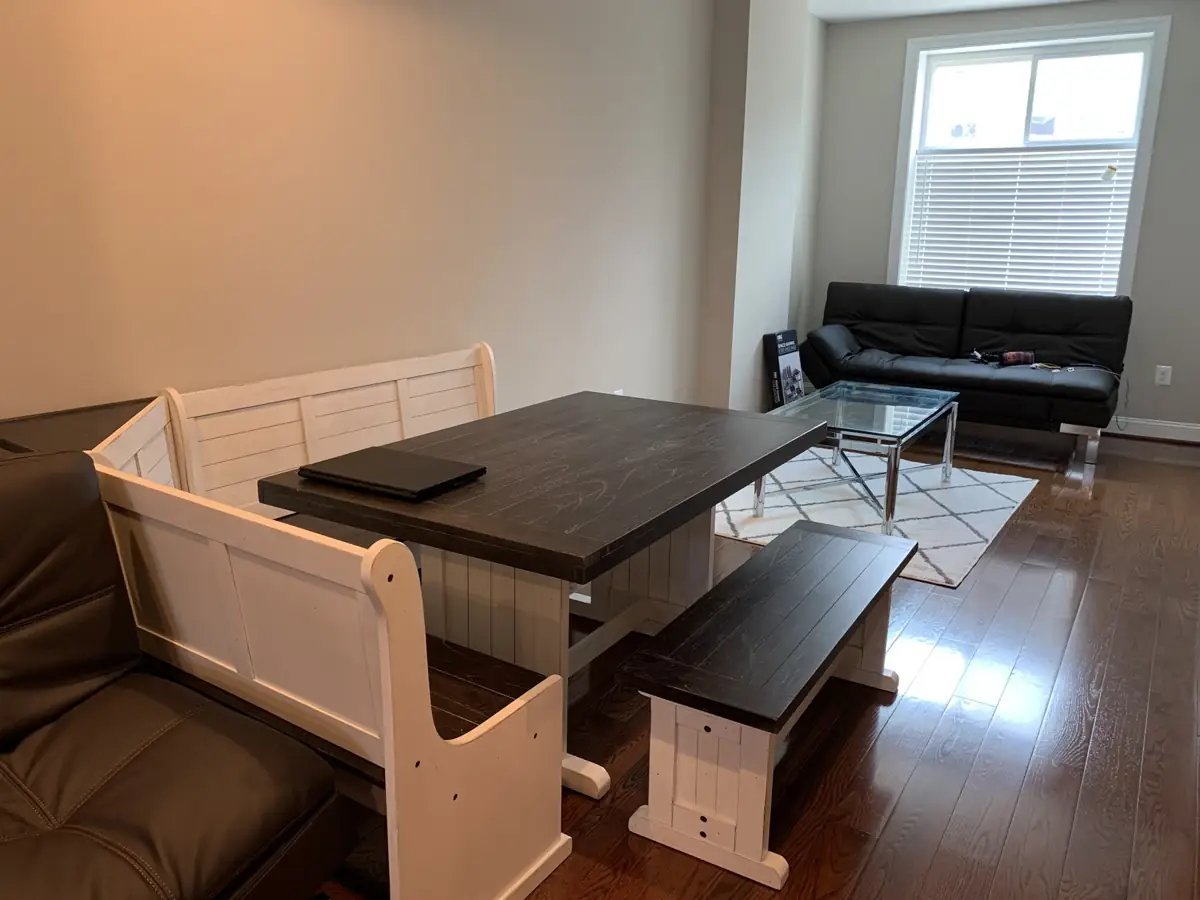
The kitchen view is retouched: the plywood window covering was digitally removed.
WATER DAMAGE REPAIR & FLOORING
From a major water leak
to a restored interior
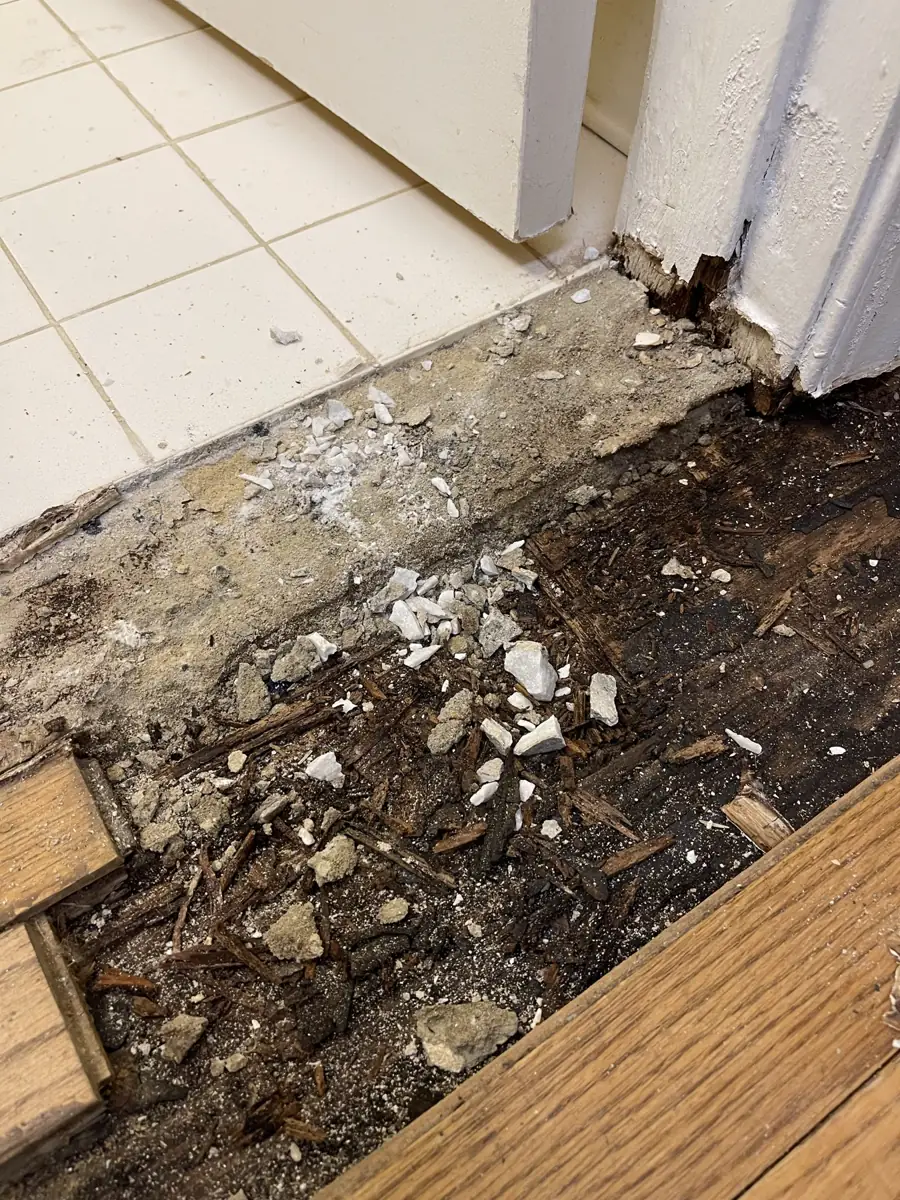
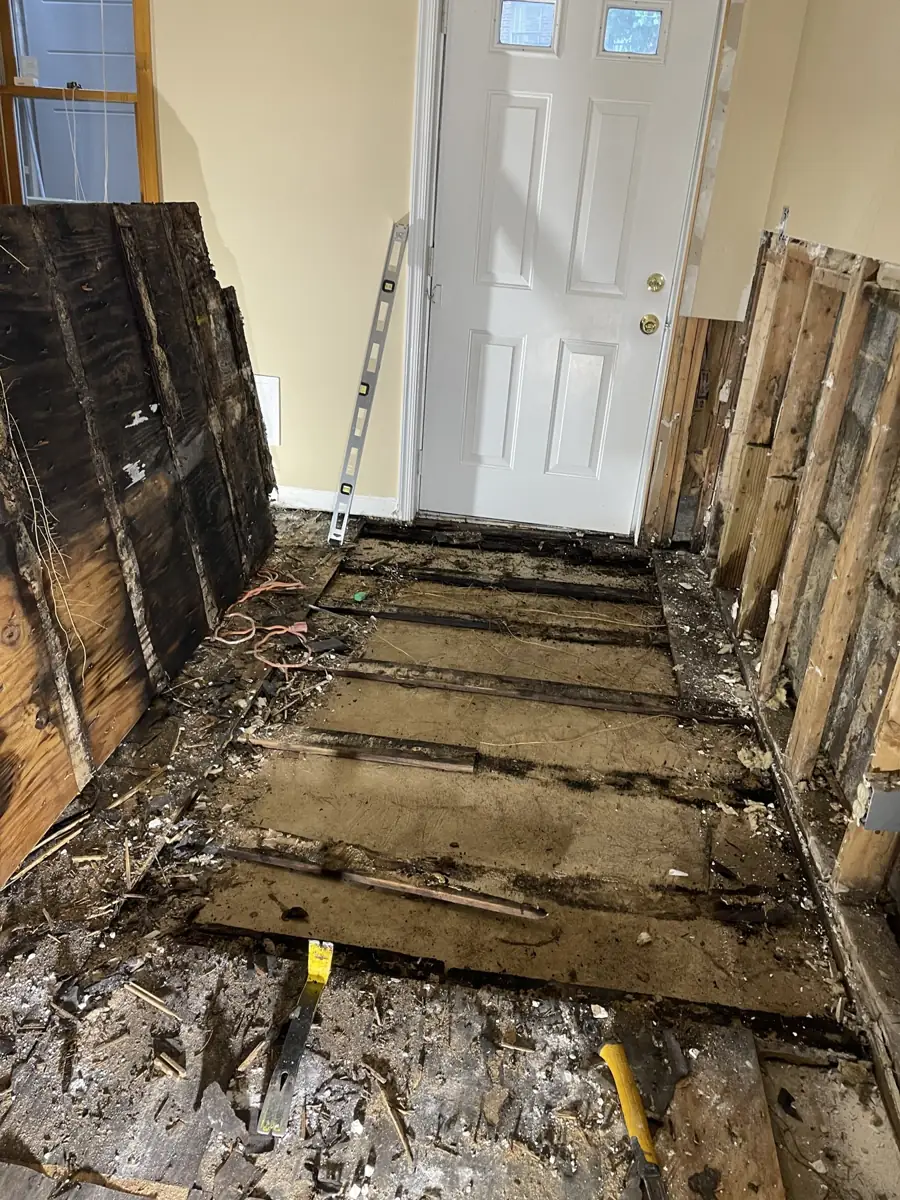
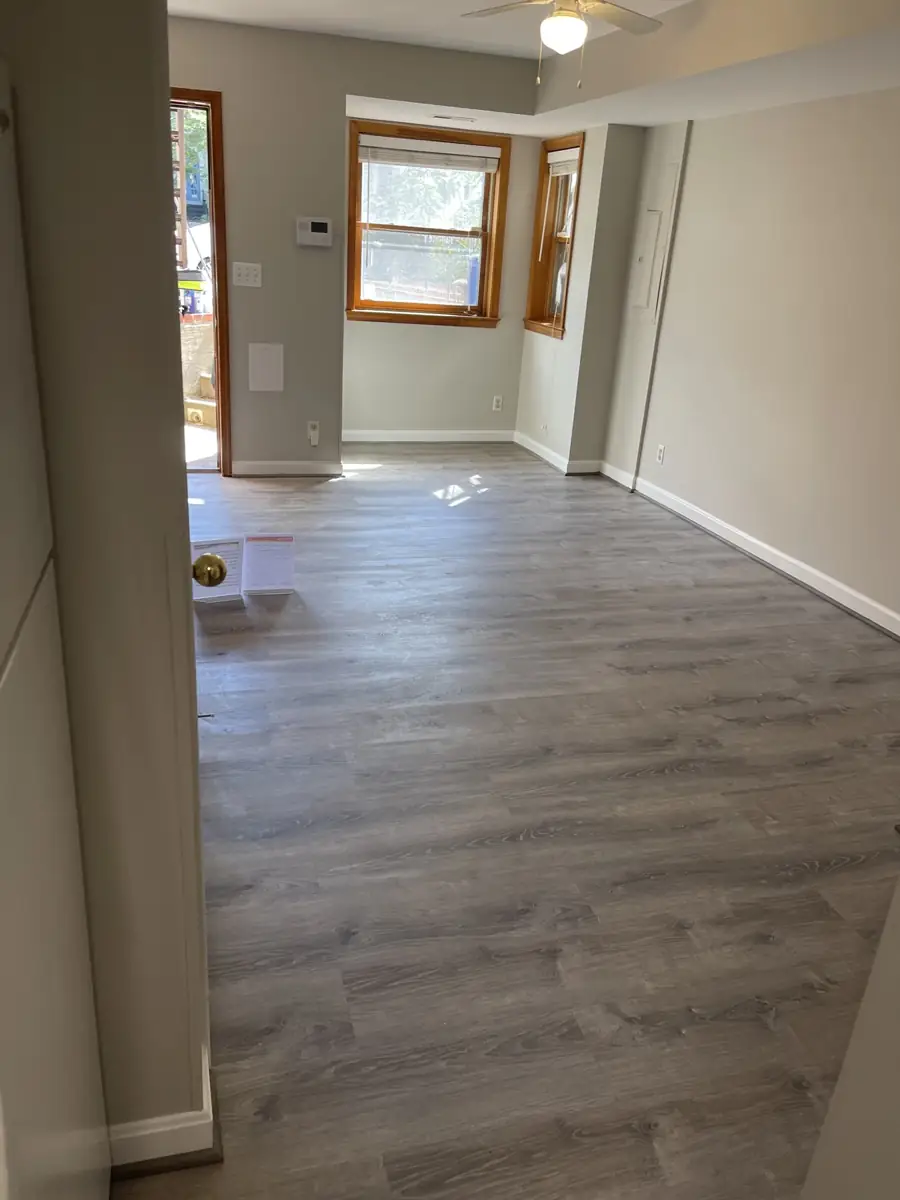
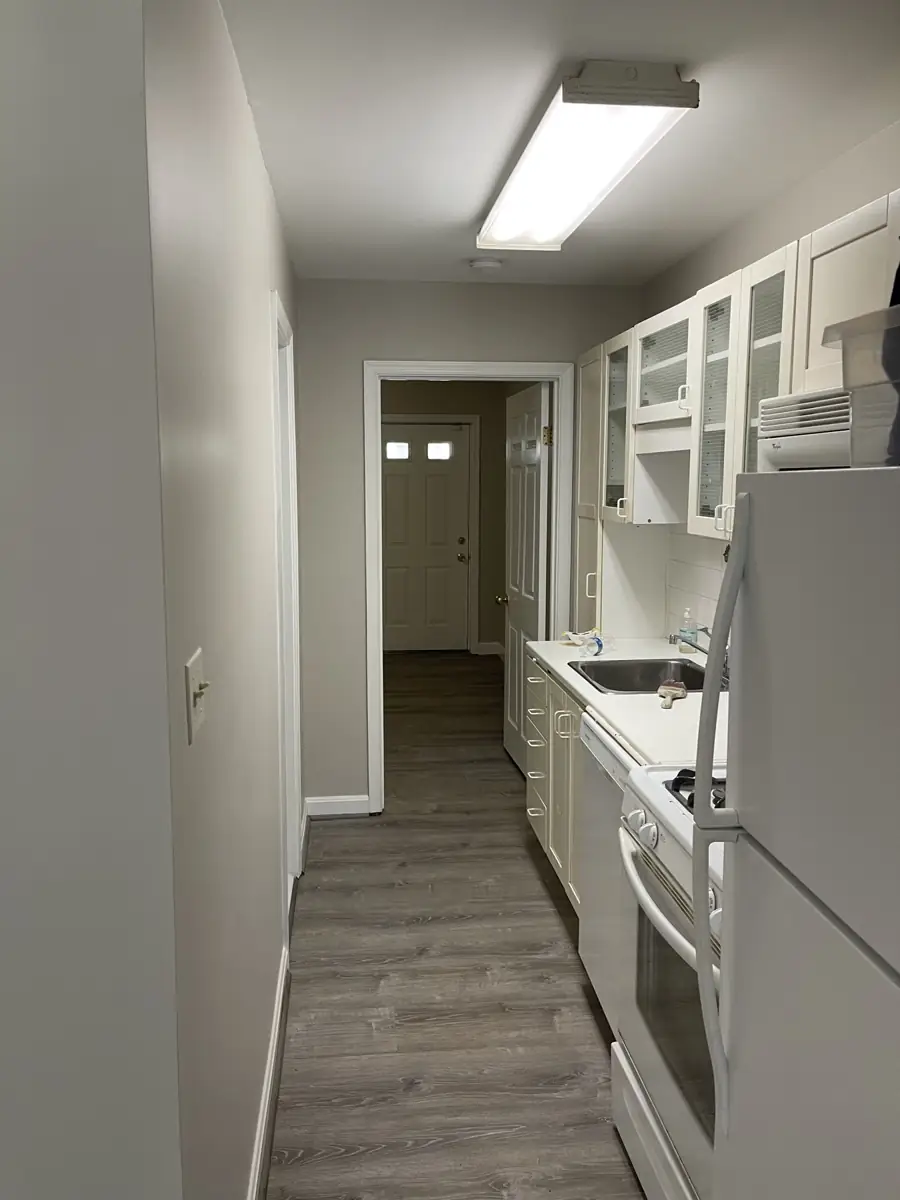
A persistent leak called for more than a new floor. This project involved uncovering extensive water damage, working with outside help to stop the leak at its source, replacing the damaged floor boards, and installing new floating flooring.
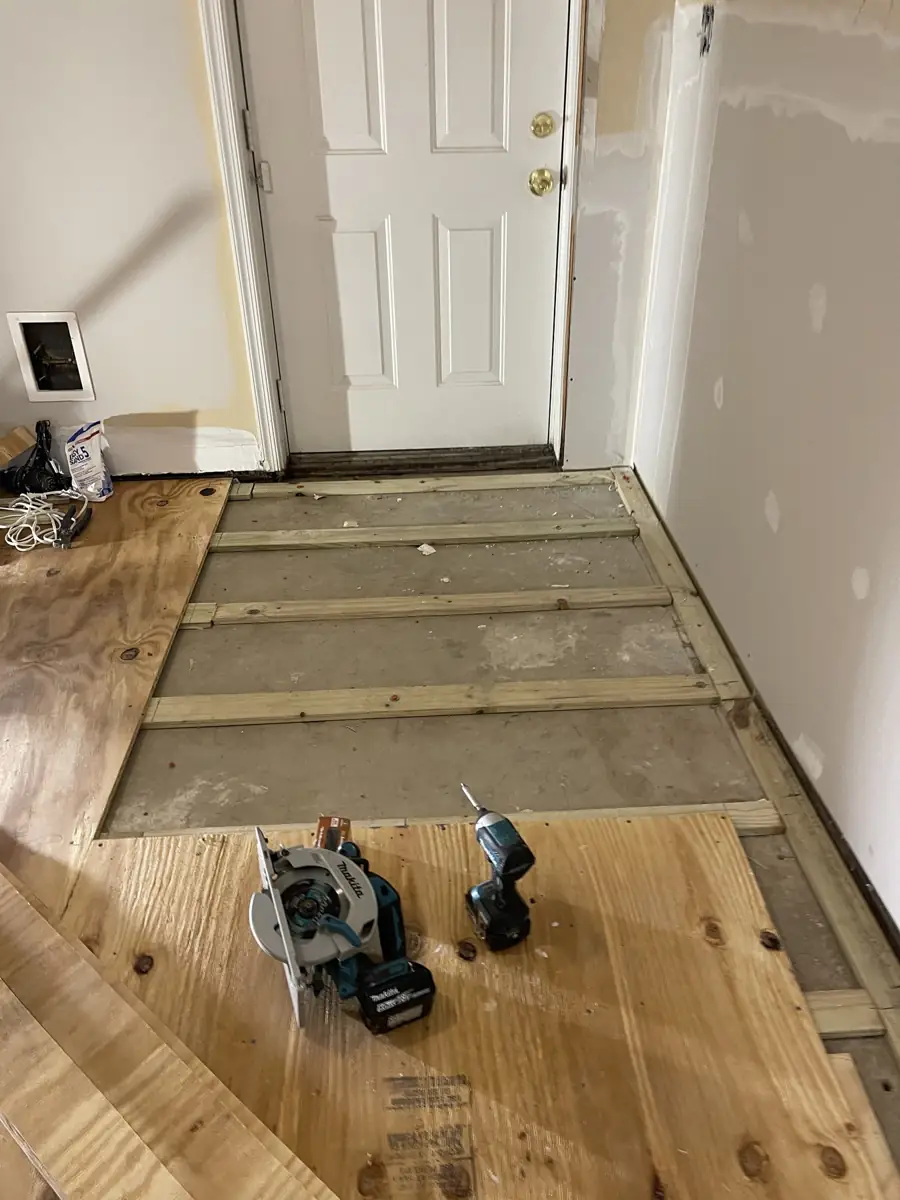
1. Uncovering the damage
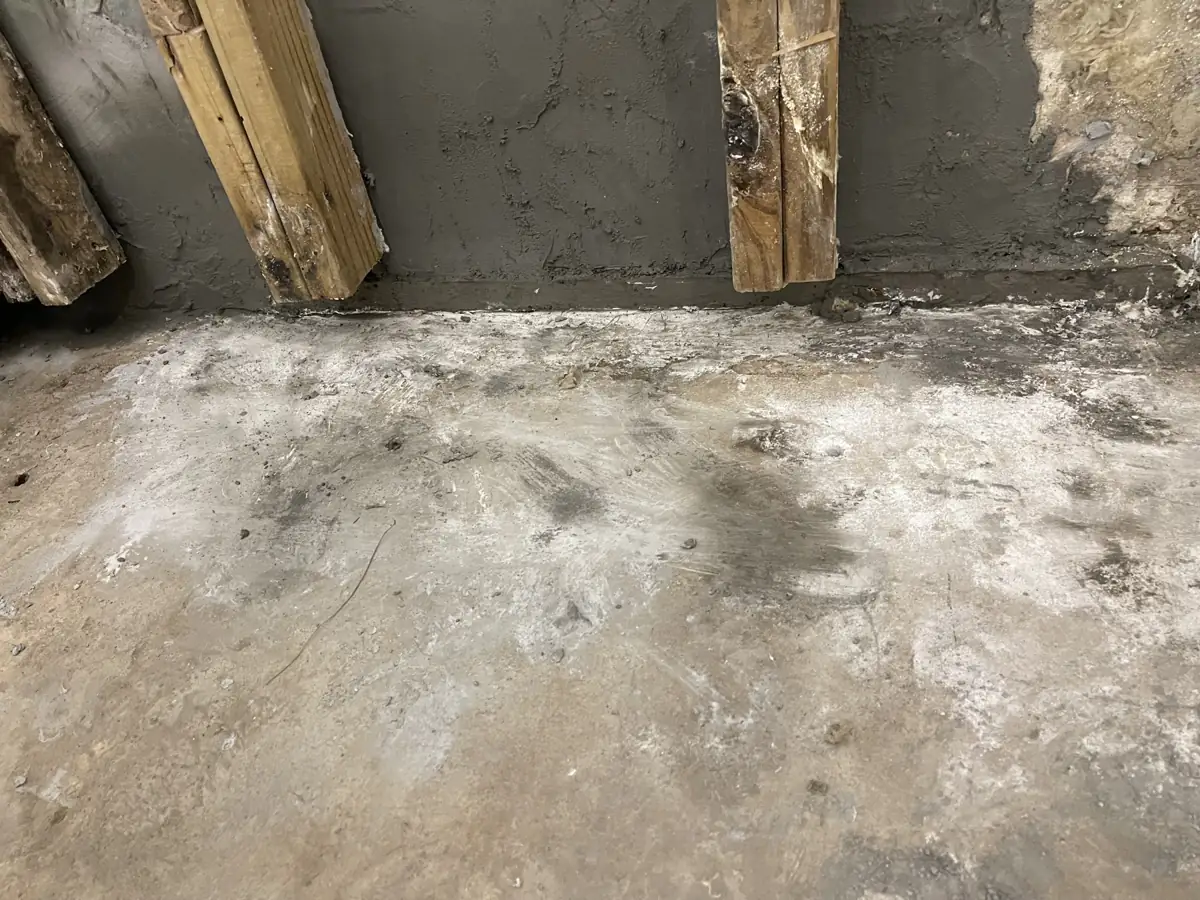
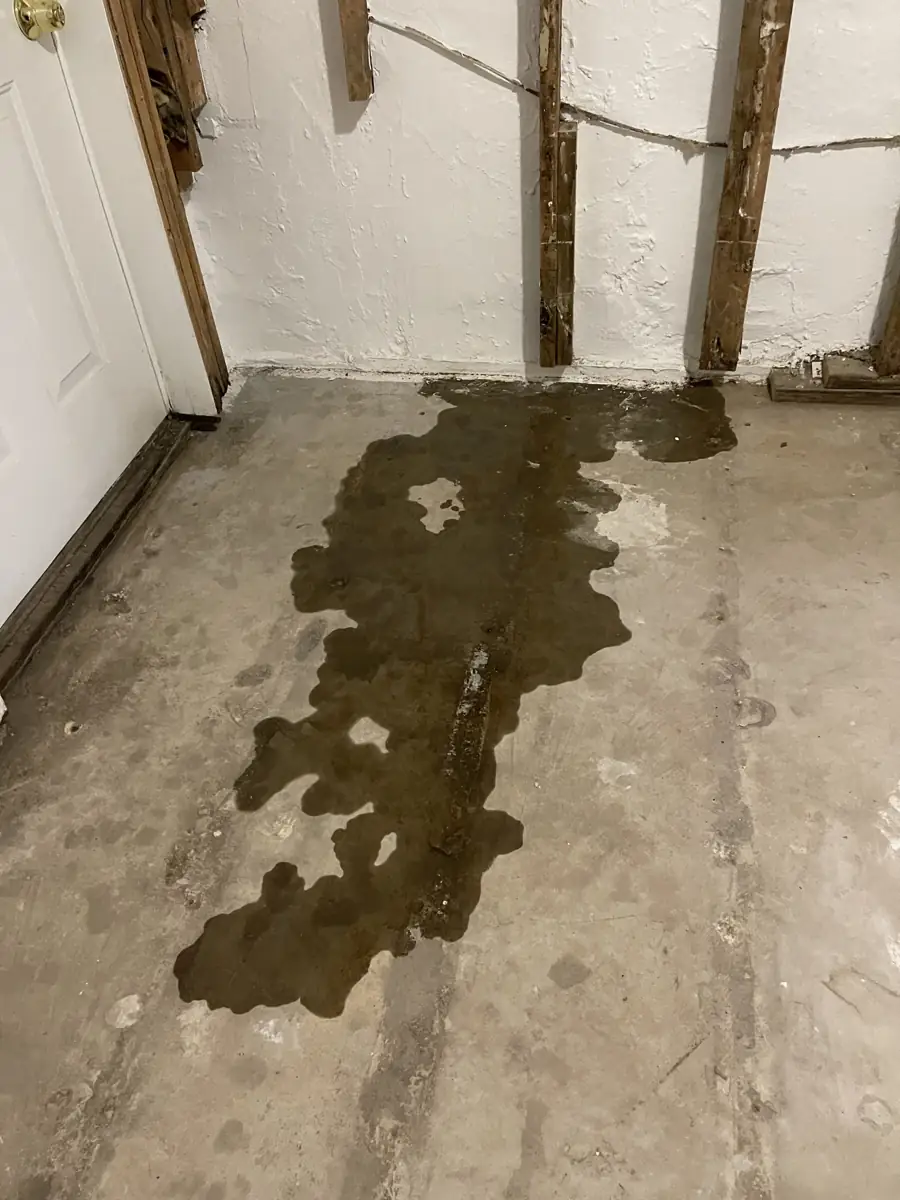
A major water leak had damaged the existing floating floor and the boards beneath it. Removing the flooring and opening the lower wall exposed the extent of the damage.
2. Finding a way to stop the leak
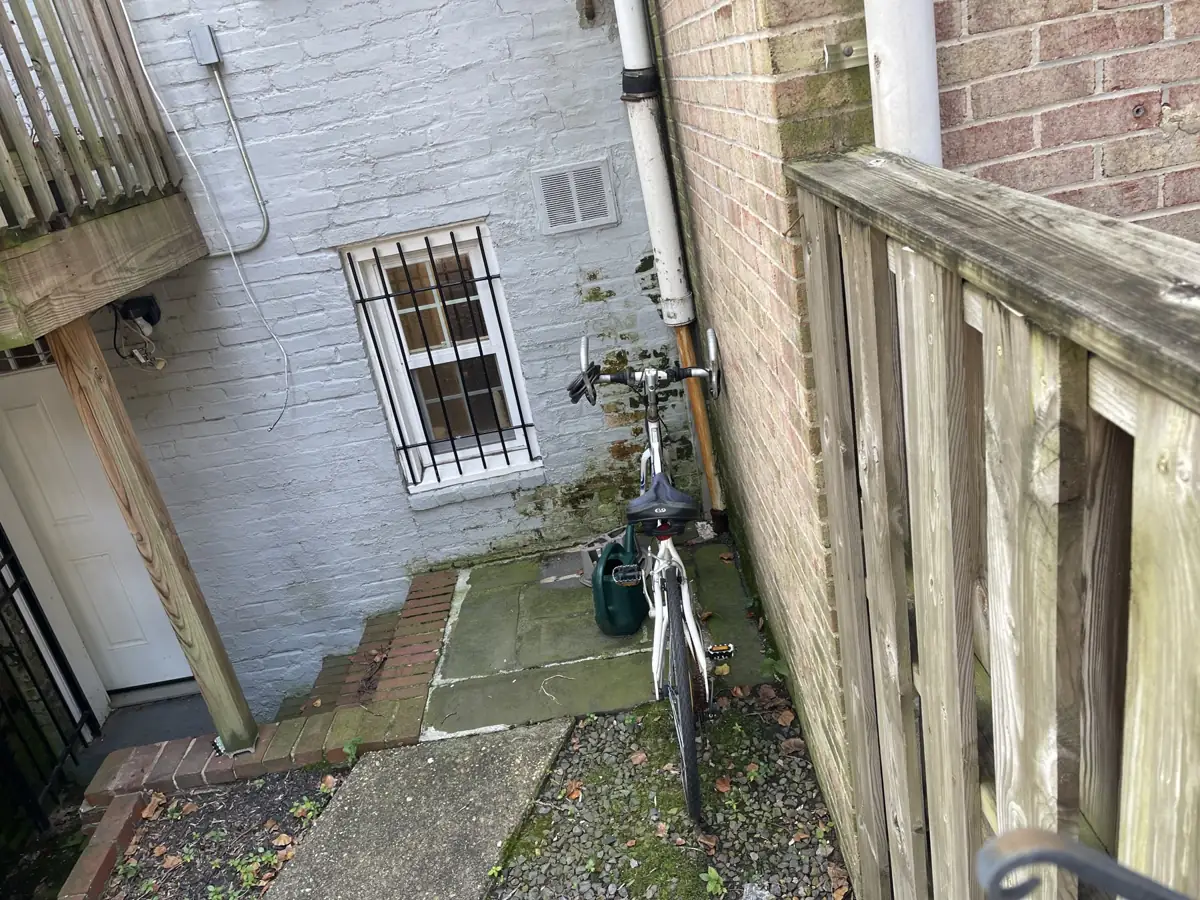
We first tried to stop the leak from inside, but water continued to enter. We then worked with someone on the exterior repair to block the leak from outside before completing the interior restoration.
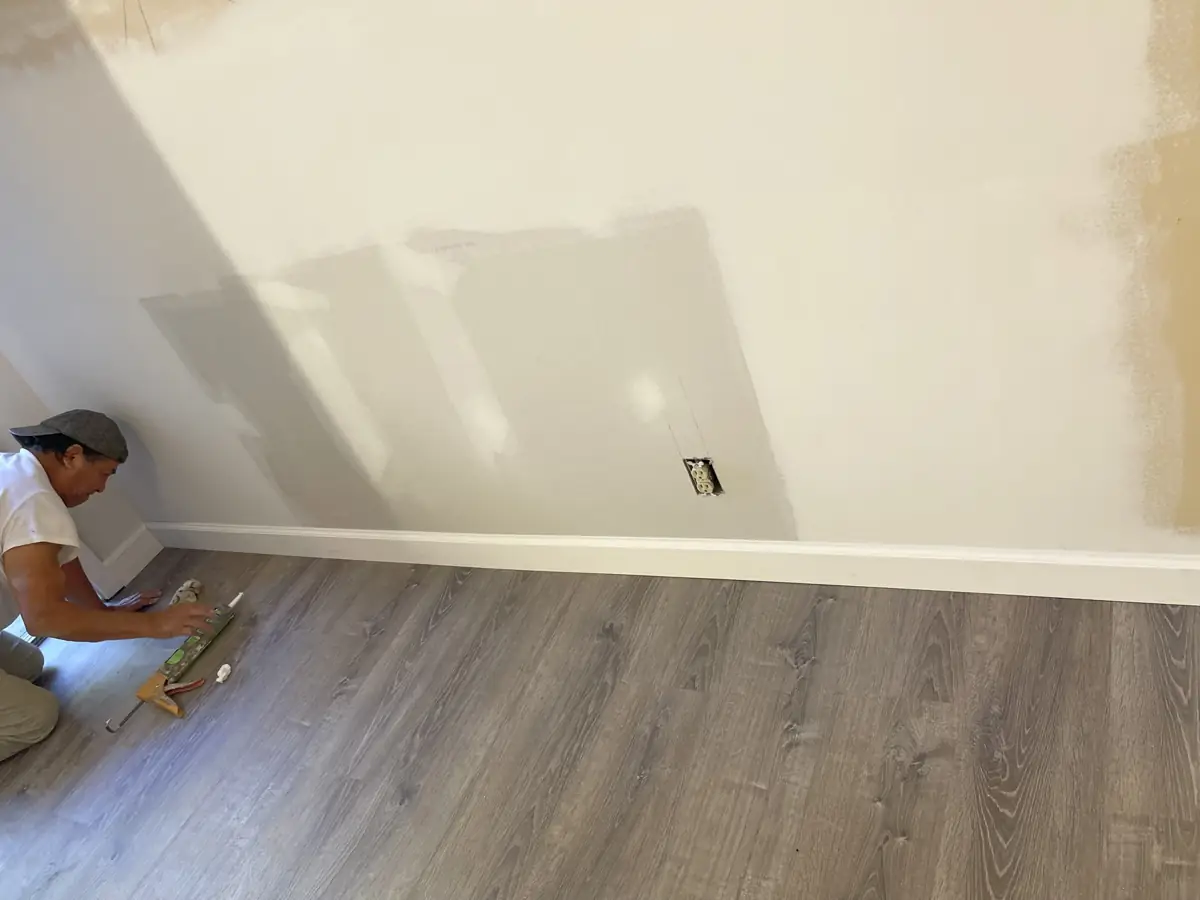
3. Rebuilding the floor and walls
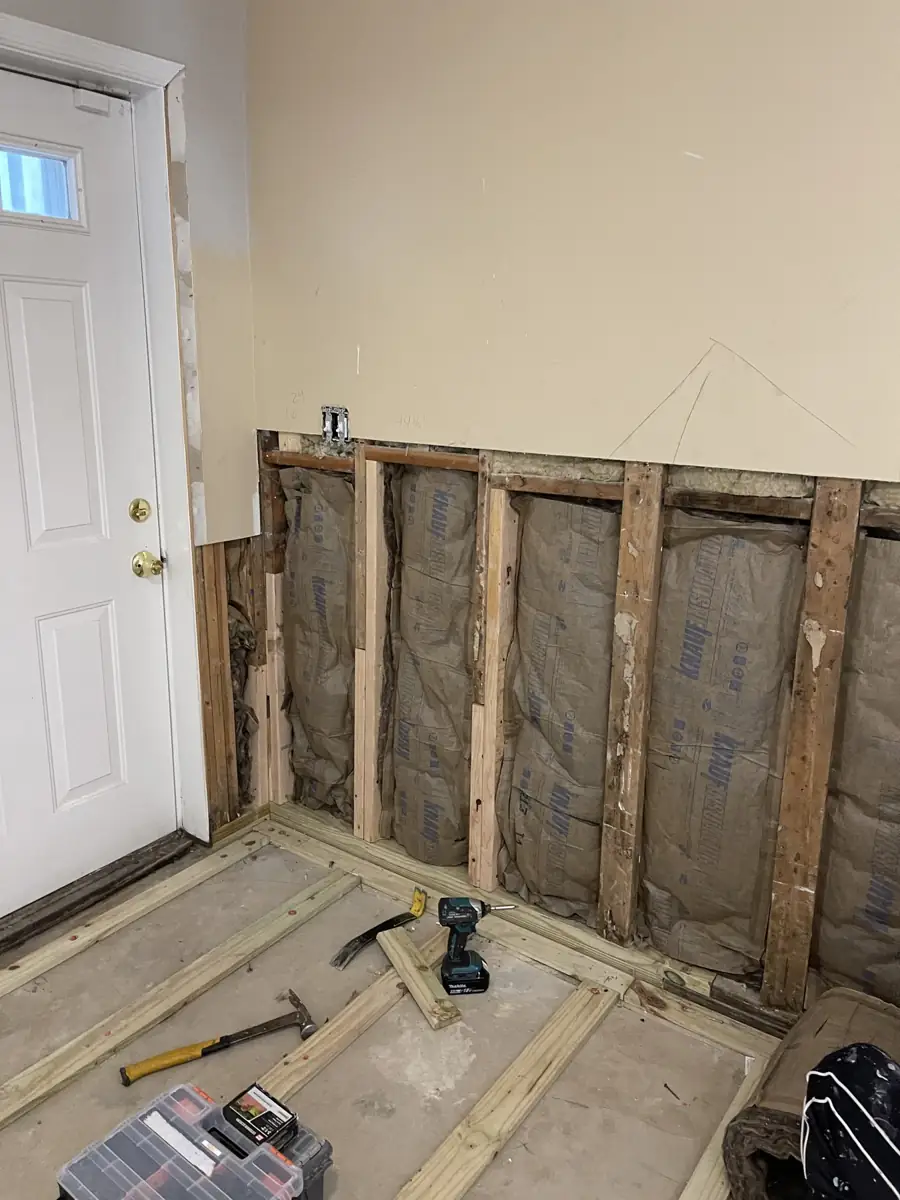
With the leak resolved from outside, we replaced the damaged floor boards, repaired the opened wall areas, and installed new floating flooring throughout the affected space.
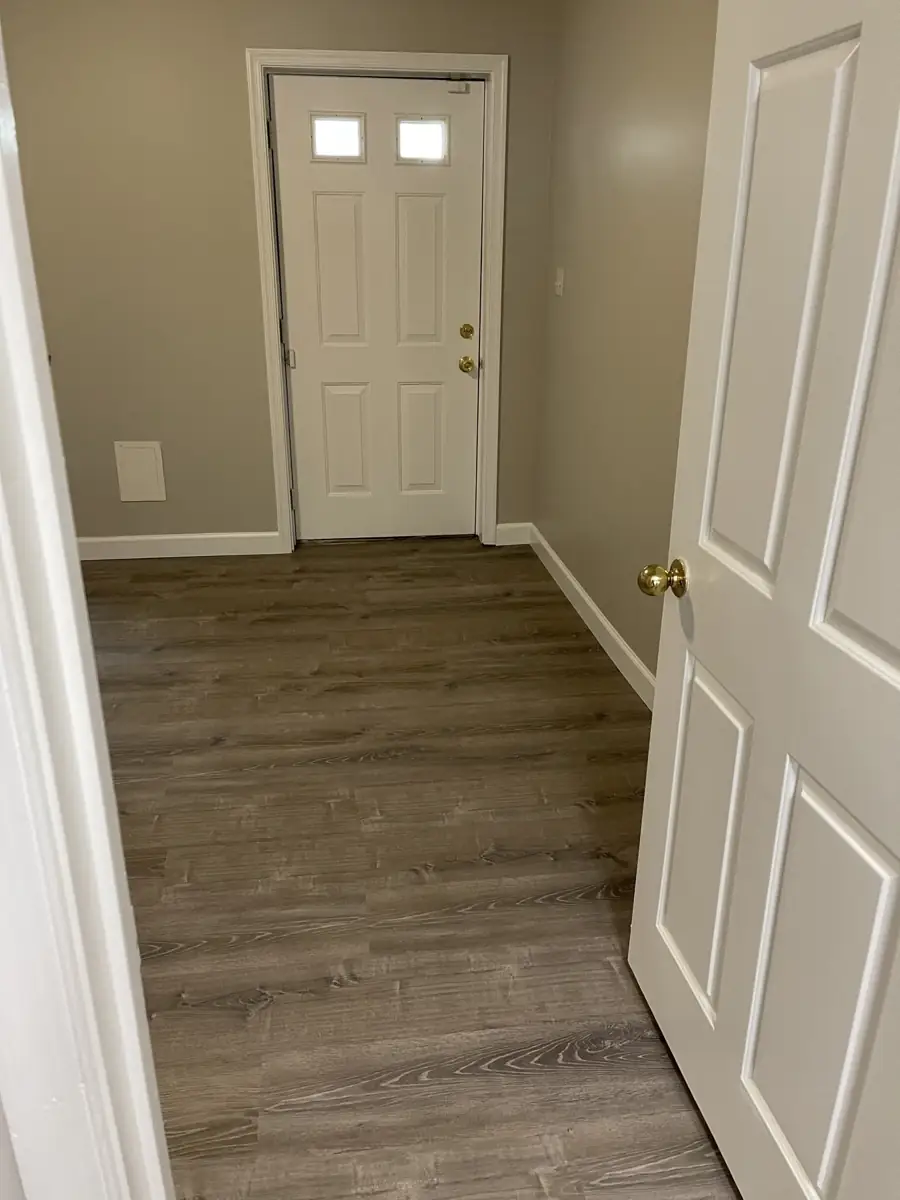
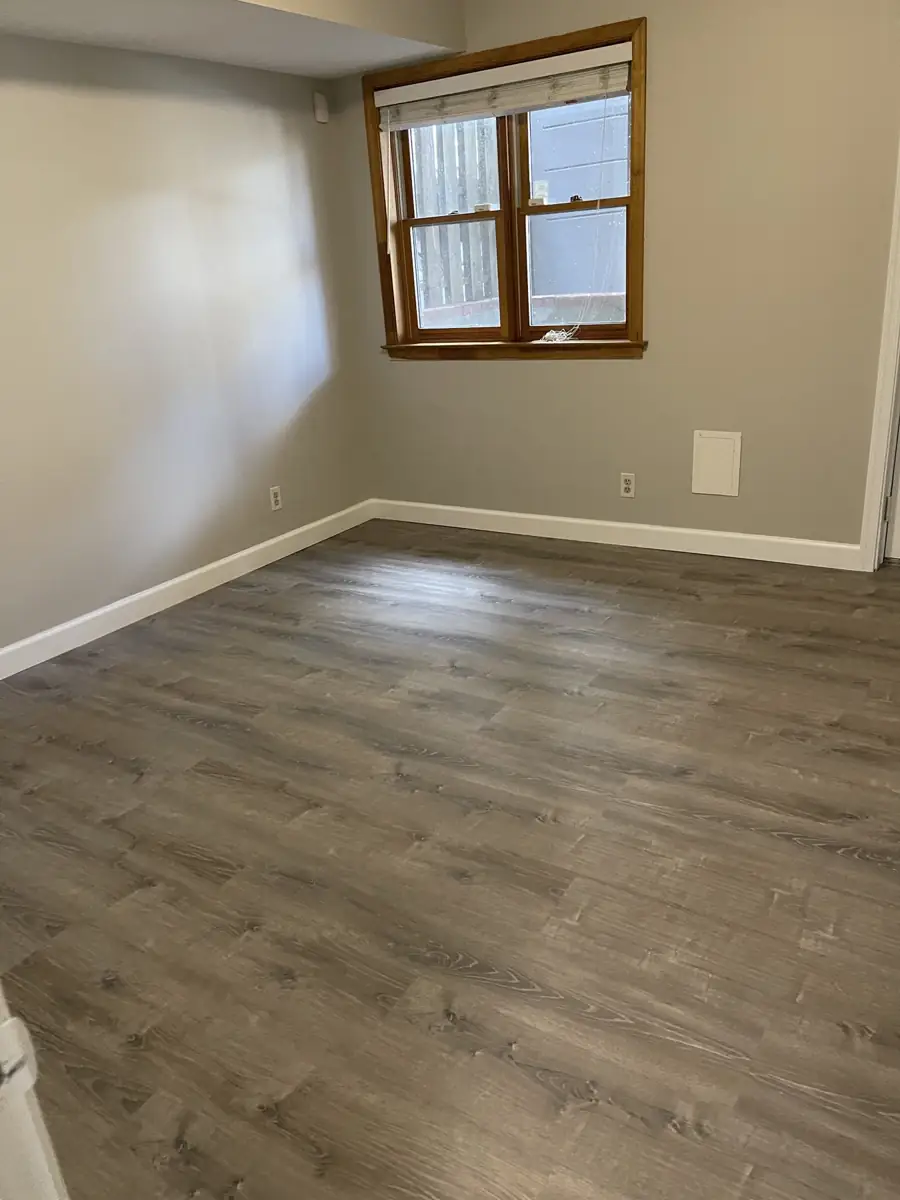
4. The finished space
The completed rooms have continuous new flooring, repaired walls, and finished trim—from the entry and main room through to the kitchen.
FLOORING & STAIR FINISH WORK
Flooring & stairs,
finished with care
CHI completed flooring and stair finish work with a coordinated gray wood-look finish. These selected views highlight the room flooring, matching stair treads and risers, and carefully fitted stair edges and transitions.
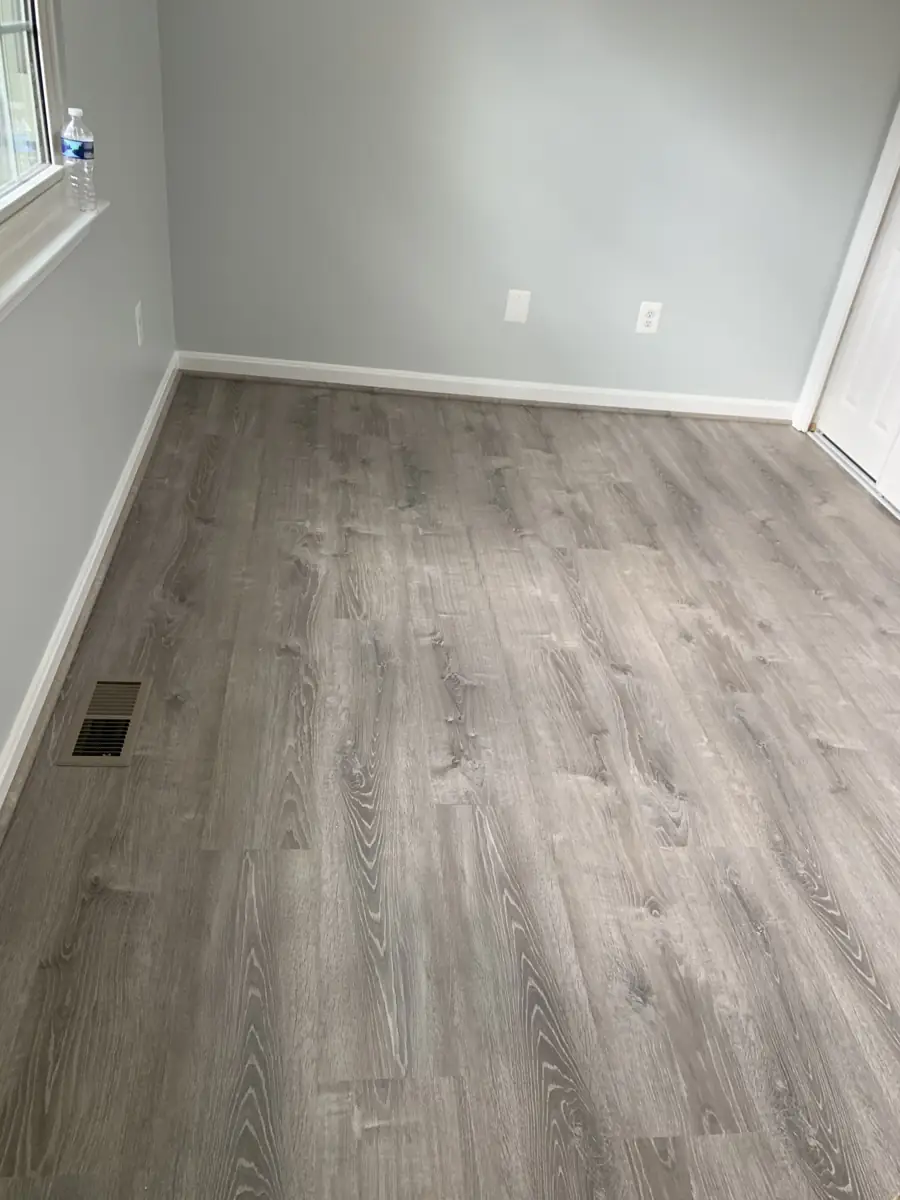
Finished gray wood-look flooring with neatly fitted edges
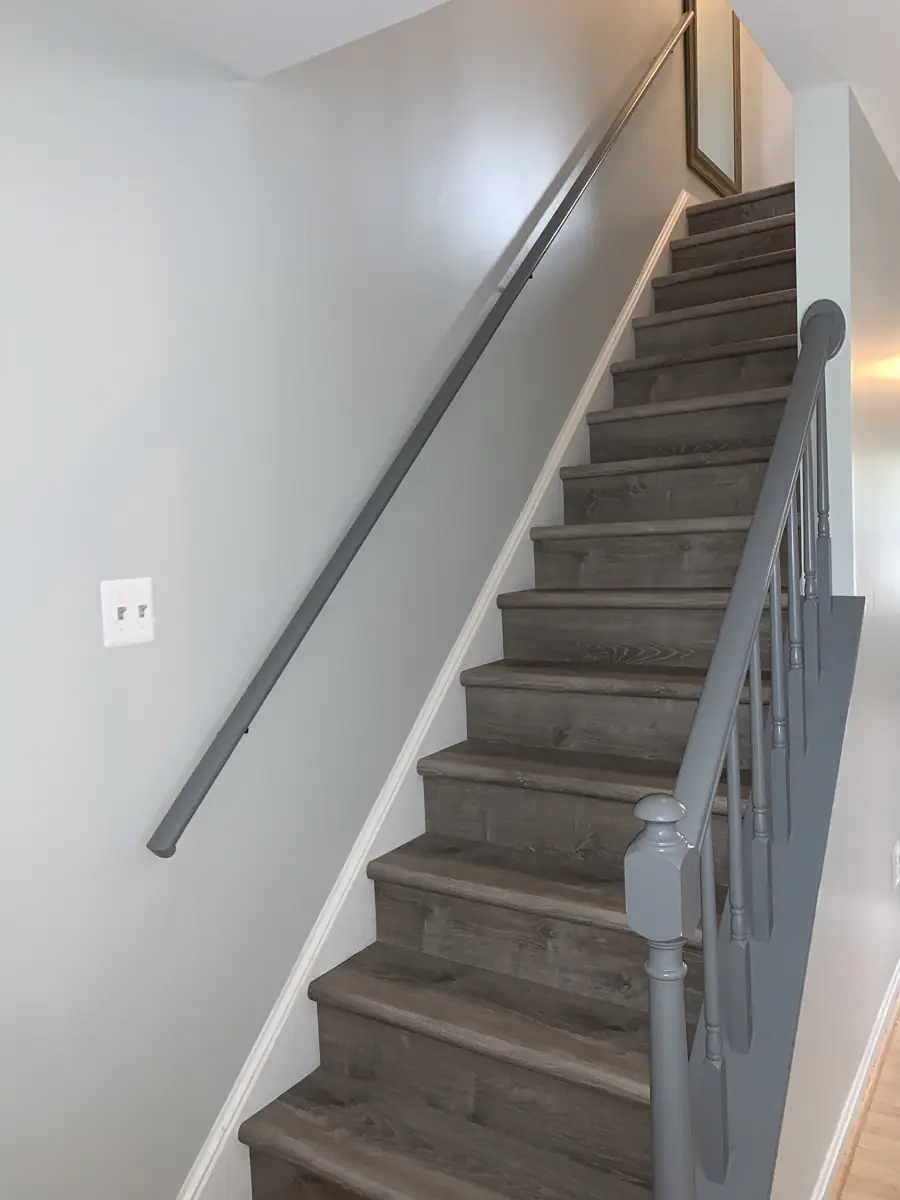
Full staircase with coordinated treads and risers
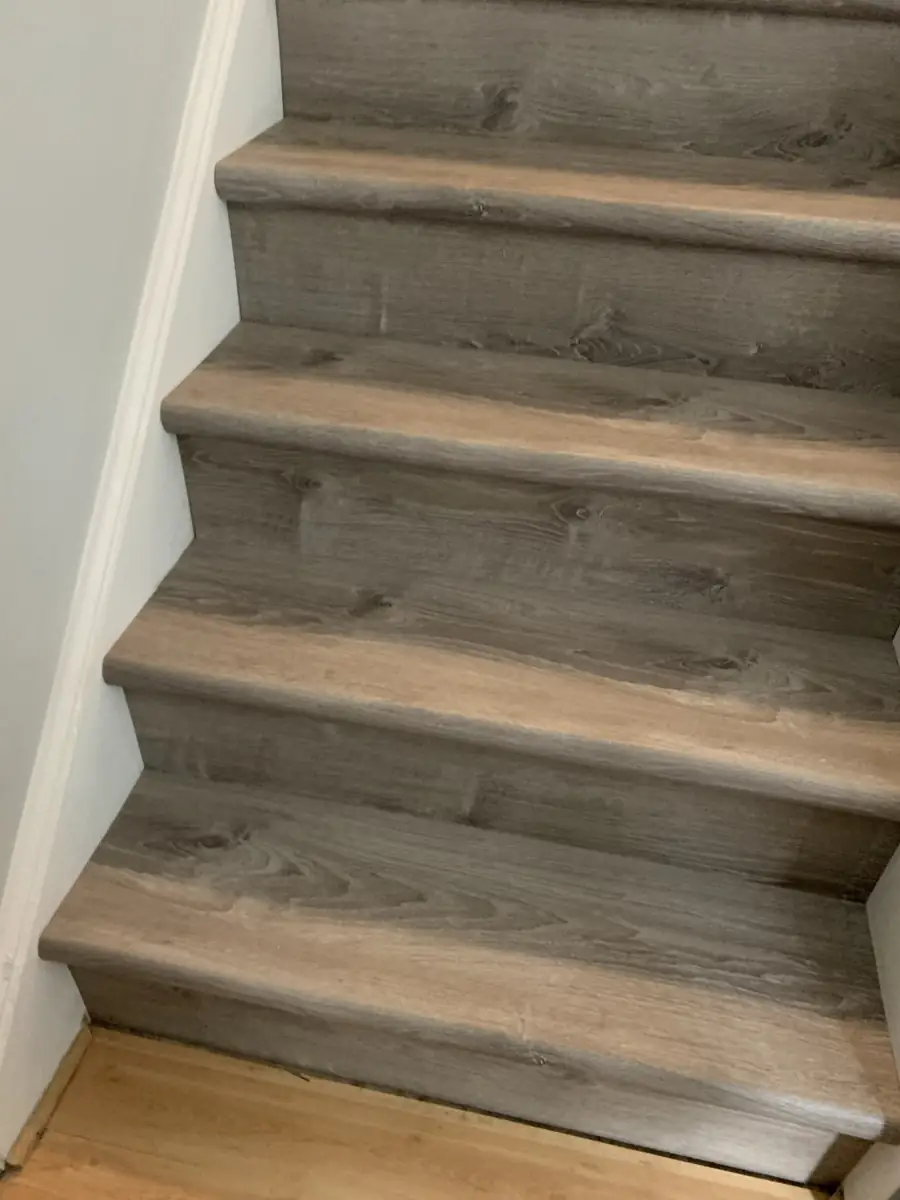
Close-up of the finished stair edges and flooring transition
FLOORING
Kitchen flooring
Kitchen flooring work by CHI, shown in the finished view below.
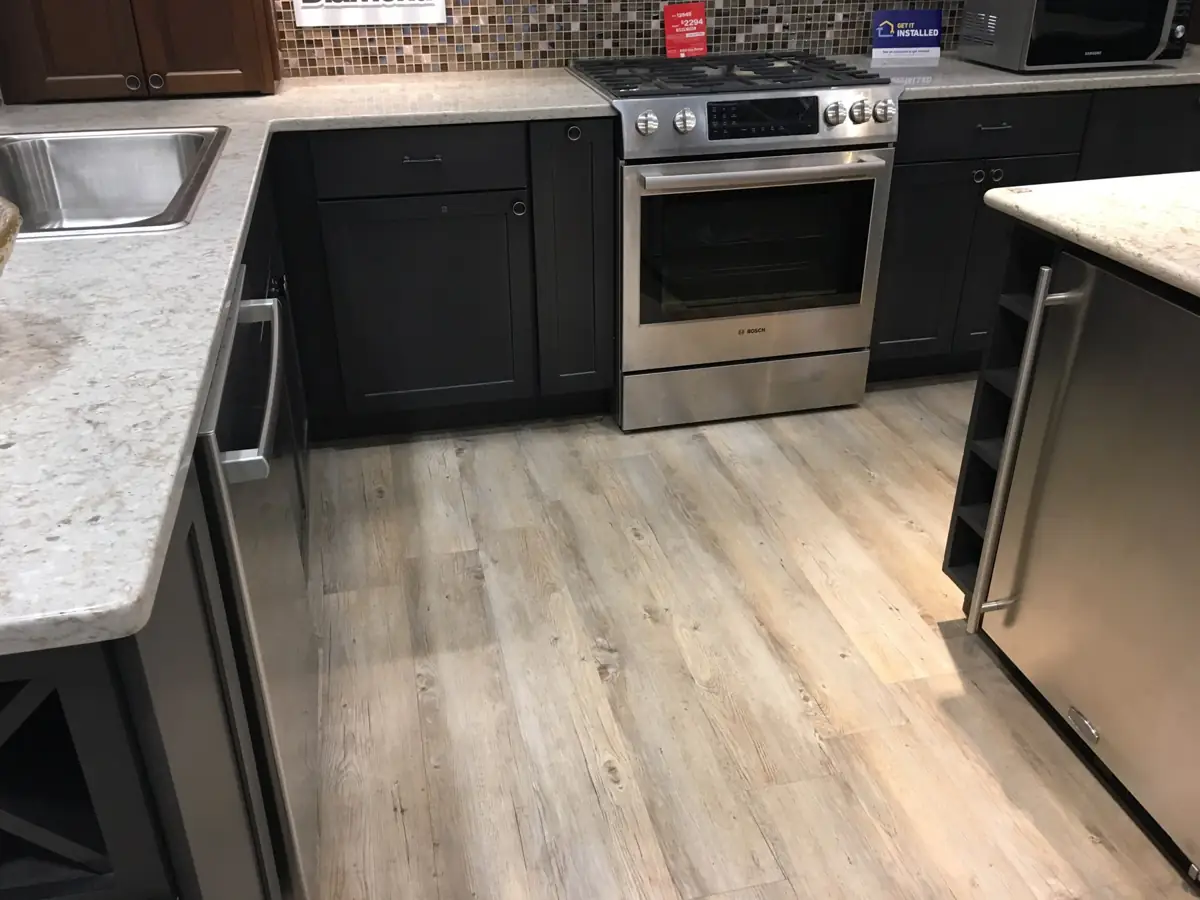
Finished kitchen flooring
Doors & Carpentry
DRYWALL, CARPENTRY & LIGHTING
New drywall, a custom closet
& built-in shelving
We removed the thin plywood wall panels and replaced them with drywall, framed a new closet with 2×4 lumber, built custom shelving, and installed recessed lights. These selected photos follow the drywall and closet work through to the completed improvements.
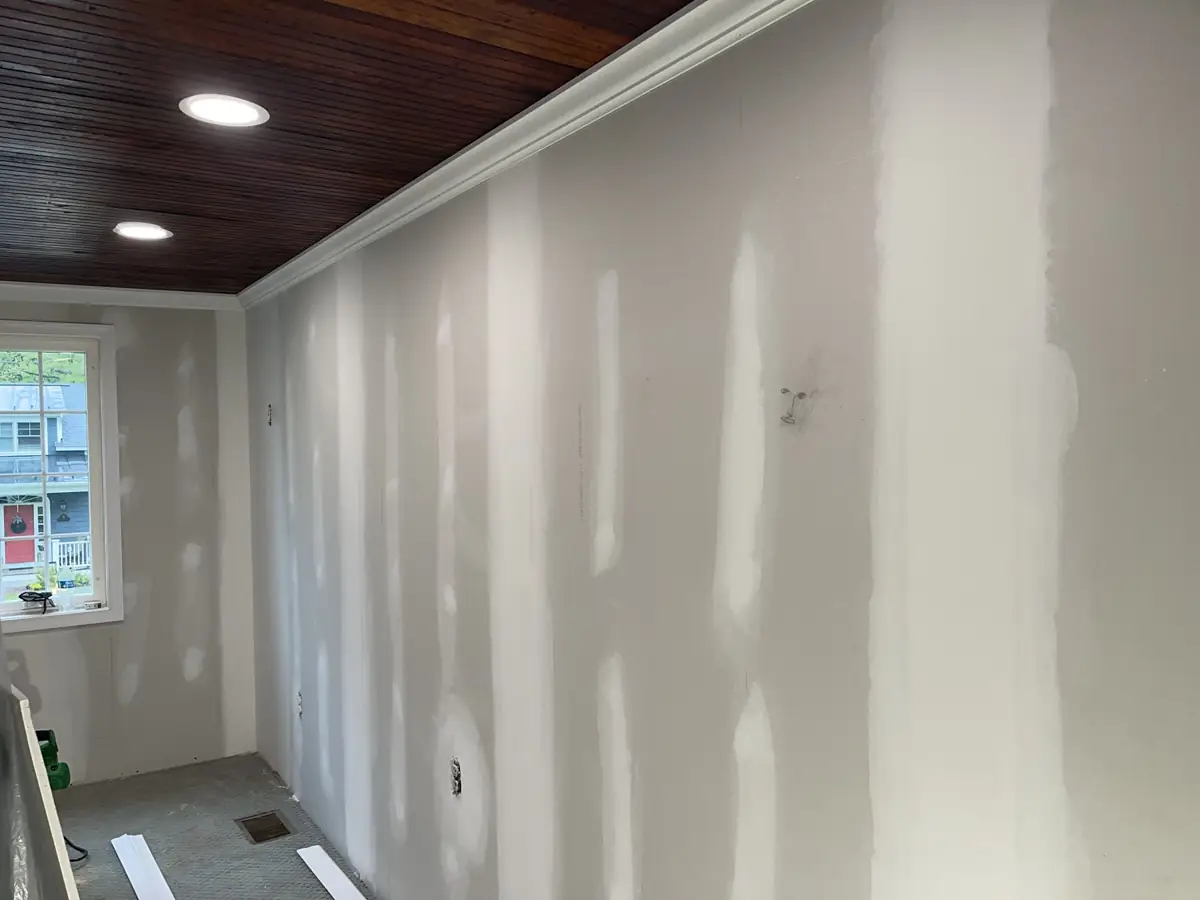
New drywall with taped and finished seams
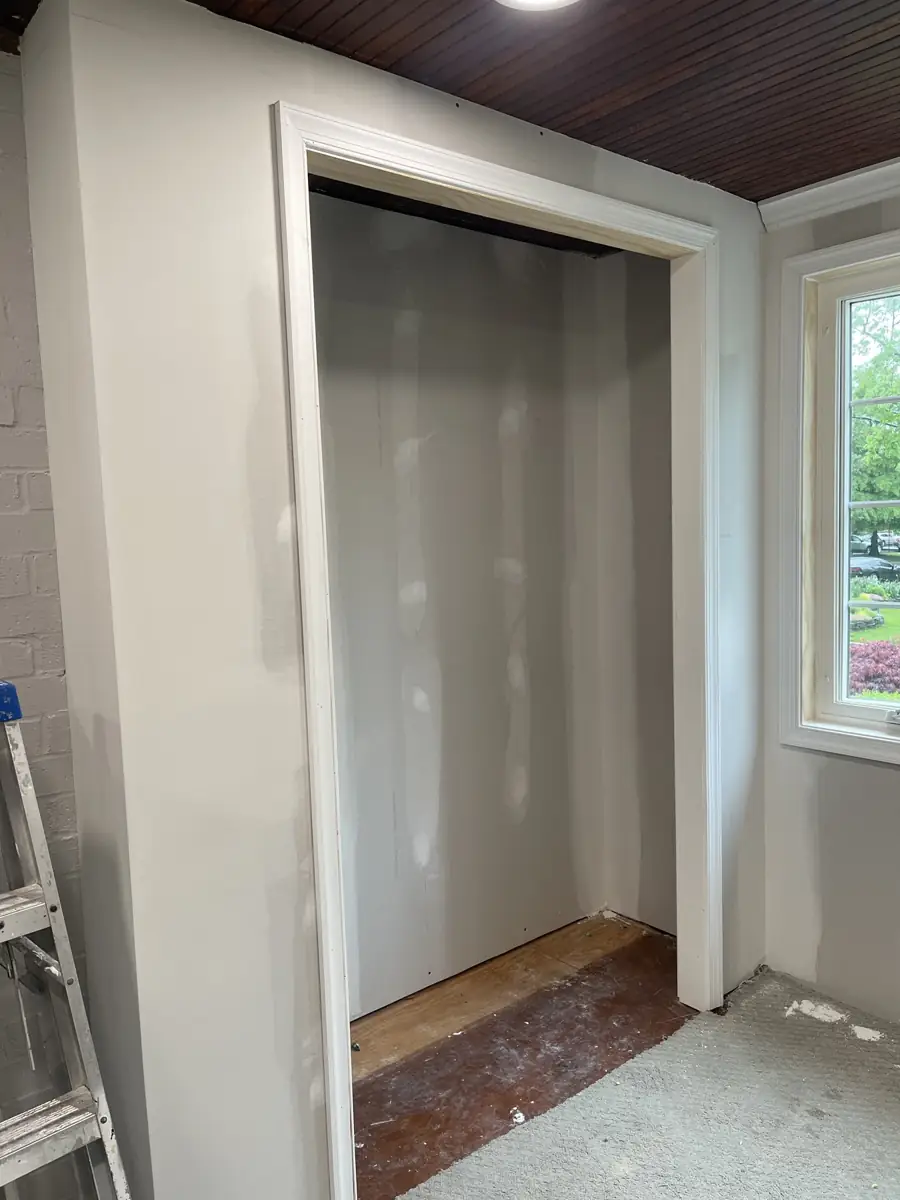
New closet opening before the doors were installed
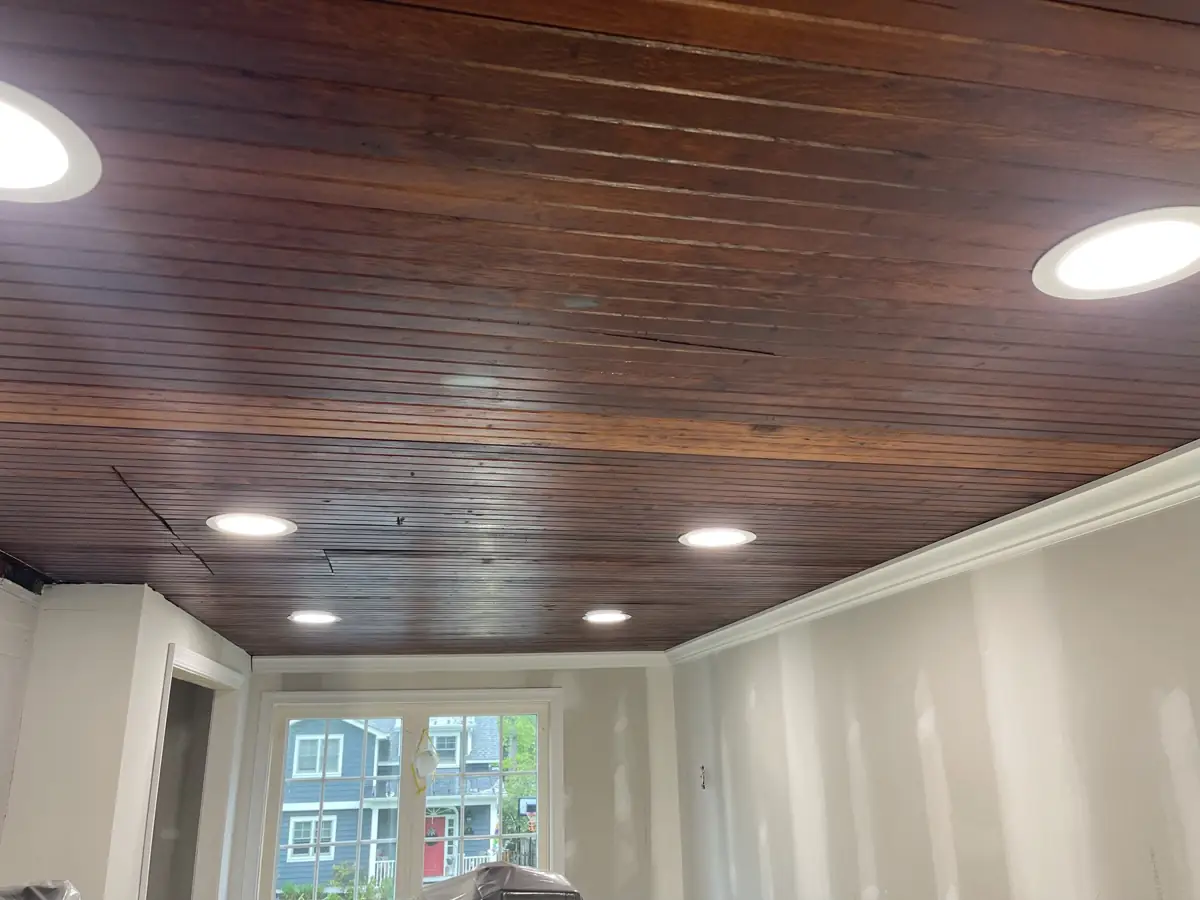
Recessed lights in the wood ceiling during drywall finishing
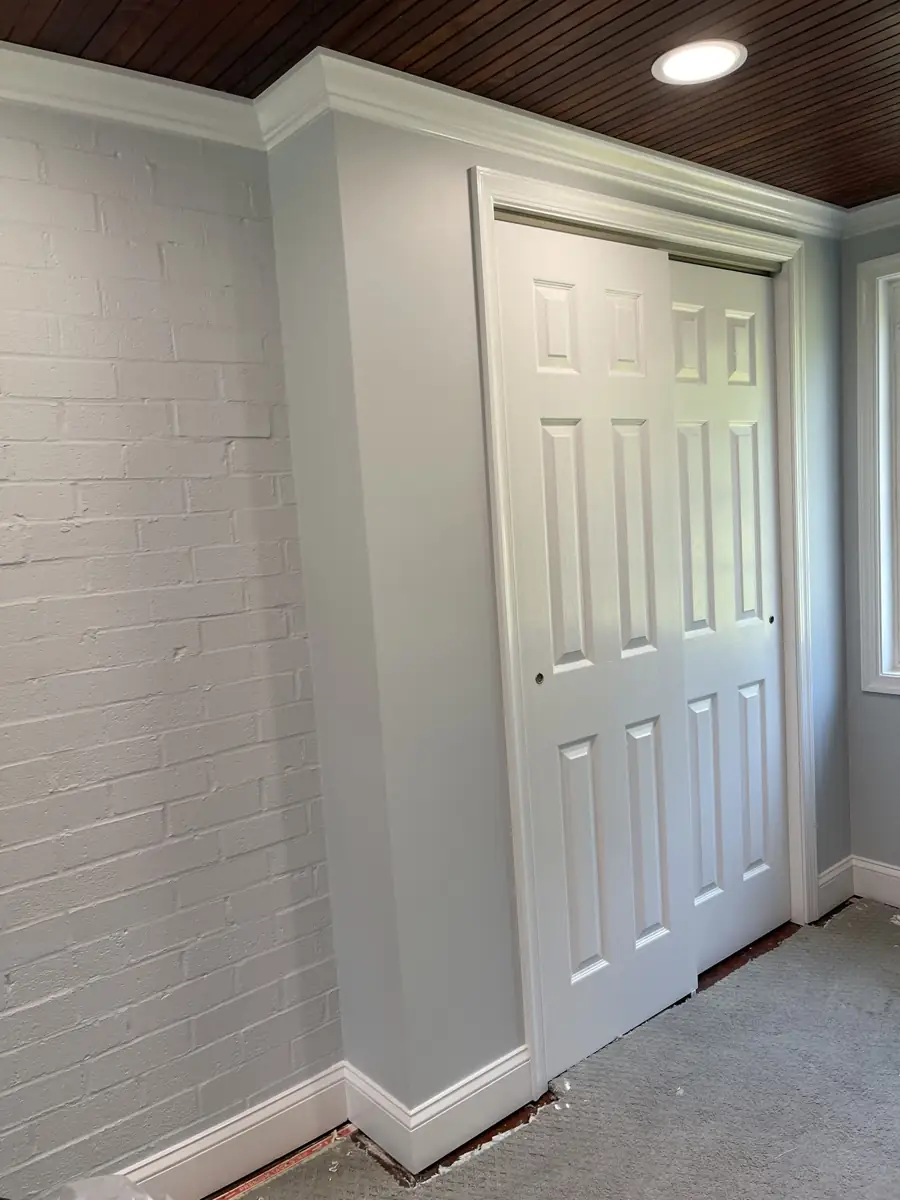
Finished closet with white doors and trim
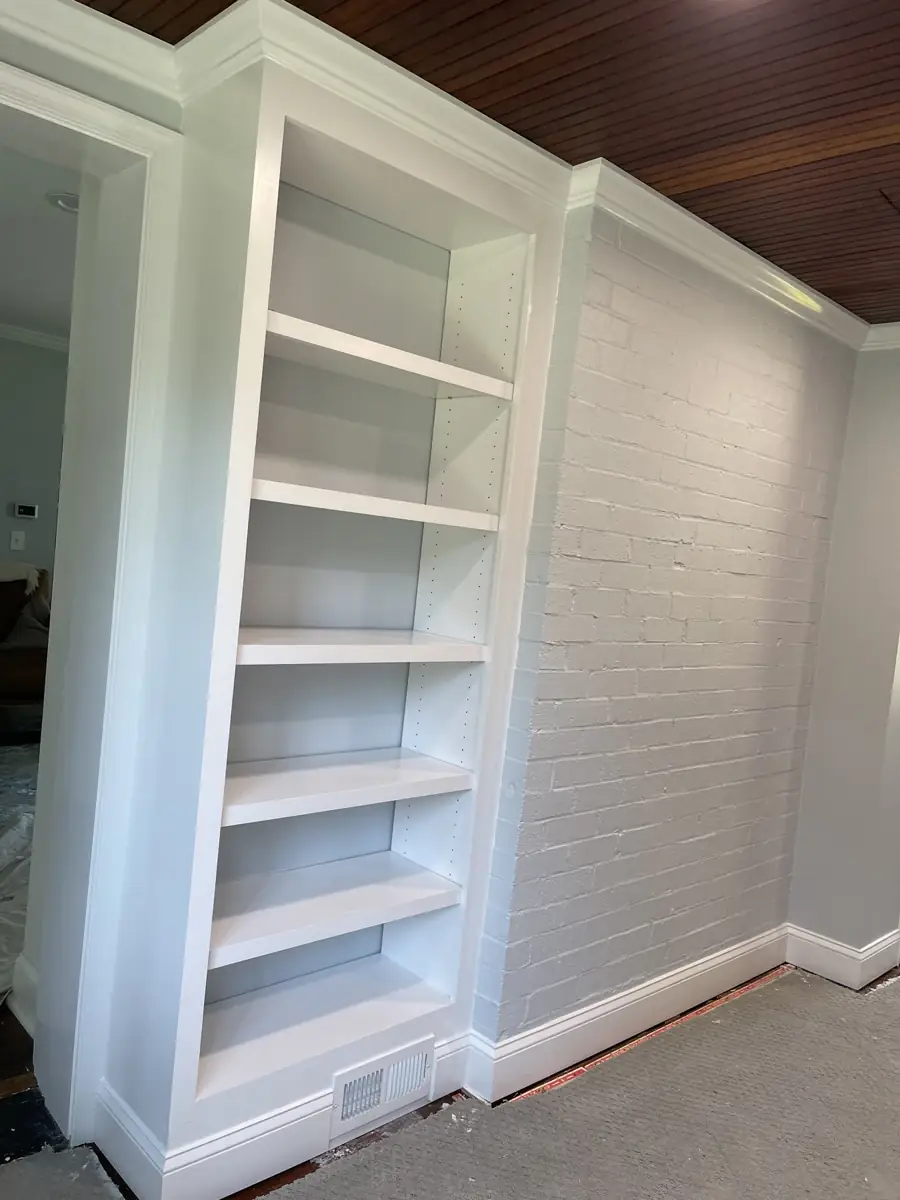
Custom built-in shelving with white trim
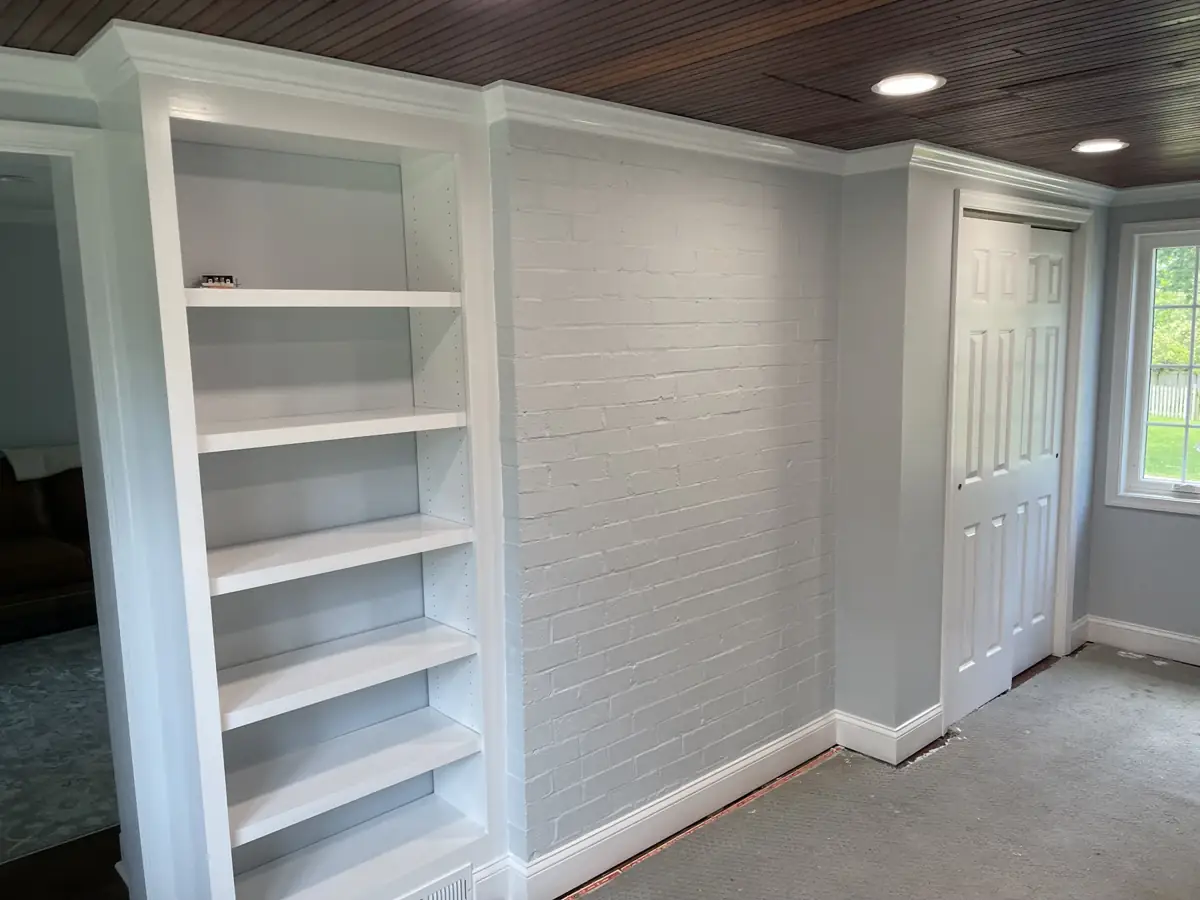
Built-in shelves, new closet, and recessed lighting
EXTERIOR CARPENTRY
Replacing rotted
6×6 exterior posts
Rot had deteriorated the bases of the exterior posts beneath this deck. CHI removed the damaged posts and installed replacement 6×6 posts. These selected photos show the exposed rot, replacement work in progress, and the installed posts.
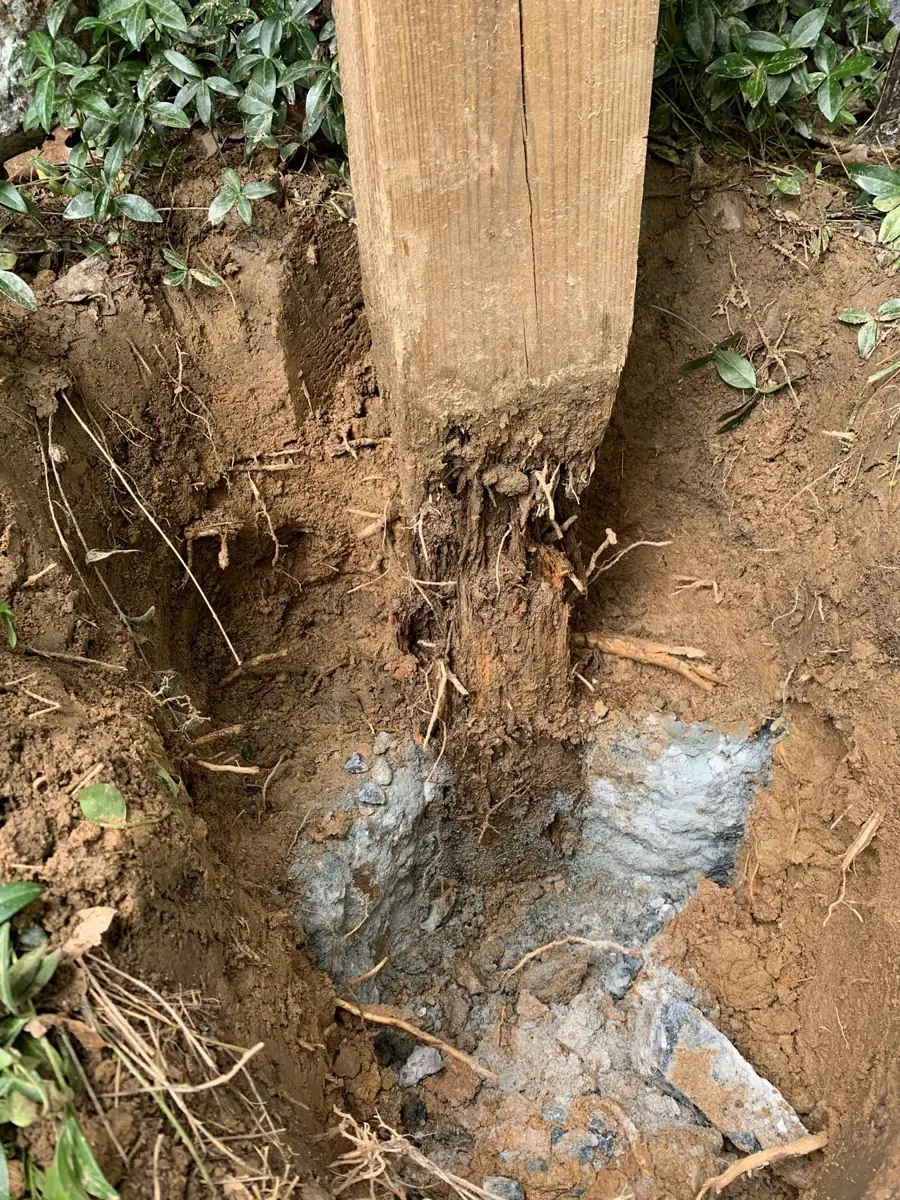
Rot exposed at the base of an existing exterior post
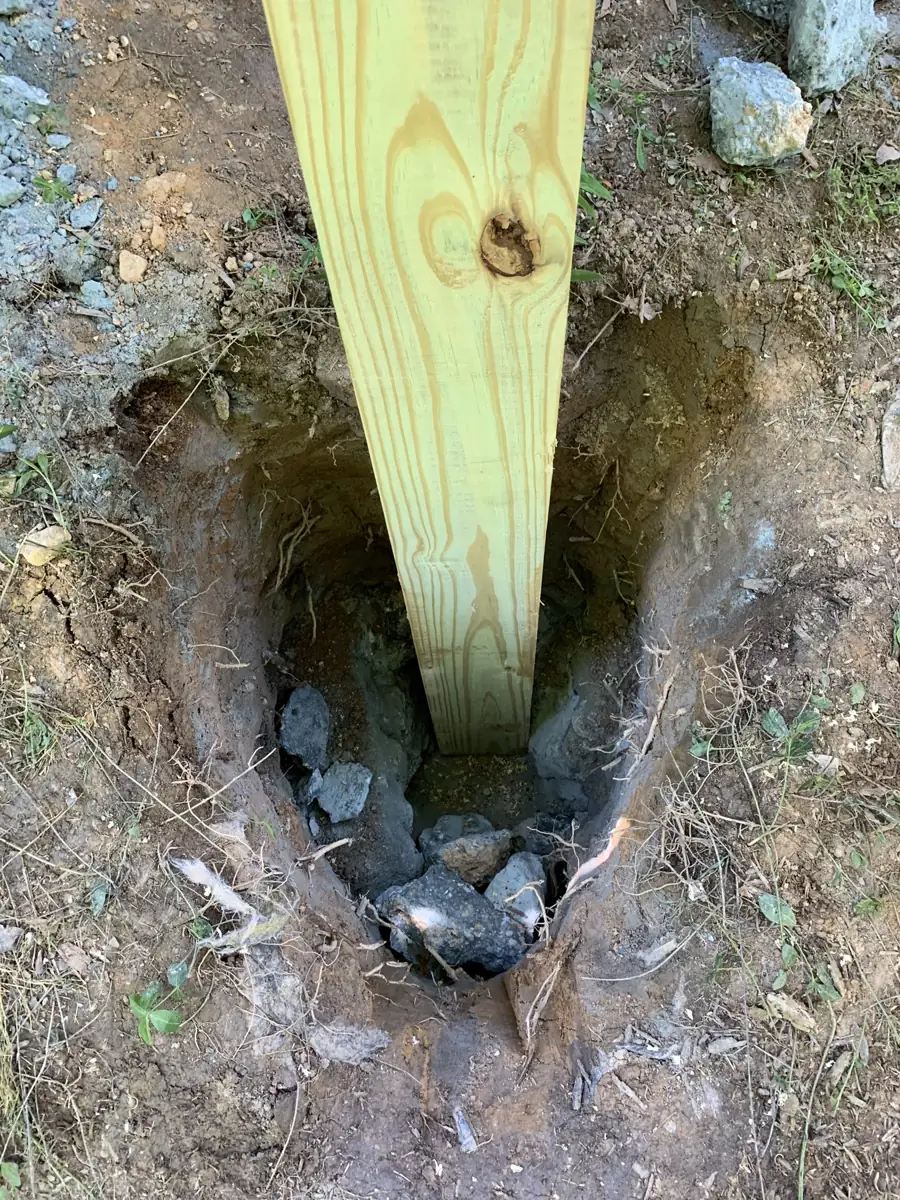
Replacement 6×6 post positioned in the excavated opening
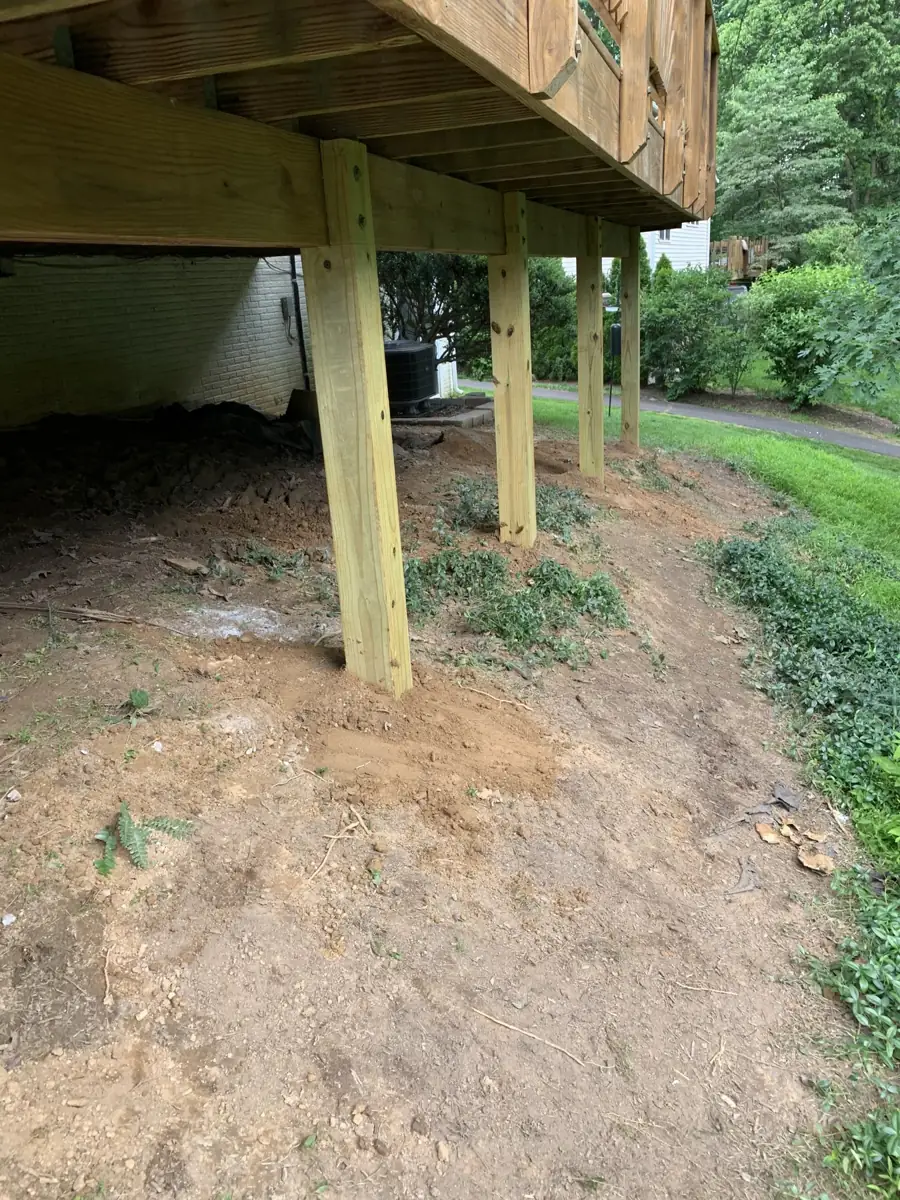
Replacement posts beneath the raised deck
DOORS
Sliding barn door installation
A white sliding barn door with black track hardware and a matching handle. These photos show the installation in progress and the finished result.
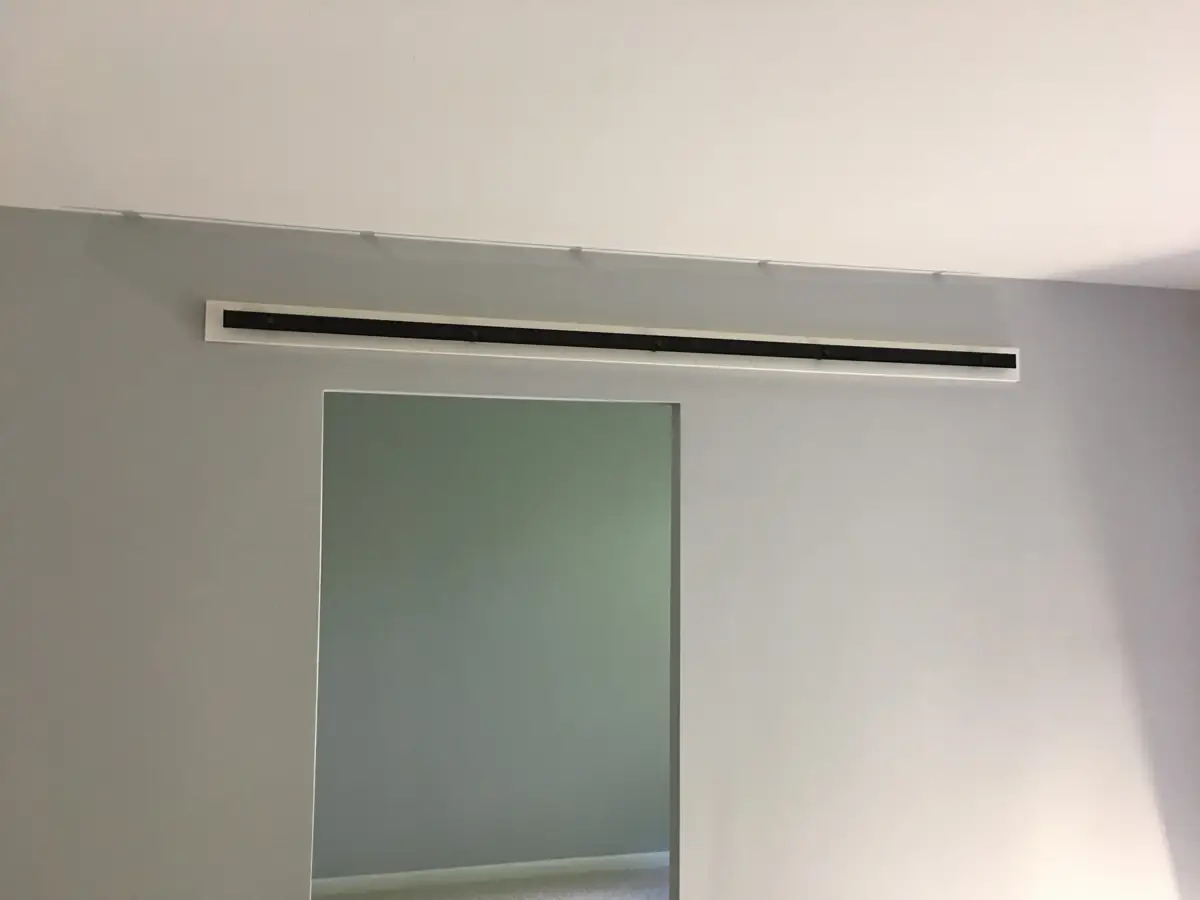
Sliding door track mounted above the opening
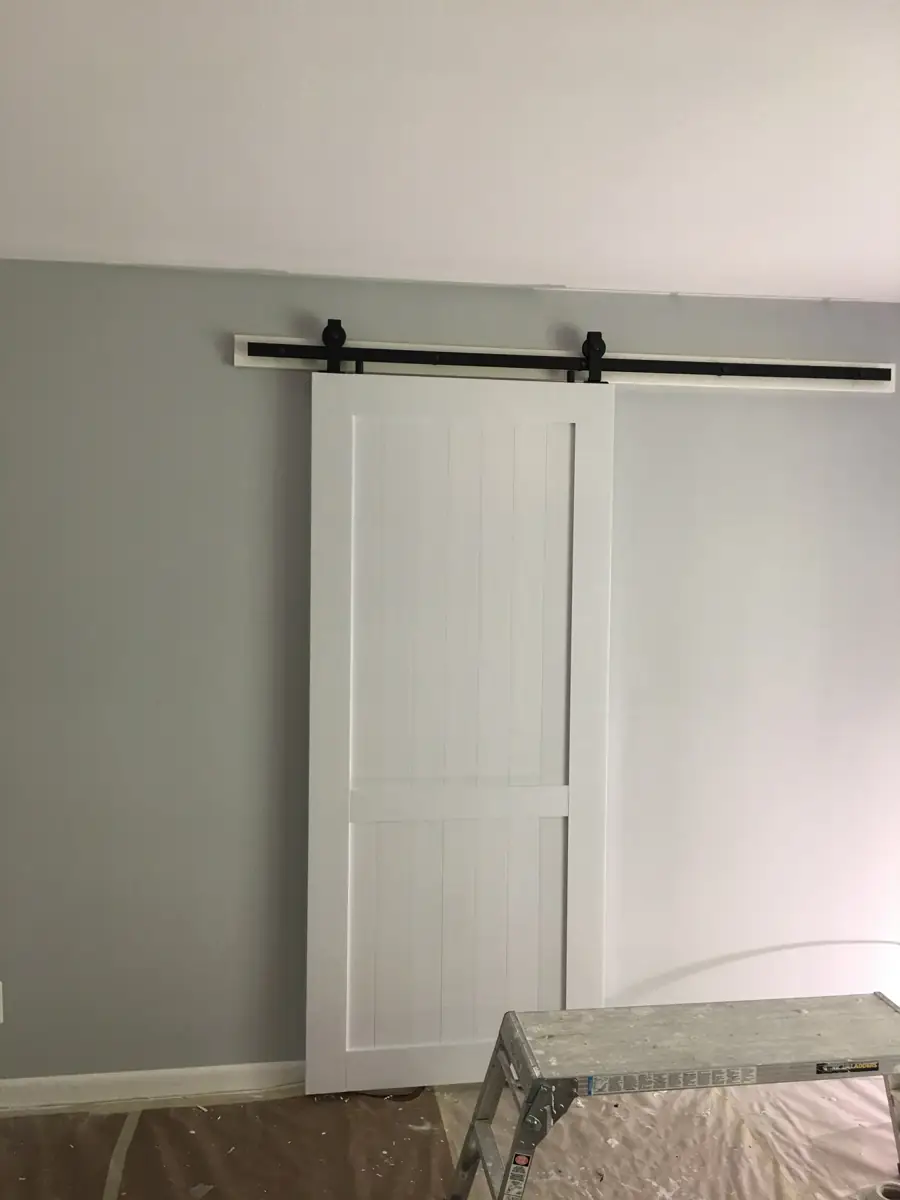
Door hung on the track during installation
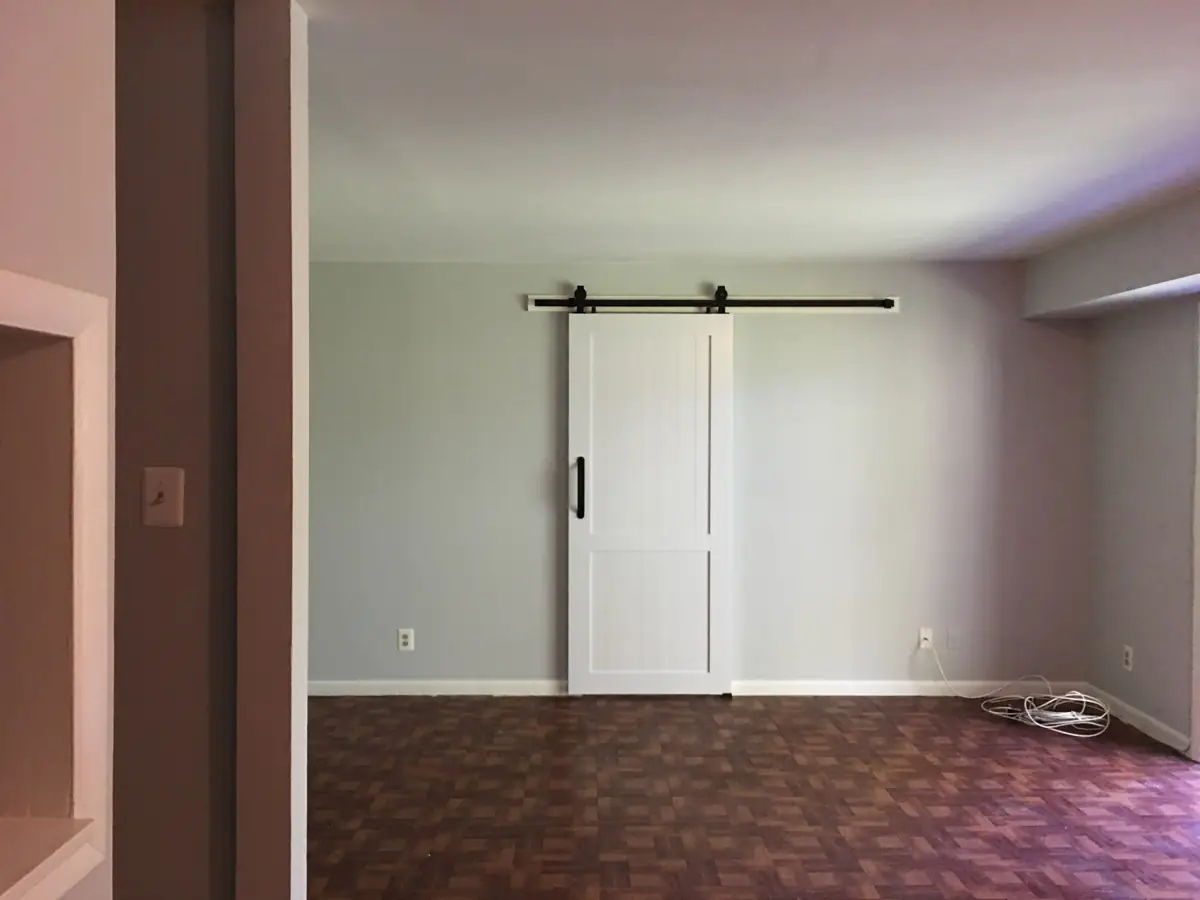
Finished white sliding barn door with black hardware
Handyman
HANDYMAN WORK
Shower valve repair
with an accent tile finish
The old shower valve had failed. We cut a strip of tile and opened the wall to replace the valve, then finished the repair with a decorative accent tile strip.
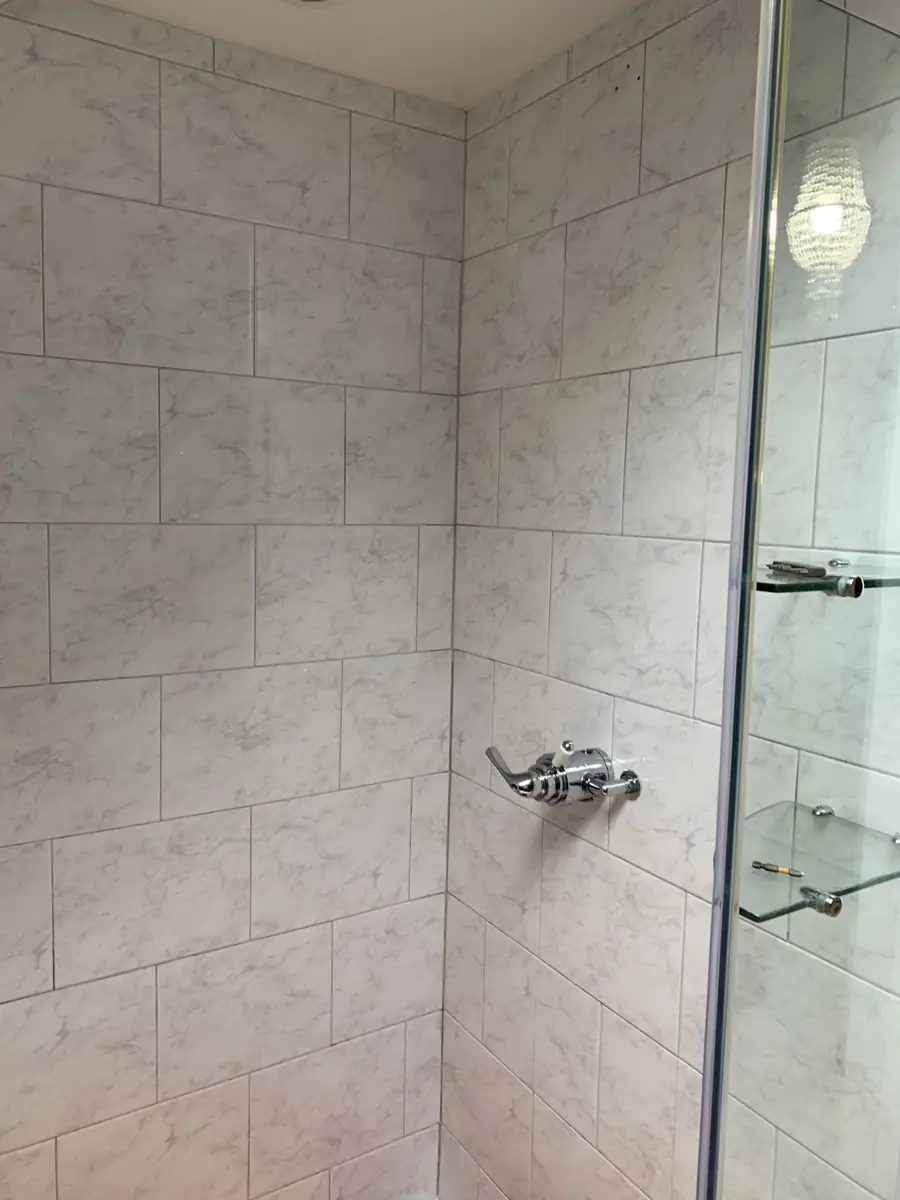
Original shower valve and tiled wall
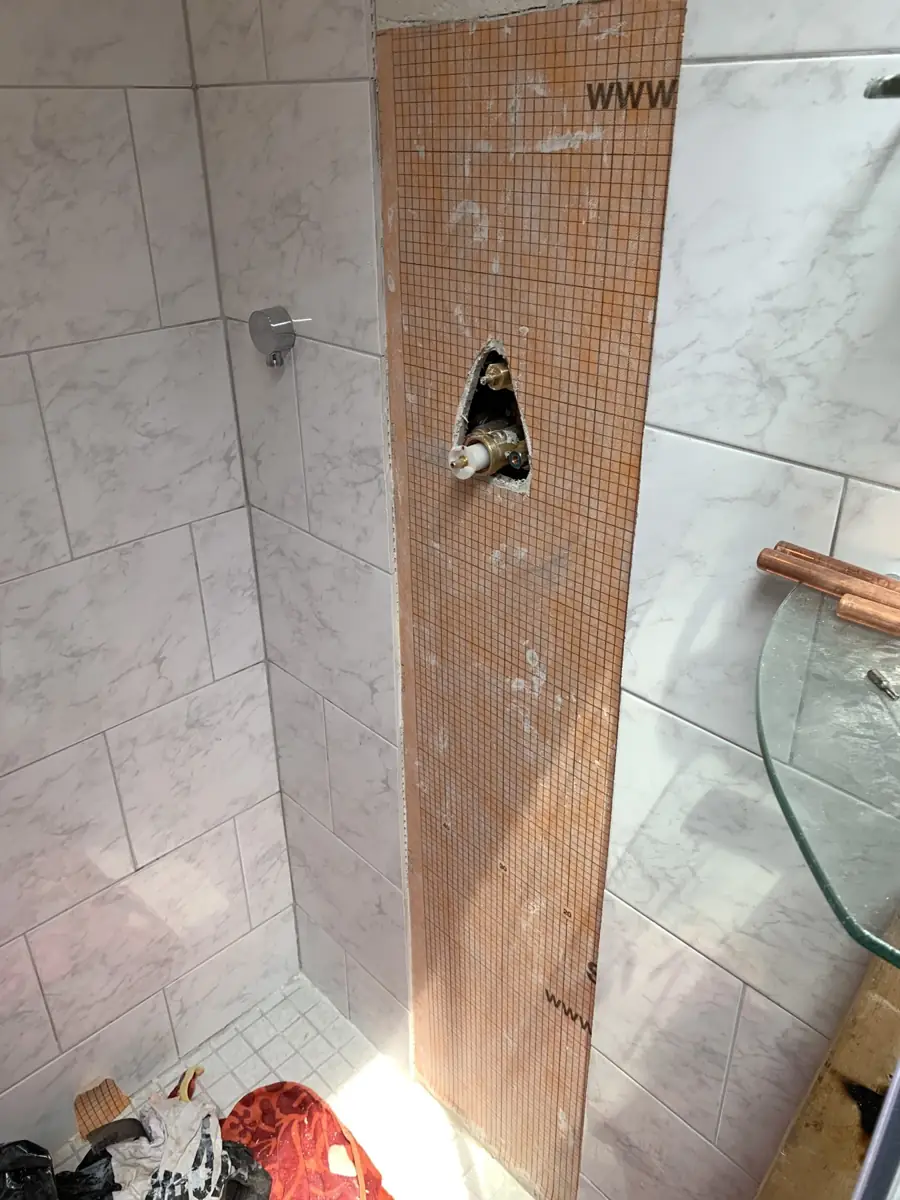
Tile strip removed to access the valve
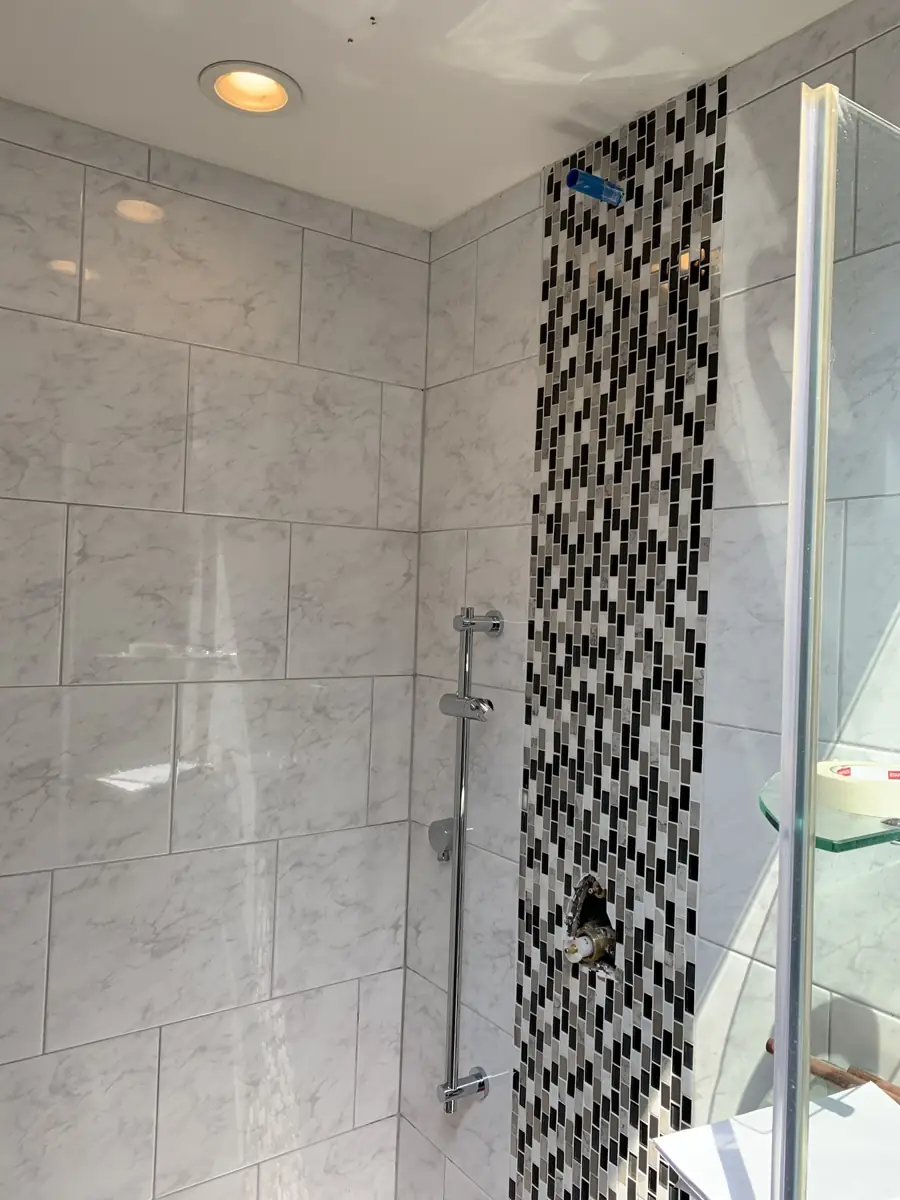
Accent tile strip installed; fixture work underway
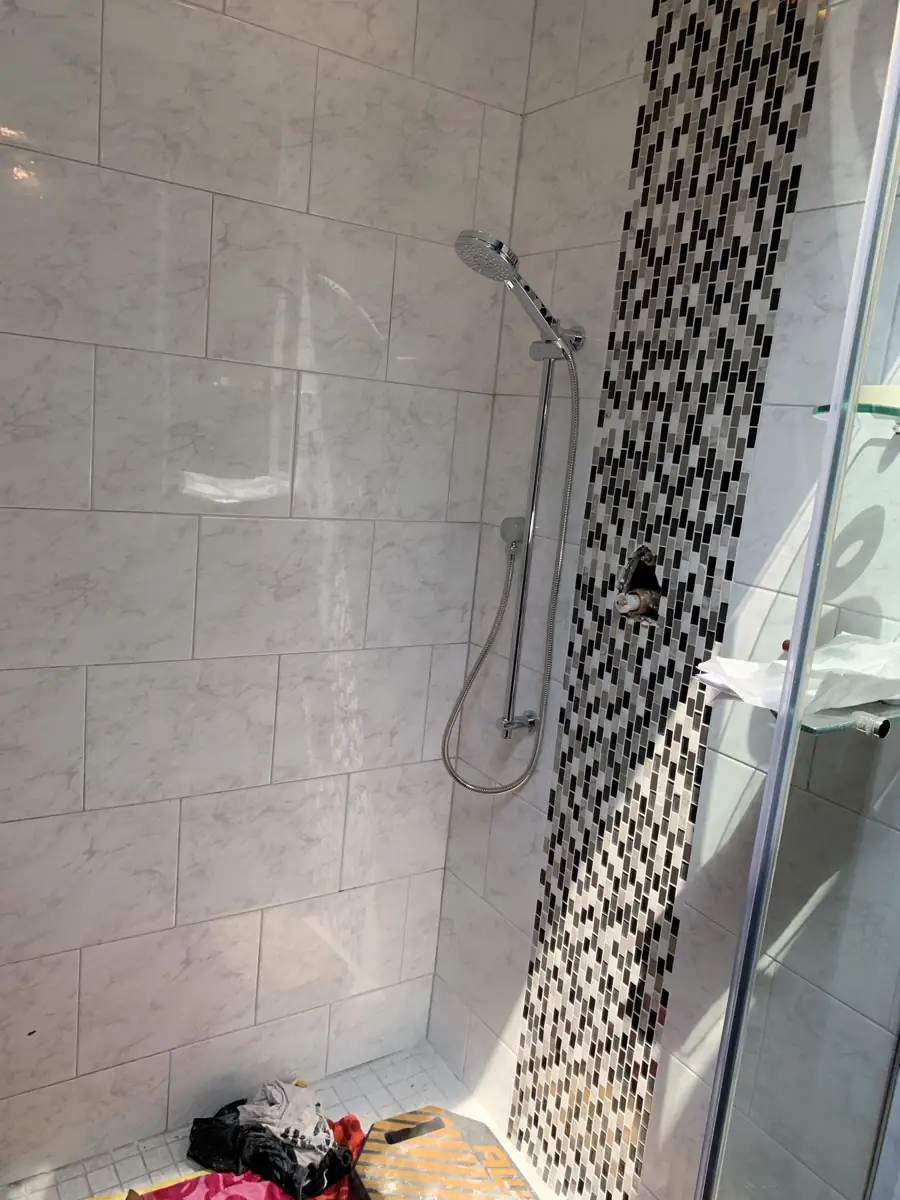
Handheld shower installed; valve trim still unfinished
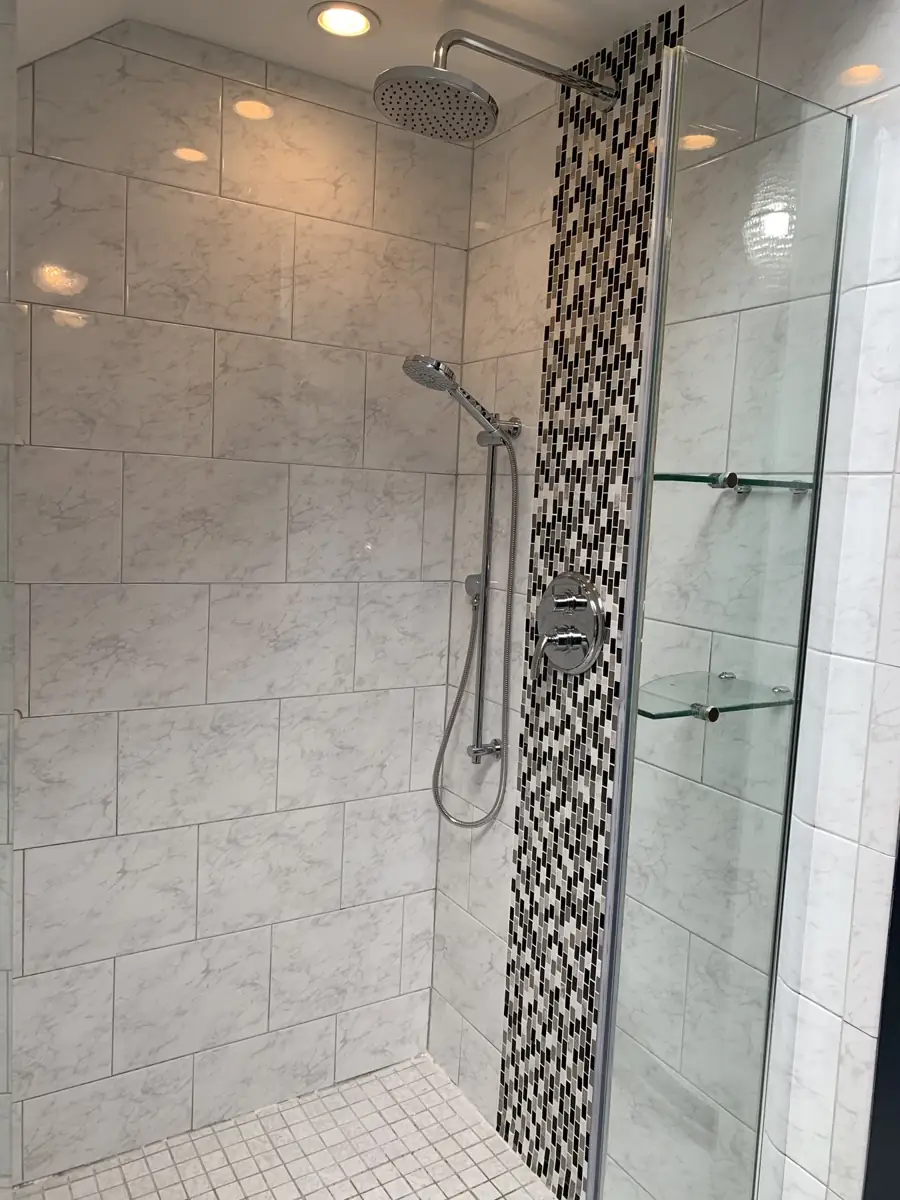
Completed valve replacement and accent tile strip
HANDYMAN
Entry light installation
CHI installed this decorative ceiling light at the entry. This photo shows the installed fixture illuminated.
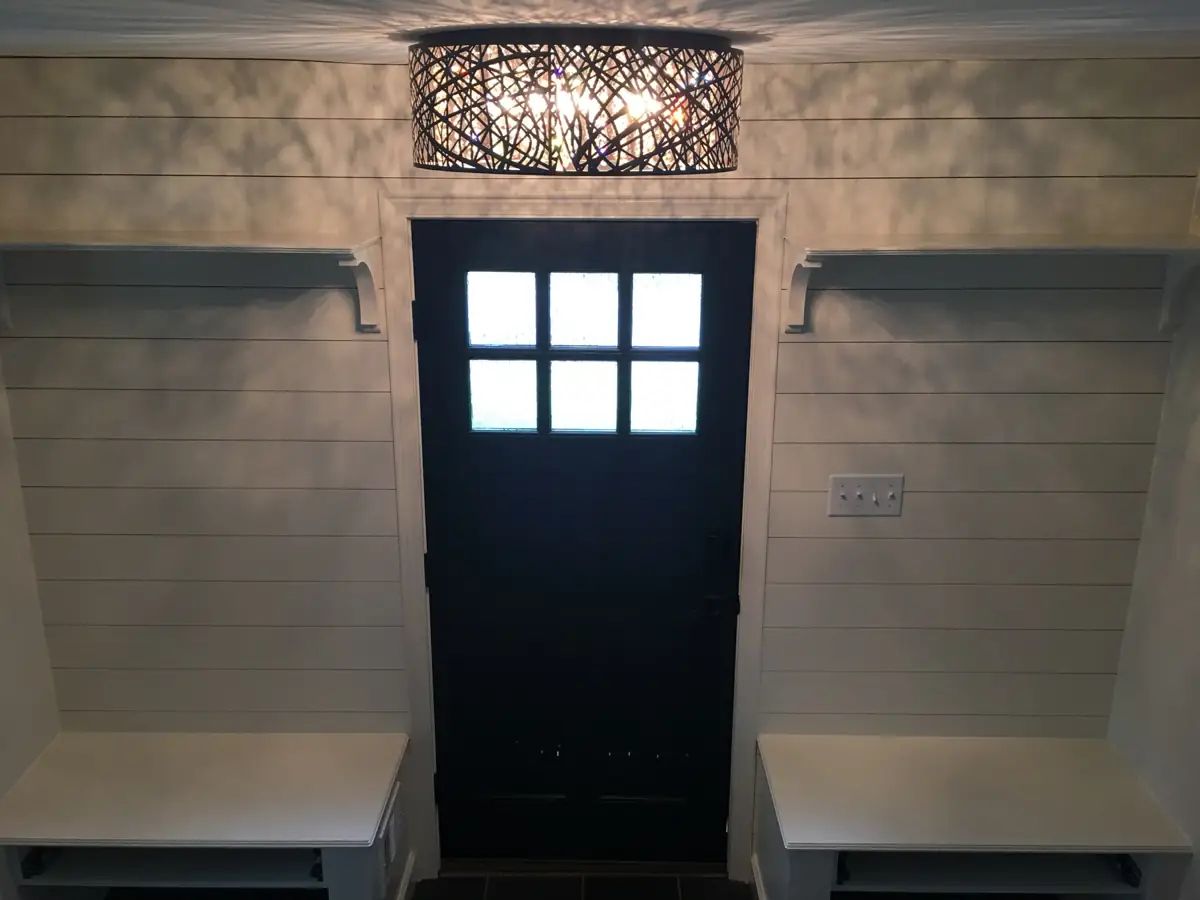
Installed entry light